|
 |
 |
|
 |
 |
|
|
|
|
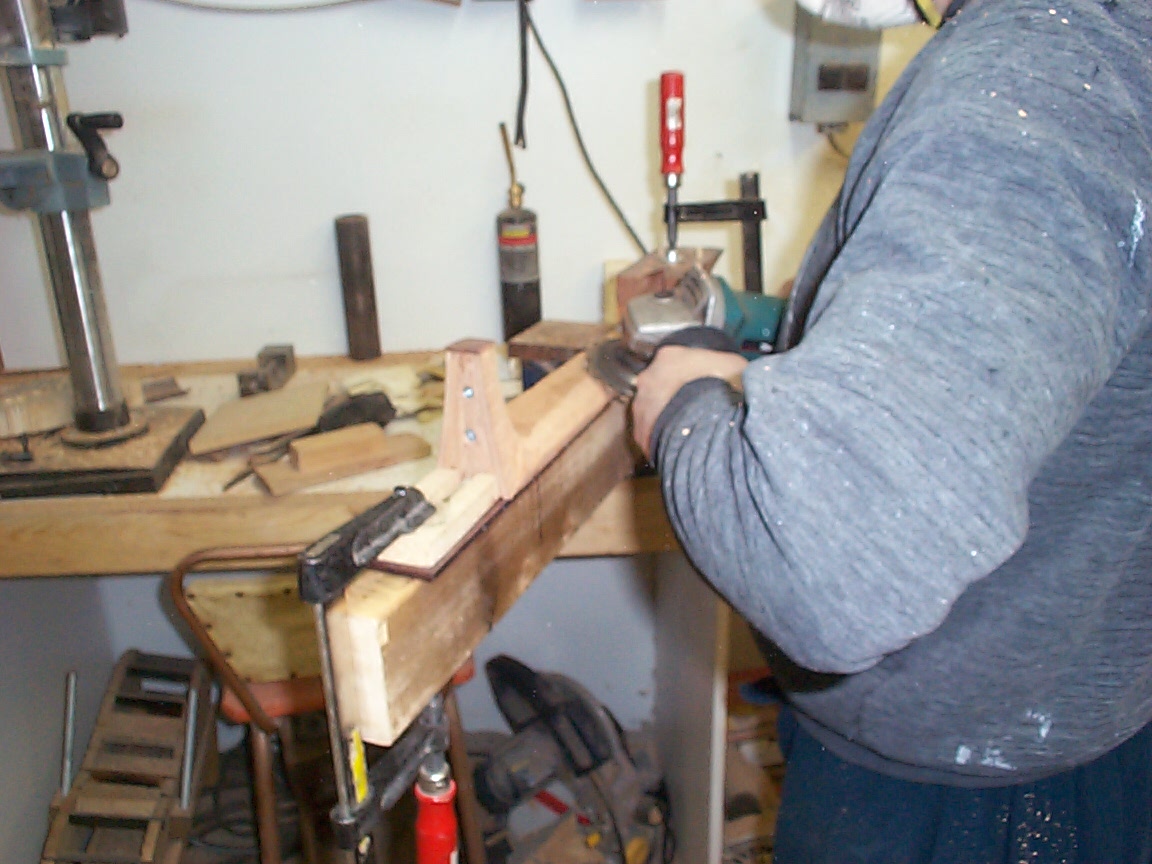
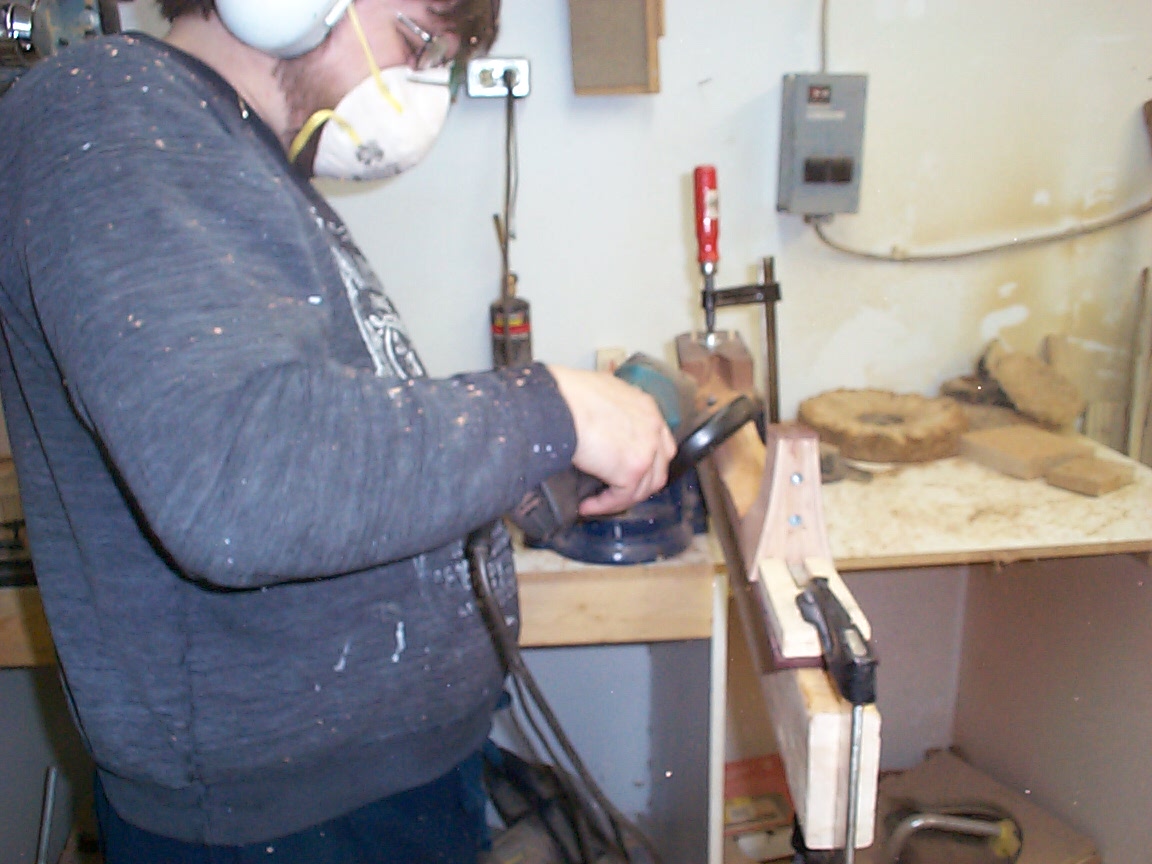
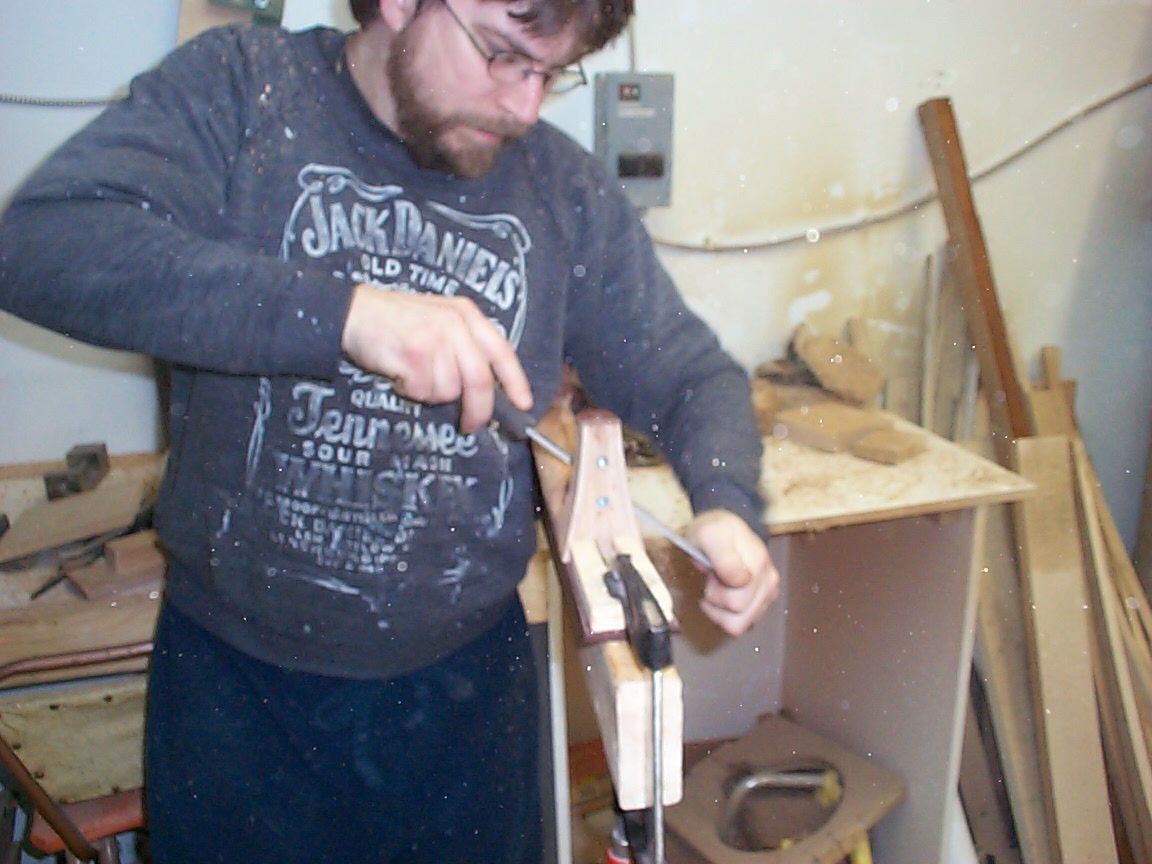
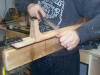
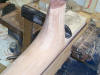
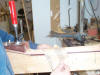
Preparing to attack! |
Attack! The Lancelot demands attention, and a light touch. |
The secret to using it is to pretend you're petting a porcupine...if that
makes sense |
|
Once the 'meat' is taken off, I'll grab a Sandvik rasp, and start refining
the shape. |
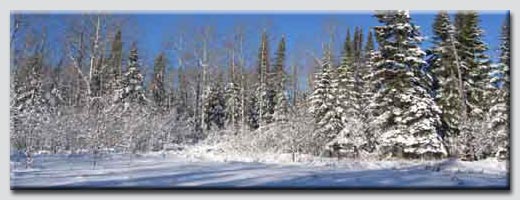
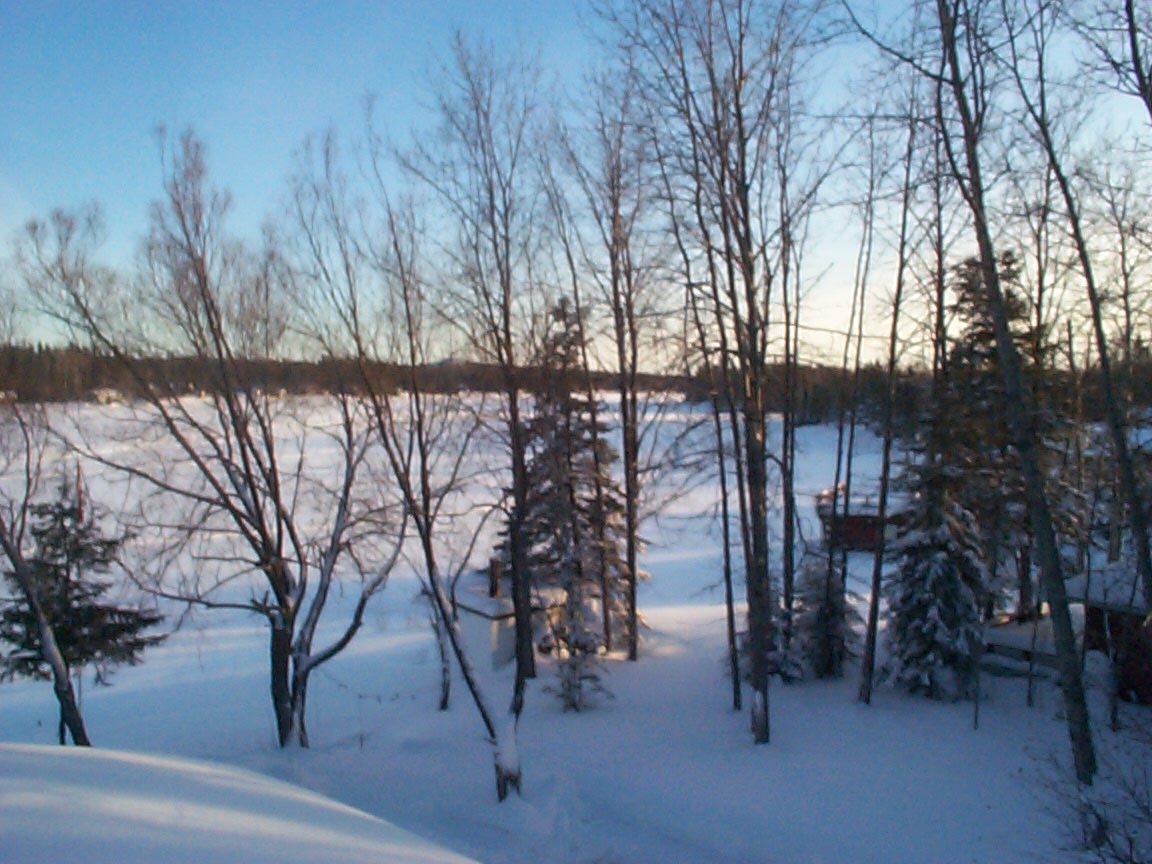
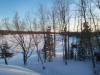
Here's the shop, as seen from the rook of our house in mid February. |
|
|
|
 |
 |
 |
|
 |
 |
|
|
|
|
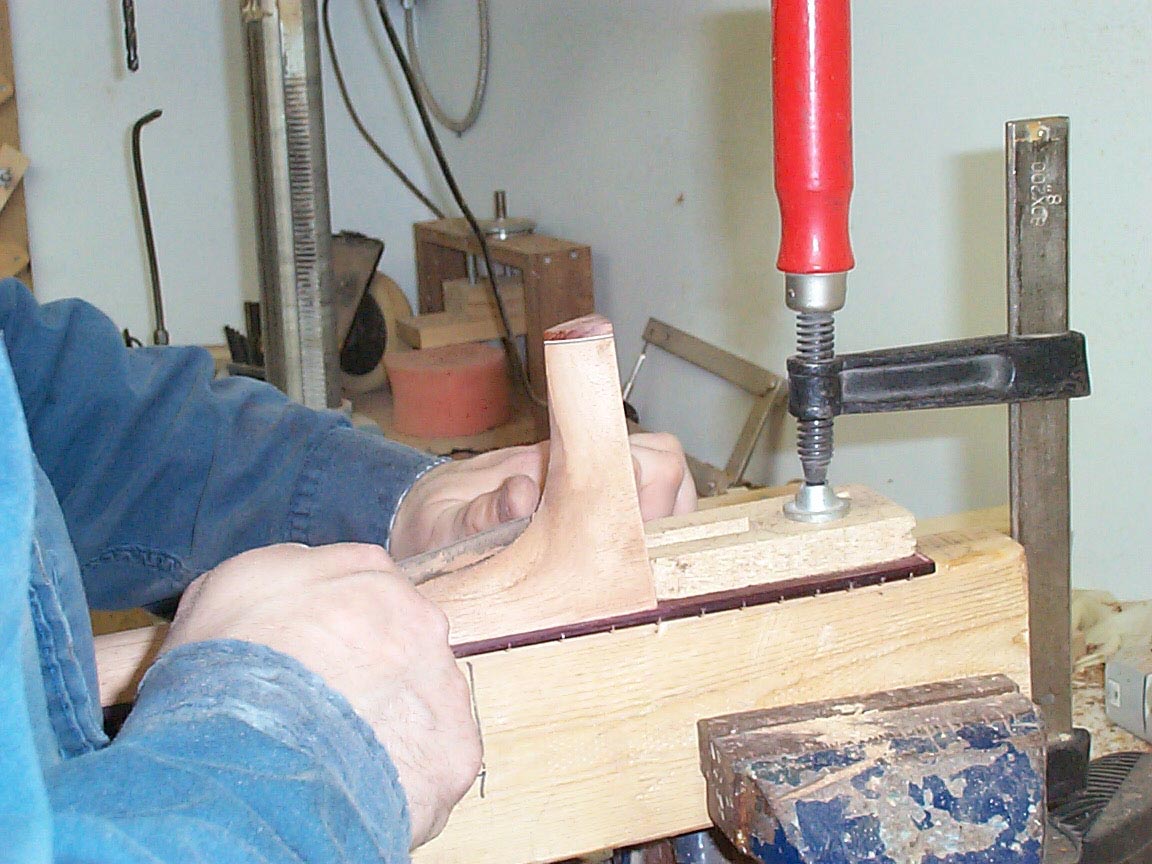
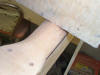
Meanwhile, back at the bench....., I'm still filing away, using gradually
finer files as I go. |
The heel is taking shape.... |
|
|
Kinda hard to "see" the shape, so a board, scraper, anything, is used to
cast a shadow, and that shadow shows the symmetry in the shape. A big
thanks! to Bill Moll for this trick! |
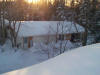
And the lake as seen from the house's roof.... Notice how long the
shadows are cast? A 60 foot tall tree can cast a 1200 foot long shadow.
The sun is mighty low up here in the winter! |
|
|
|
 |
 |
 |
|
 |
 |
|
|
|
|
|
|
|
|
|
|
|
|
|
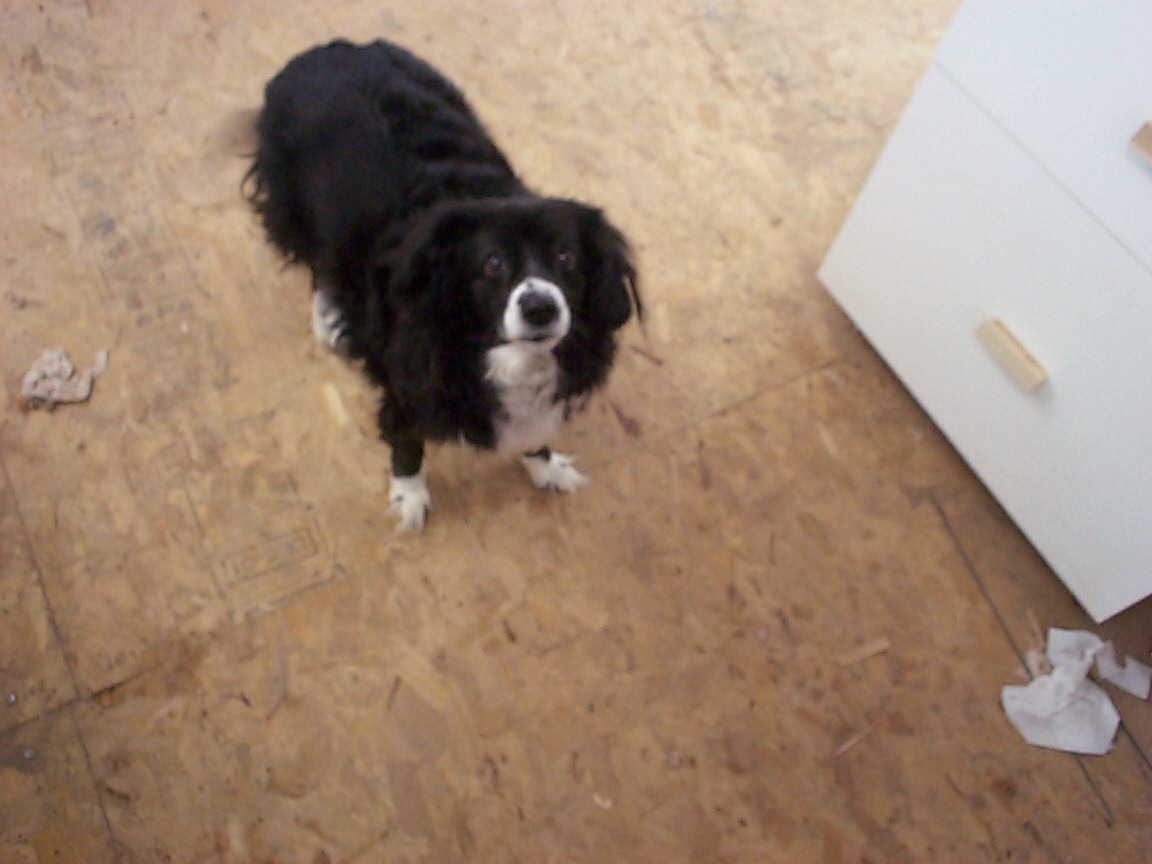
| The ever-present shop Foreman, Molson! |
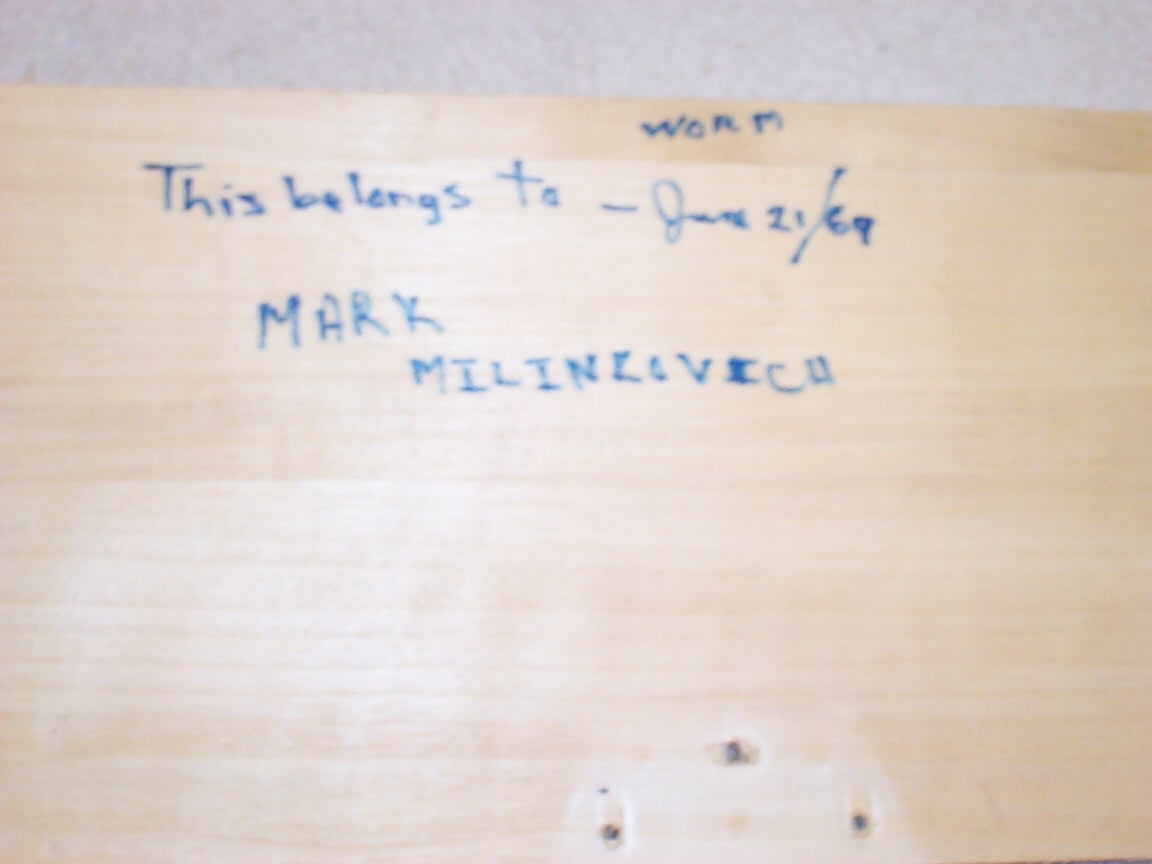
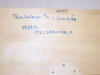
I often speak of the little details I do. Here's one: While bringing our
garbage to the local landfill(we don't have garbage pickup, so we need
to make a weekly trip to "the dump"), I saw a dresser that had just been
tossed. A quick look revealed it was made of solid maple! This piece
still has an obviously young fellow's name written on it ; notice the
date! |
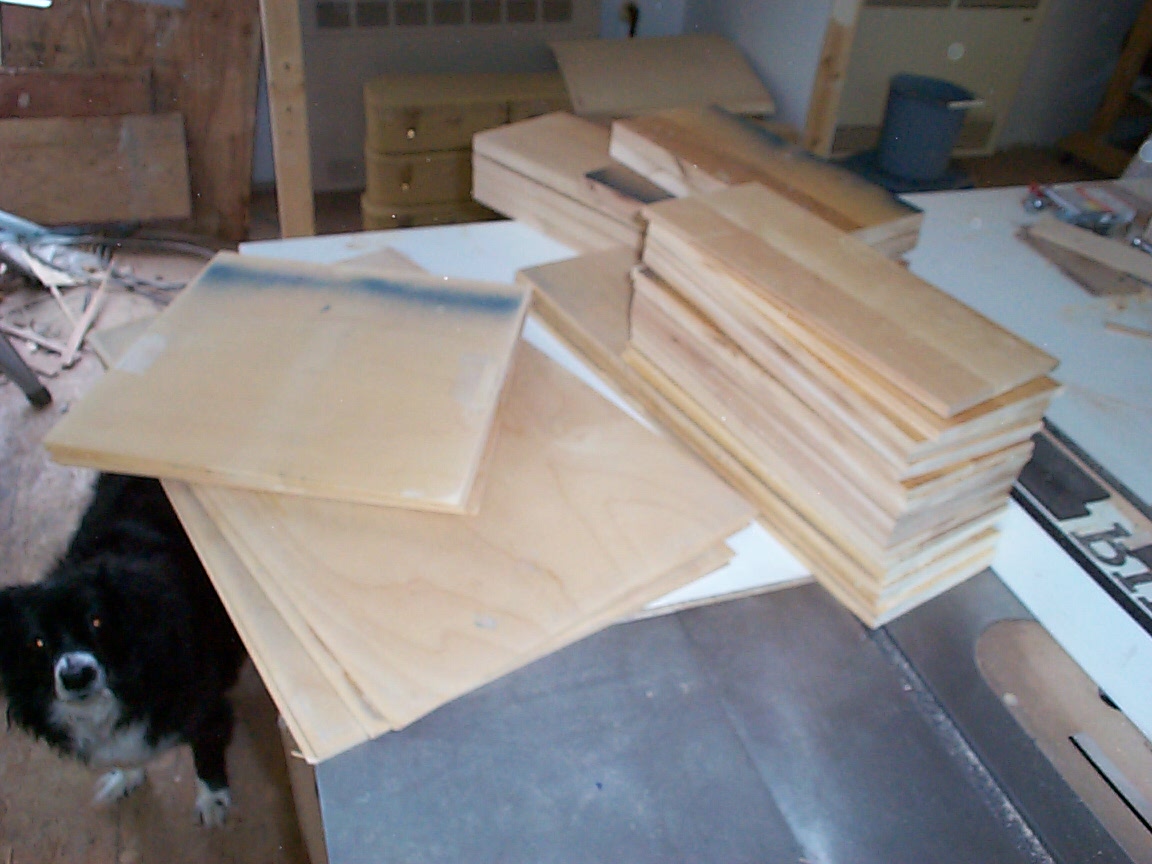
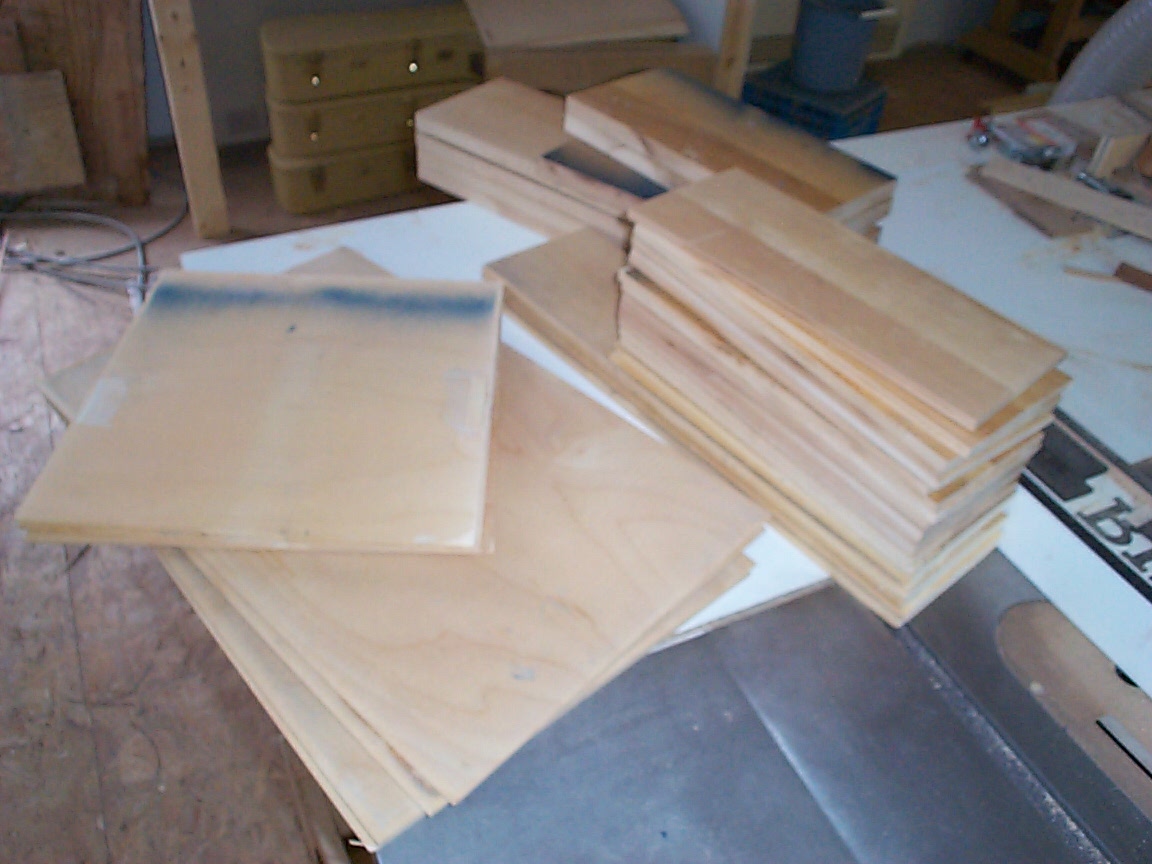
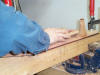
So, out with our trash, and in with
someone else's! The drawers were quickly taken apart, and a few minutes
at the table saw to cut off all the glued joints left me with a large
stack of at least 35 year old maple, dried beyond dry seasoned in a way
that cannot be bought at any price. This maple will be used as bridge
plates for certain guitar models. |
|
Not a bad haul for 30 minute's work! |
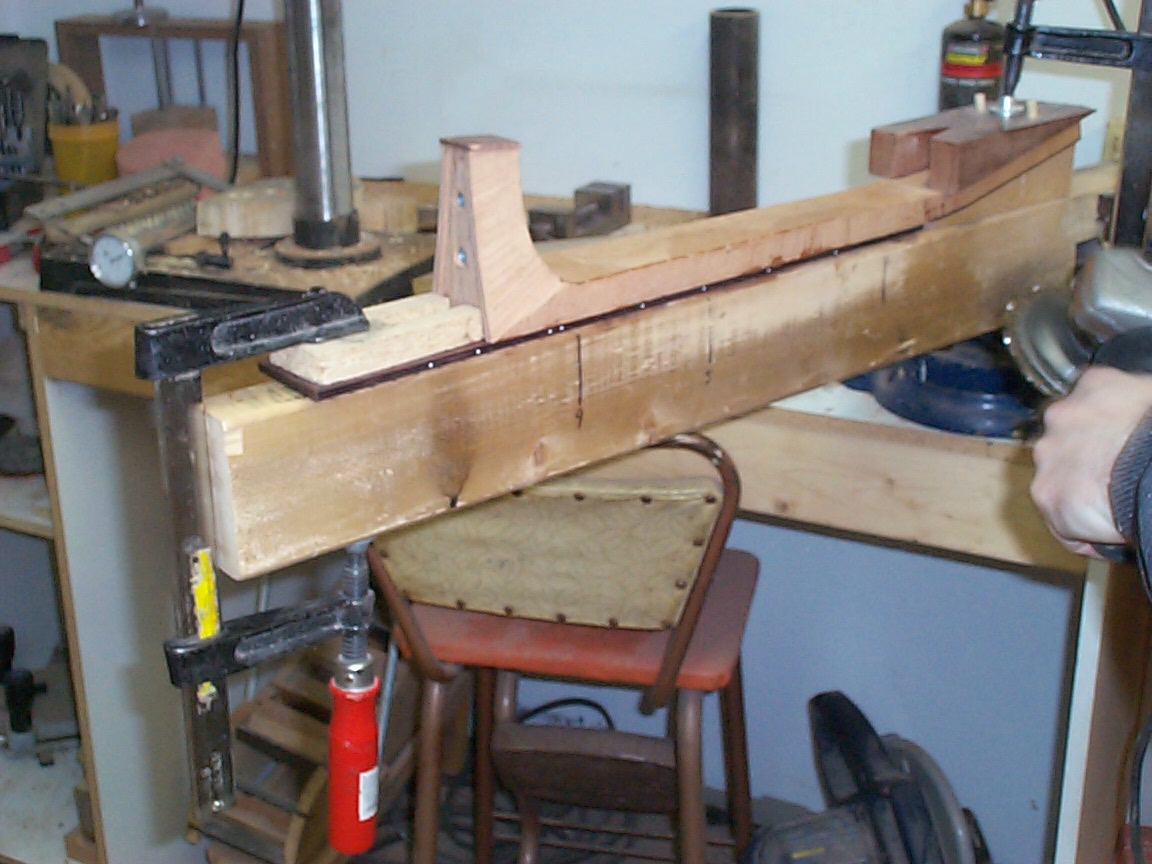
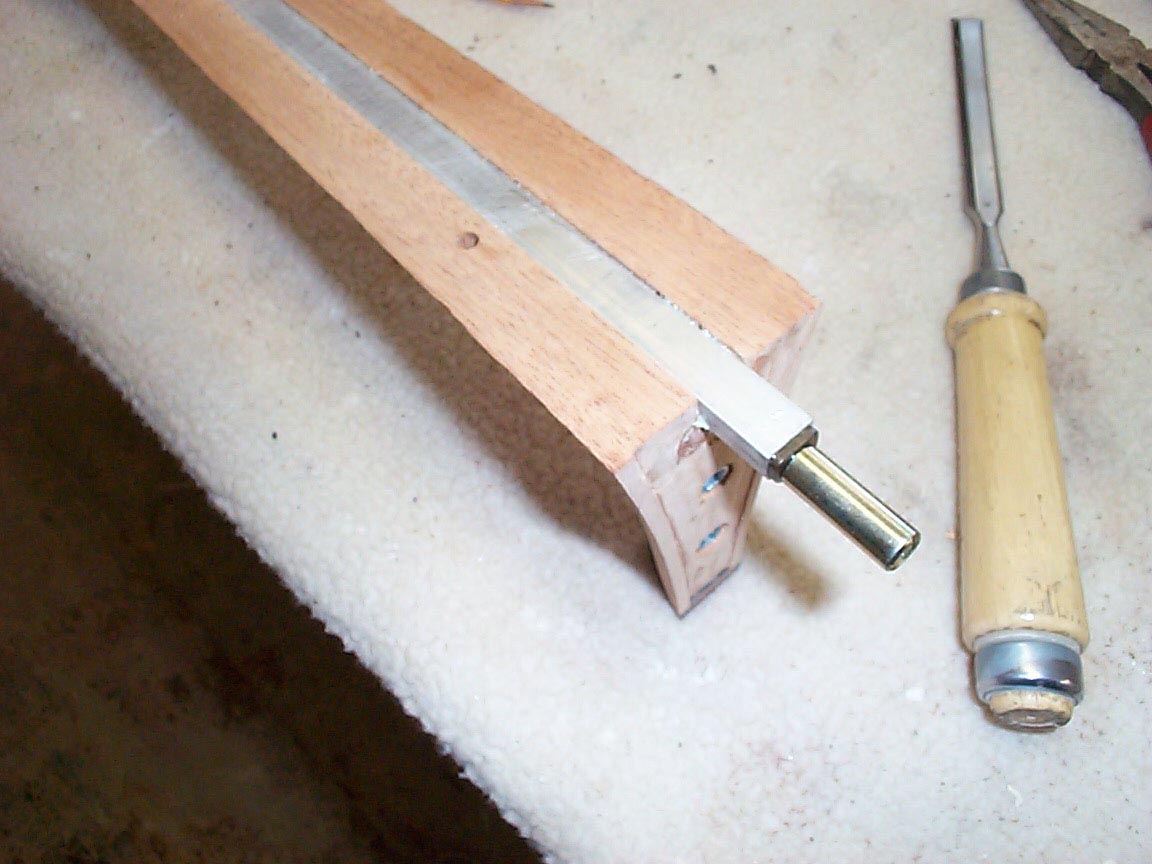
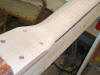
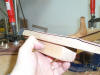
Hey! Found more photos, so.... Here's
the business end of the truss rod; it will barely extend past the end
block, when all is said and done. this rod system consists of a stiff U
channel, with a steel rod inside. Very effective at both stiffening the
neck(a good thing!) and providing fine relief adjustment ability. |
|
|
|
 |
 |
 |
|
 |
 |
|
|
|
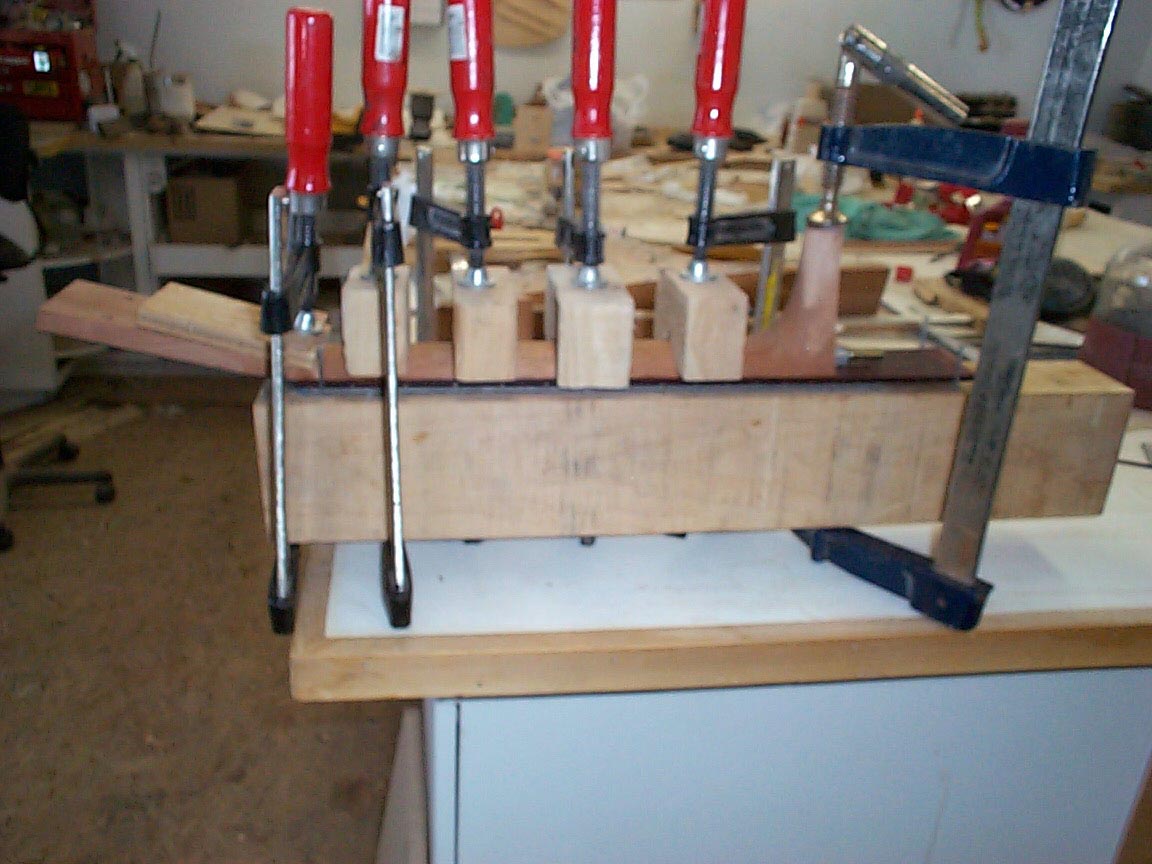
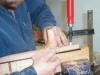
| Here's my setup for clamping the fretboard
to the neck. |
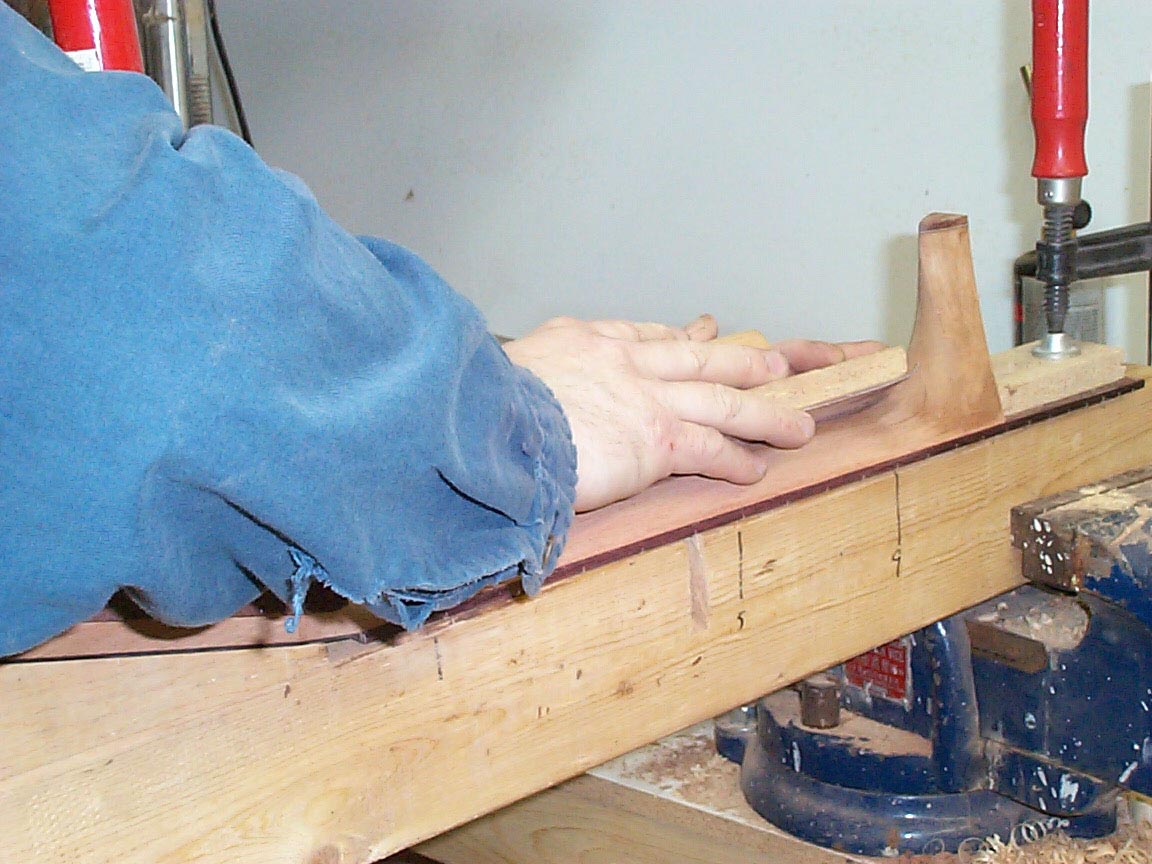
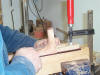
Back to shaping, here, I'm using a long sanding block to smooth over the
shank of the neck. |
This long block takes care of any lumps
and bumps that could happen with the files and rasps. |
|
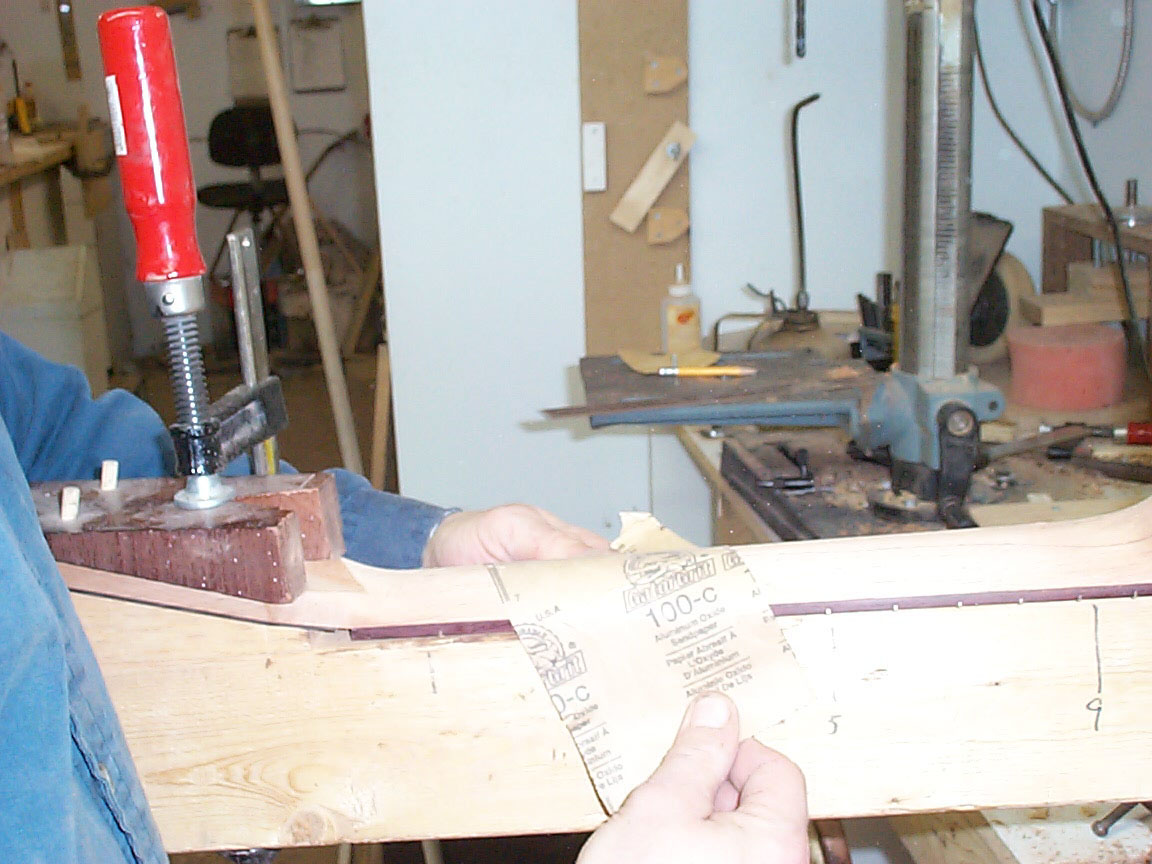
Both ends of the block are rounded over
gently to avoid putting dents and rough edges into the heel and
headstock area. |
After that, a "shoe shine" treatment is
done to further smooth things over, and to round over the fretboard's
edge a bit... |
|
|
|
 |
 |
 |
|
 |
 |
|
|
|

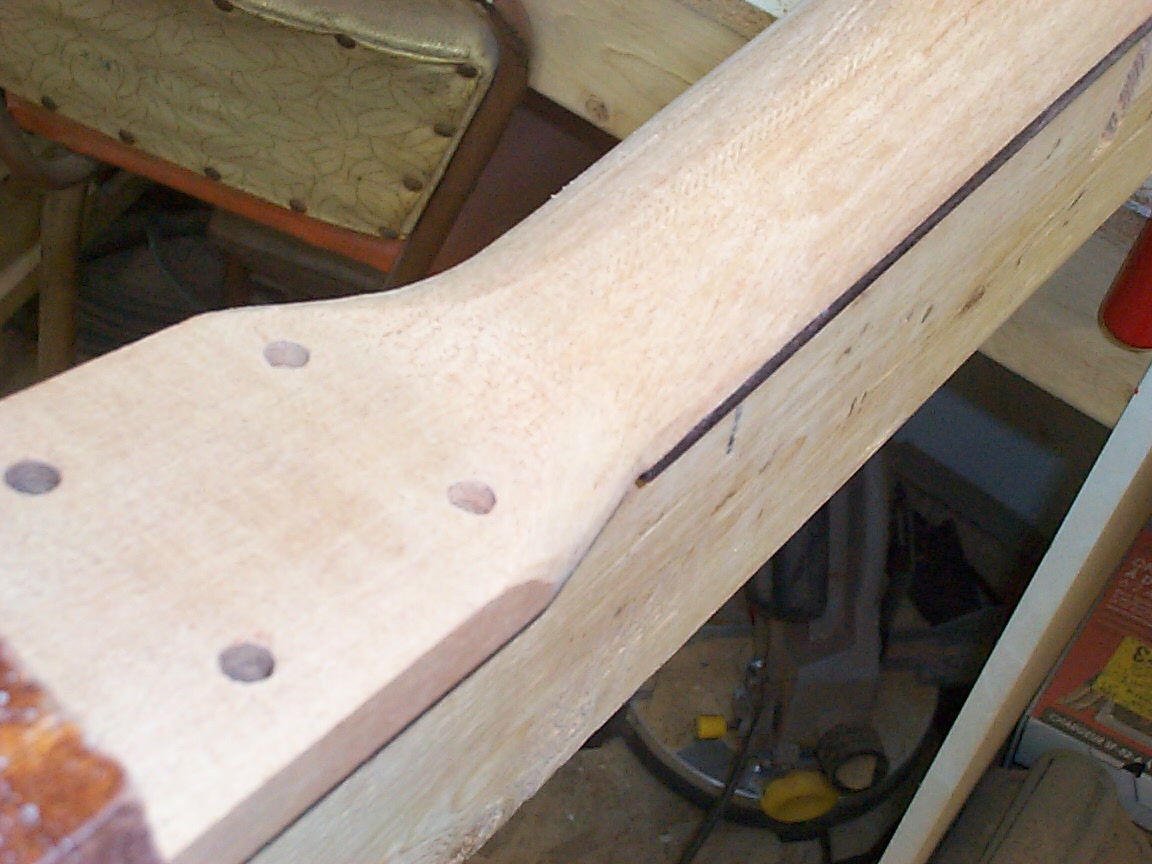
Oh, and yes, that is a volute you see on the neck. Long story, but I
messed up the original neck I was making for the DU guitar, so I made
another. On this one, I tried out a new jig and custom made router bit
that will create a 'perfect" little volute. I'll have some photos of
this jig and bit at a later time, as the bit is back at the sharpener's
place for some fine tuning. Works well enough, though! |
More fine sanding.... |
Found a few lumps in the heel area, so a
fine file came back out, and was used on a "backwards' pull stroke |
|
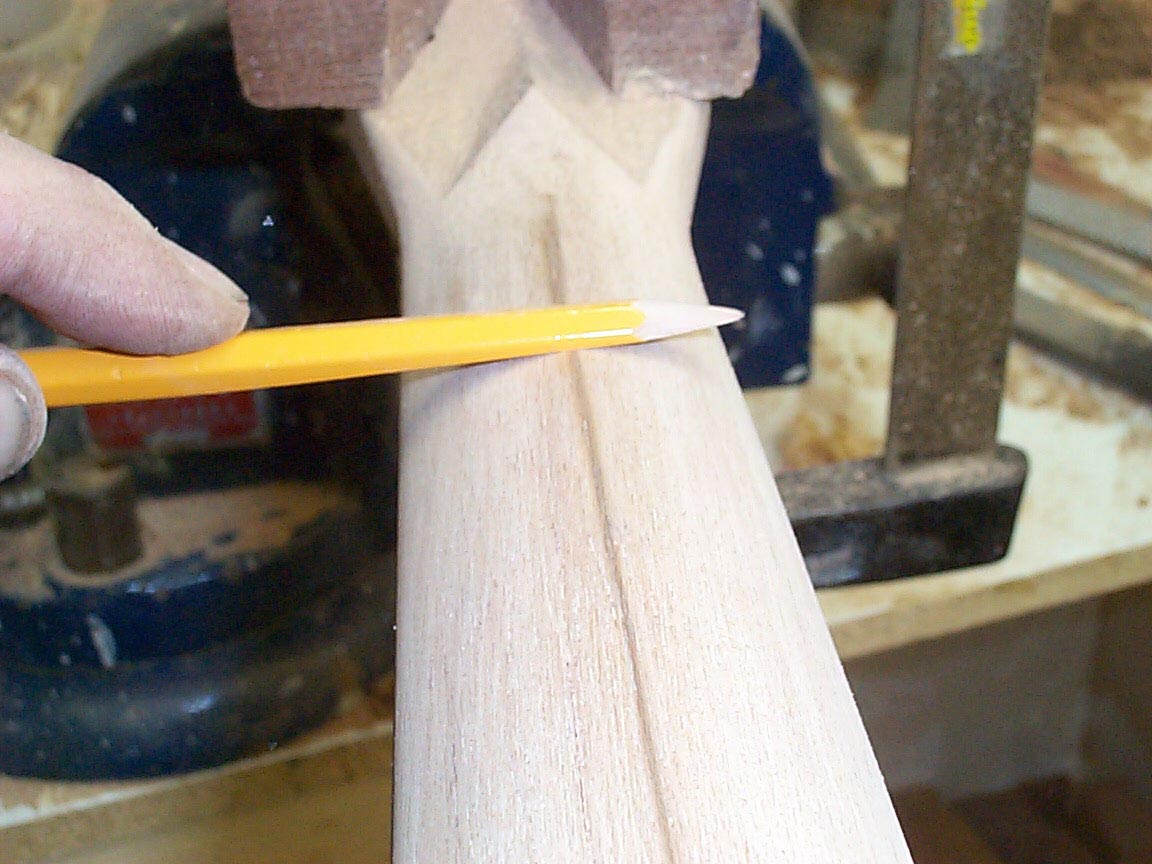
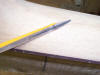
Here's another "trick"....It's a pencil
with half the wood sanded off. |
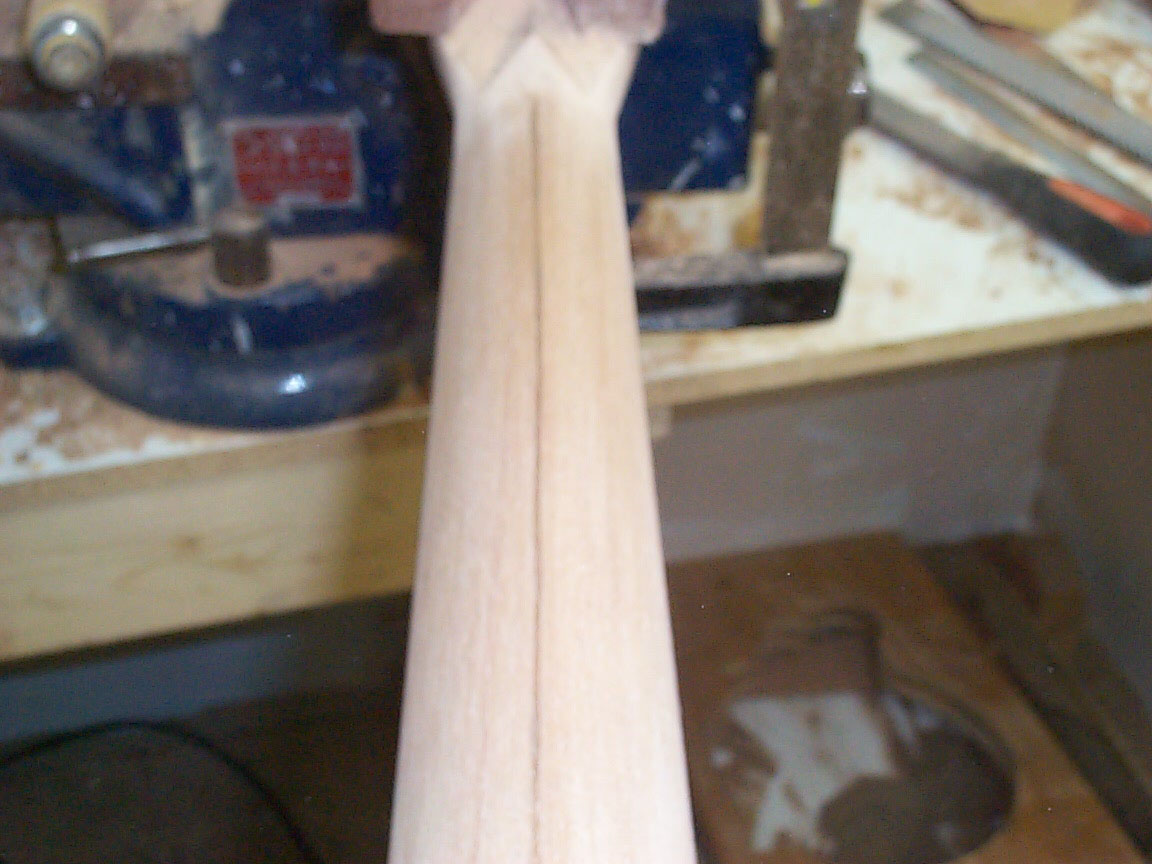
I now lay this pencil flat on the neck,
and pull it a few times. This will show the center line of the apex,
whether the neck has a rounded profile of a "V" to it. This will show if
the apex is centered, and if it is dead straight or not. |
|
|
|
|
|
|
|
|
|
|
|
|
|
|
Previous Page |
|
|
|
|
Next Page |
|
|
|
|
|
|
|
|
|
|
|
|
|