|
 |
 |
|
 |
 |
|
|
|
|
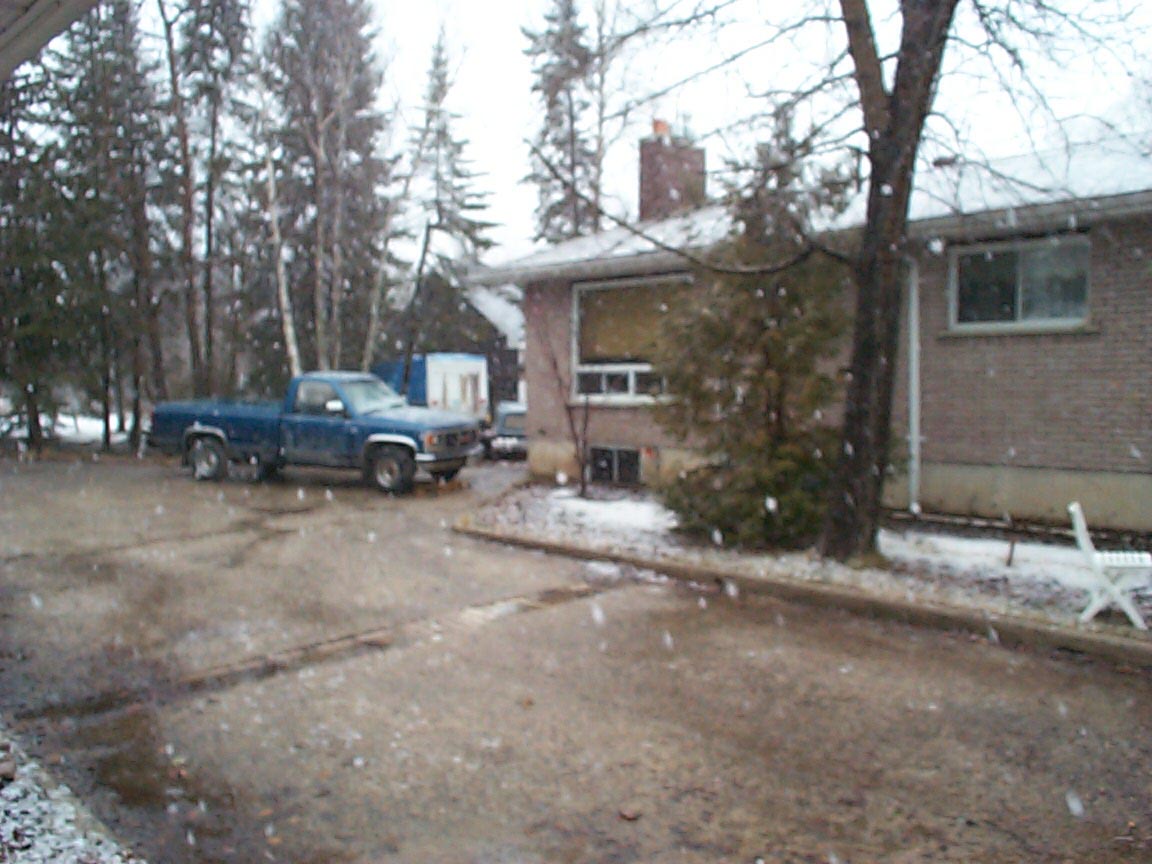
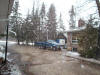
Even though most of our snow has melted, it snowed this afternoon(April
20/2004) |
|
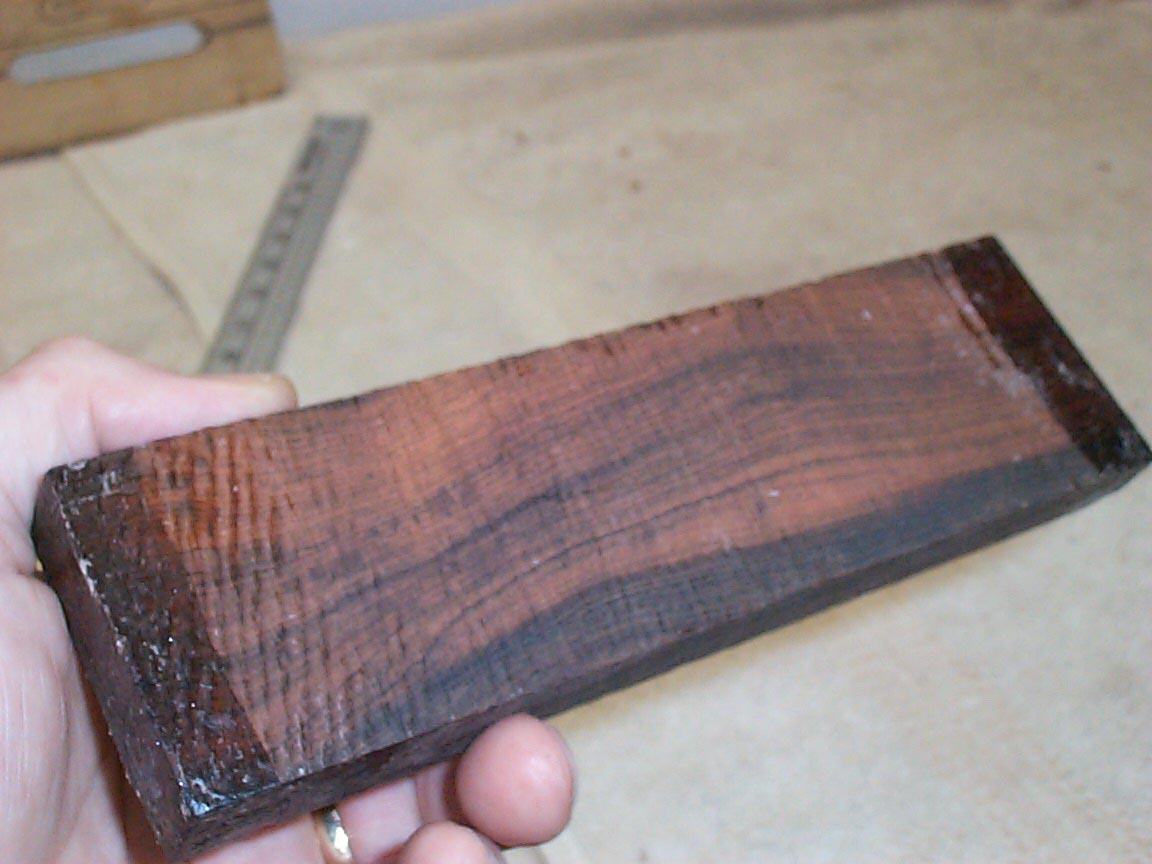
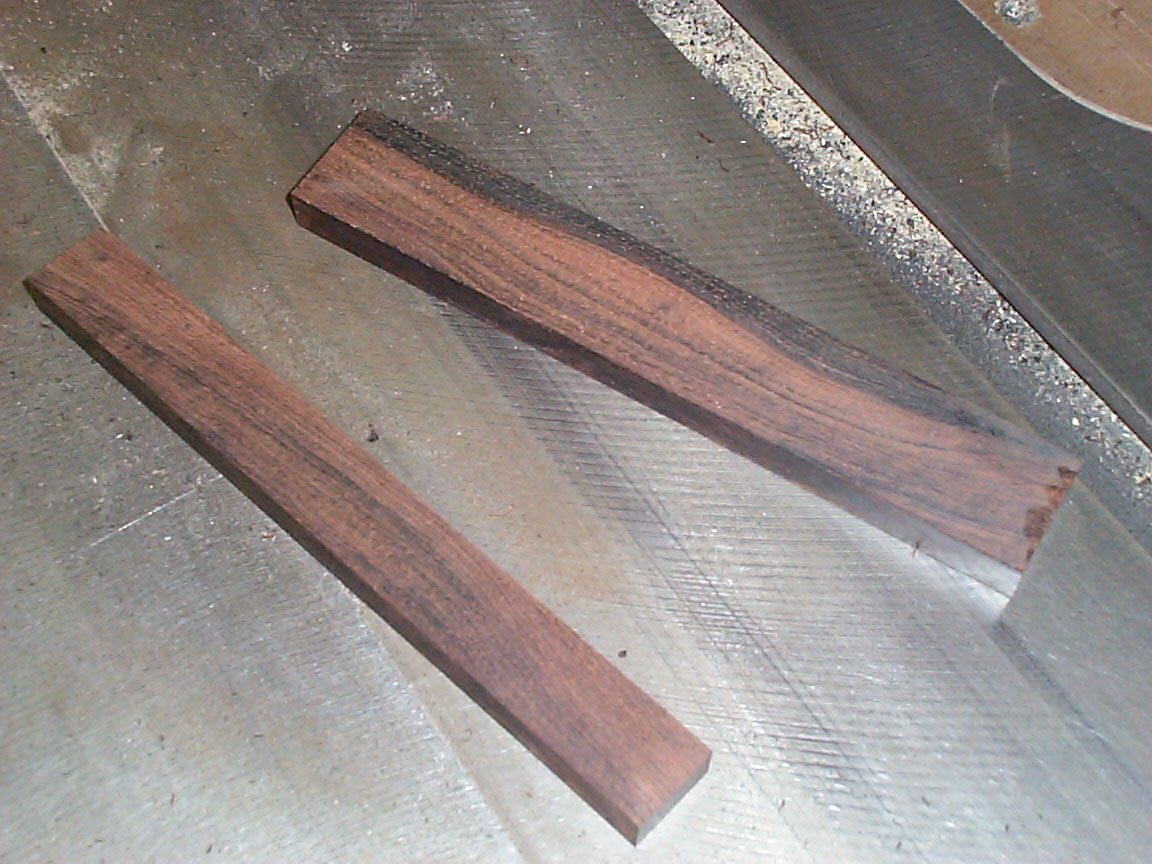
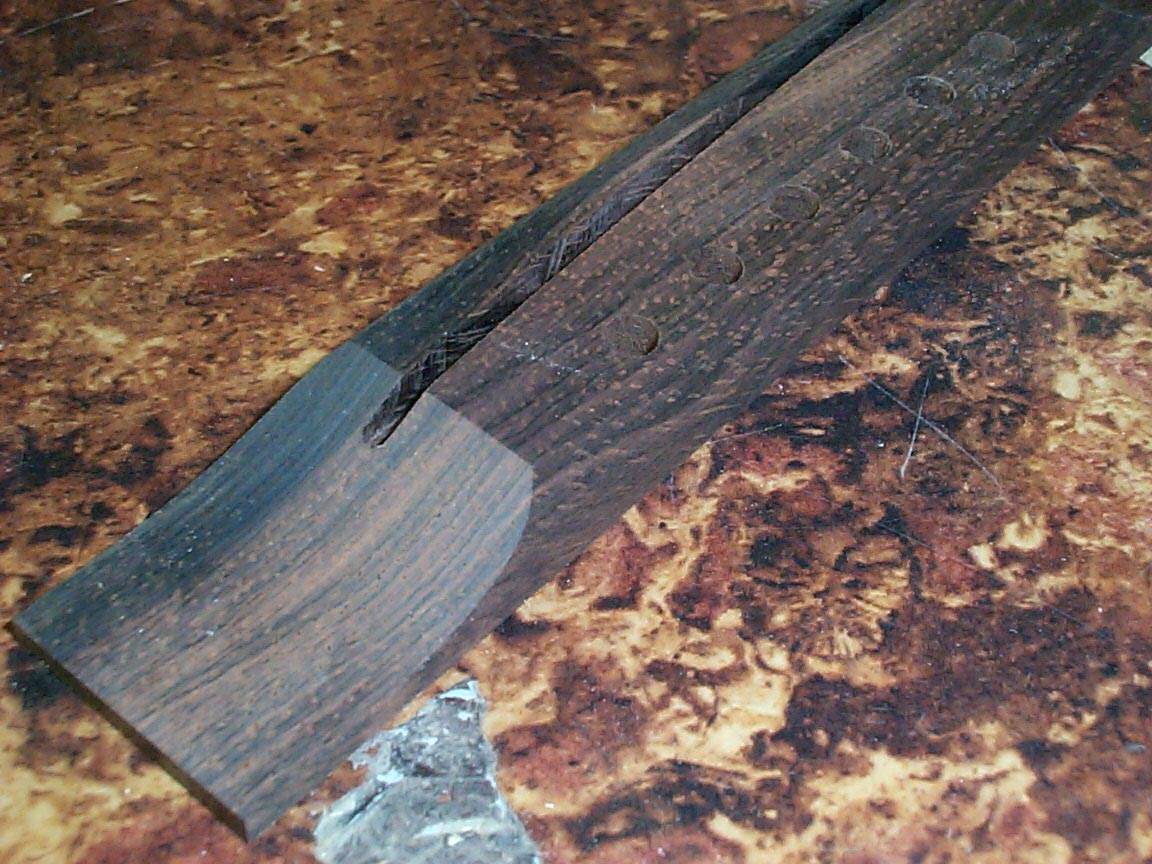
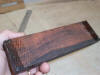
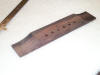
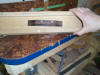
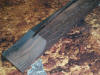
Okay, back to business...., here's our Brazilian RW bridge blank. |
|
The ends are waxed to prevent it from splitting while it was slowly
drying. |
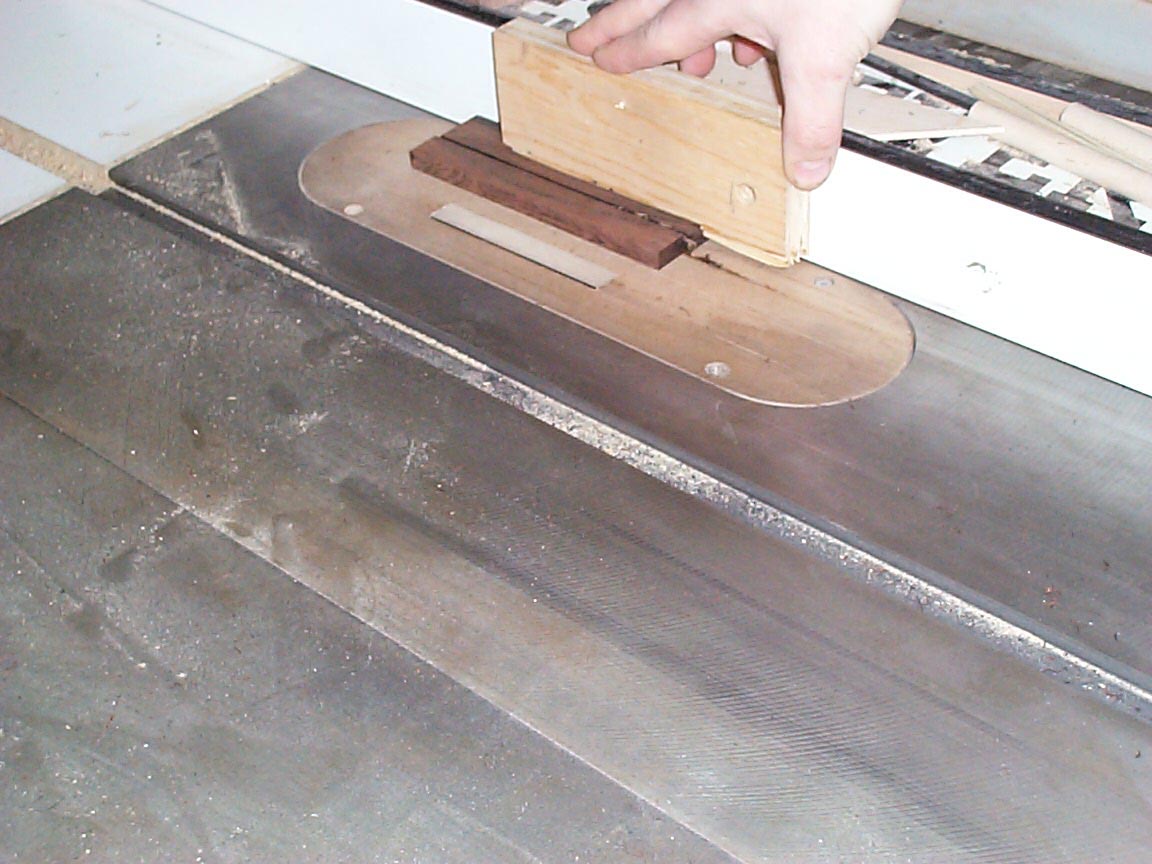
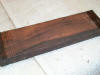
The blank gets dimensioned on the table saw.... |
|
|
|
 |
 |
 |
|
 |
 |
|
|
|
|
|
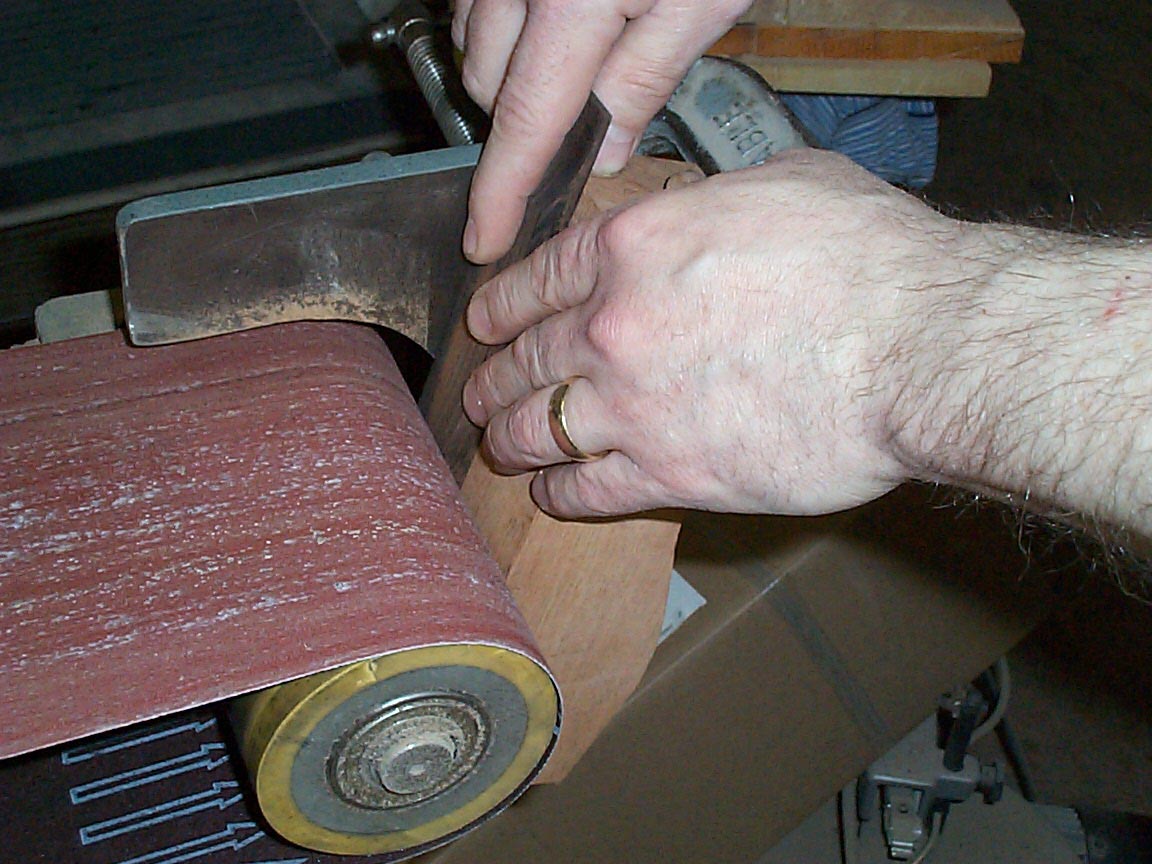
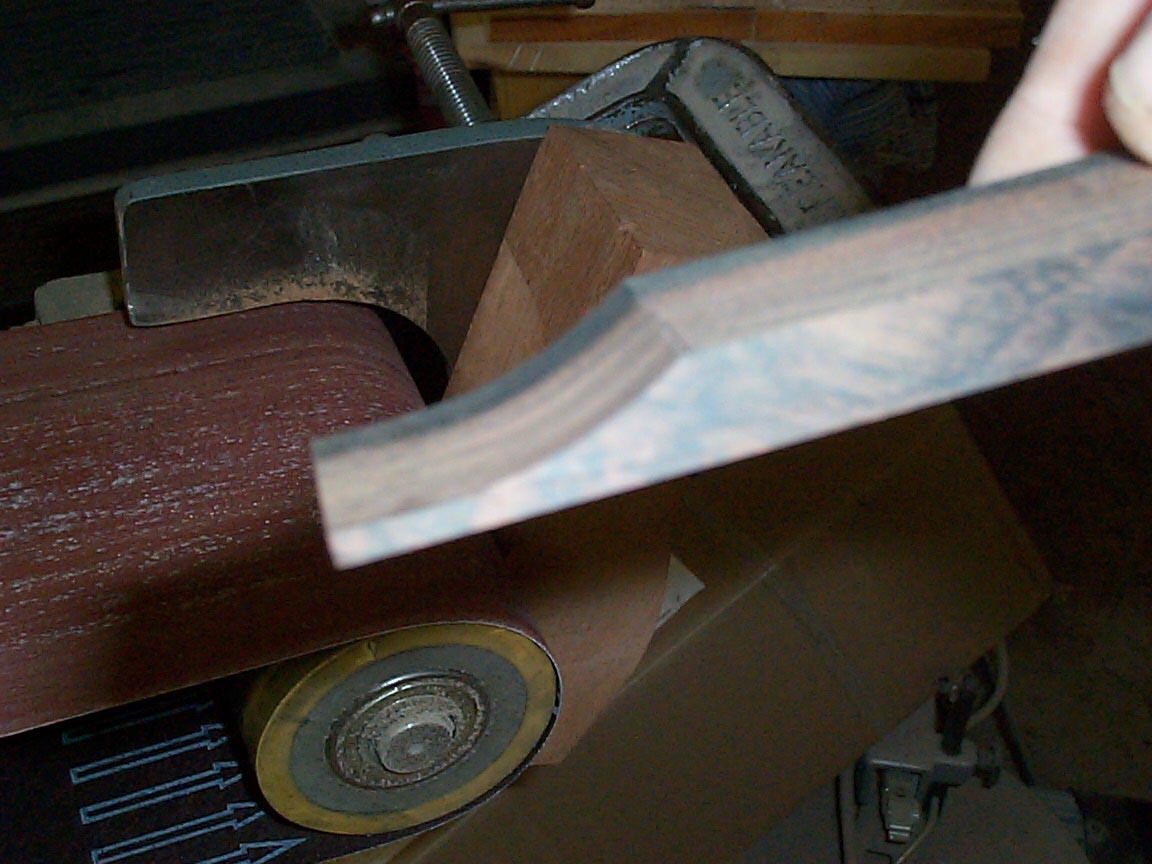
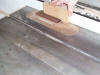
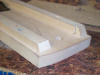
The wings of the bridge are shaped on the roller of my belt sander.
Nothing high tech here.... |
....but the results are nice and clean! |
|
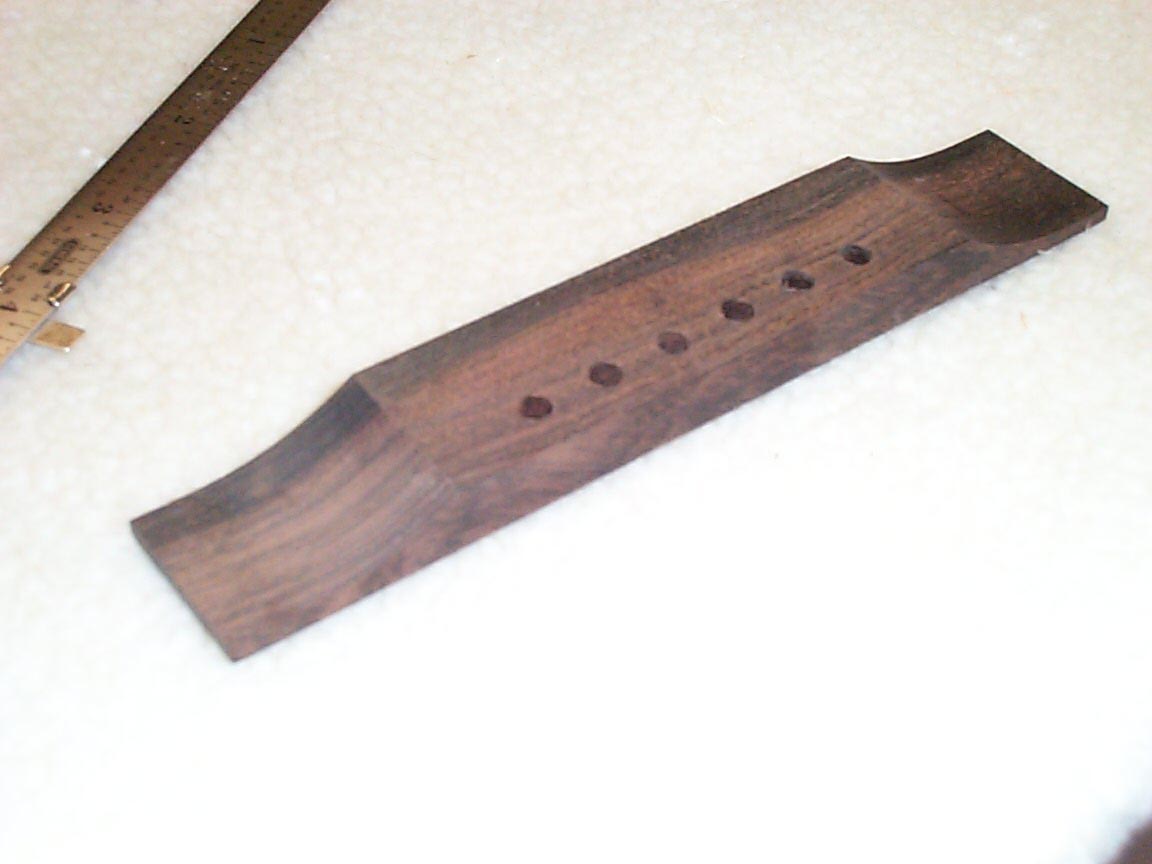
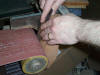
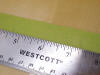
Using a simple drill jig, I'll drill the pin holes. This one(the DU
guitar) will have a 2-1/4" pin spacing. |
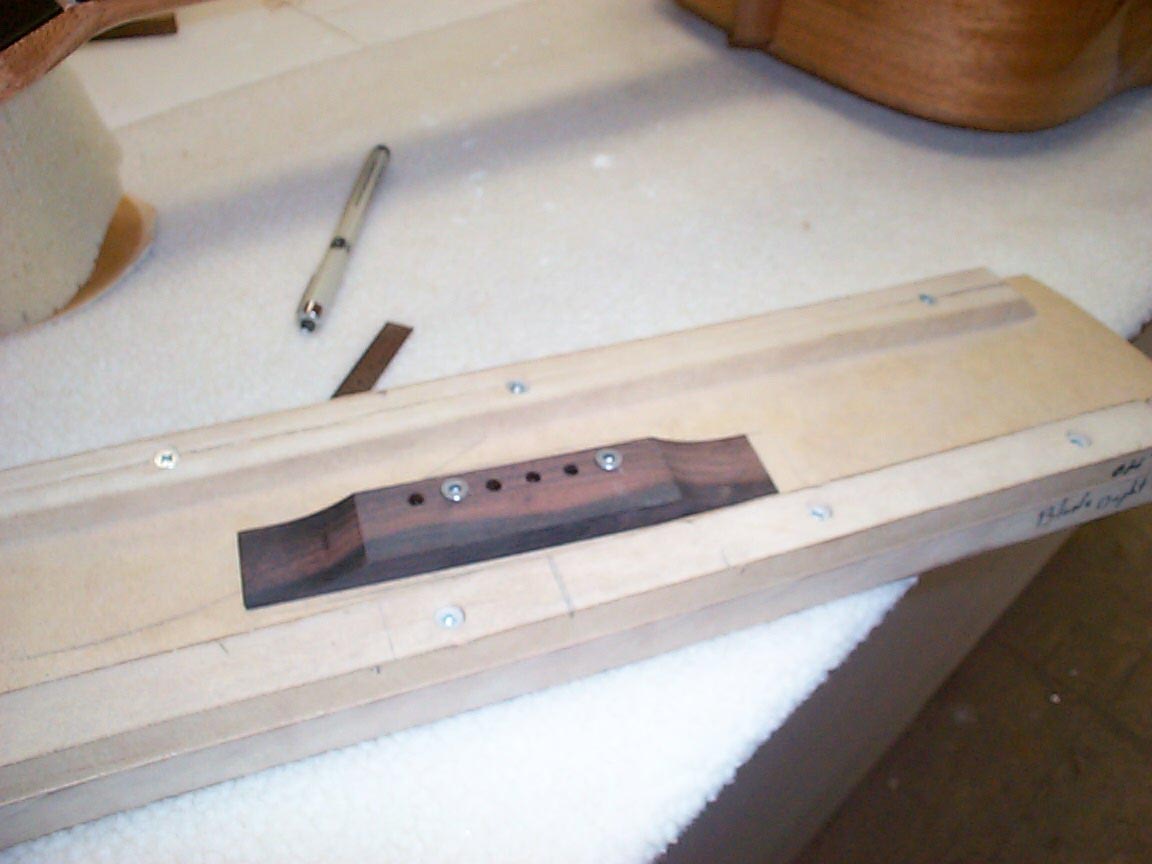
The bridge now is screwed onto this jig which will index it for the saddle
slot. The jig holds the bridge at the proper angle for intonation. |
|
|
|
 |
 |
 |
|
 |
 |
|
|
|
|
|
|
|
|
|
|
|
|
|
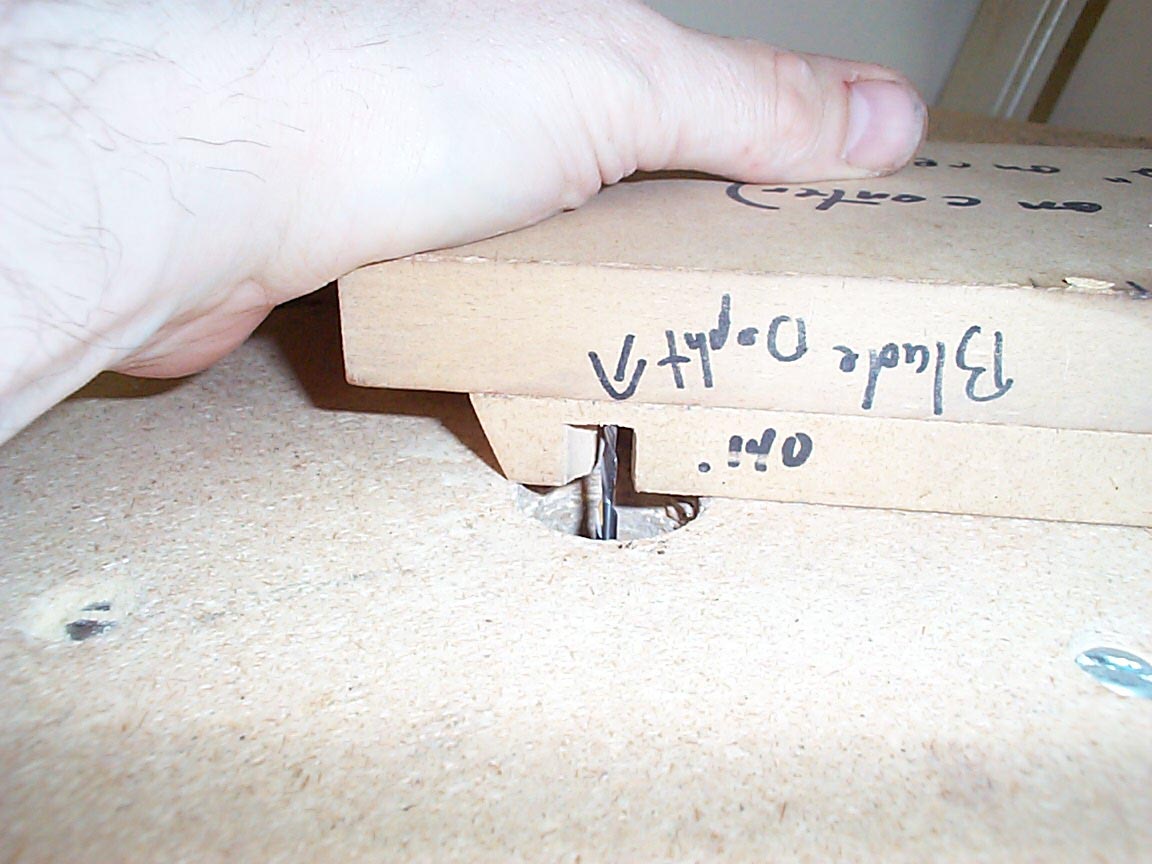
| At one end of the jig is a notch I cut;
This notch helps me set the router bit to the right height, every time.
Beats measuring! |
Tah-dah! |
The jig rides on two rails, one of which
is taller than the other. This will give the saddle a slight back angle;
this angle serves a few purposes; one is that the intonation won't
change with the a different saddle height, and the second is that it
helps put more and better downward pressure on the saddle. |
|
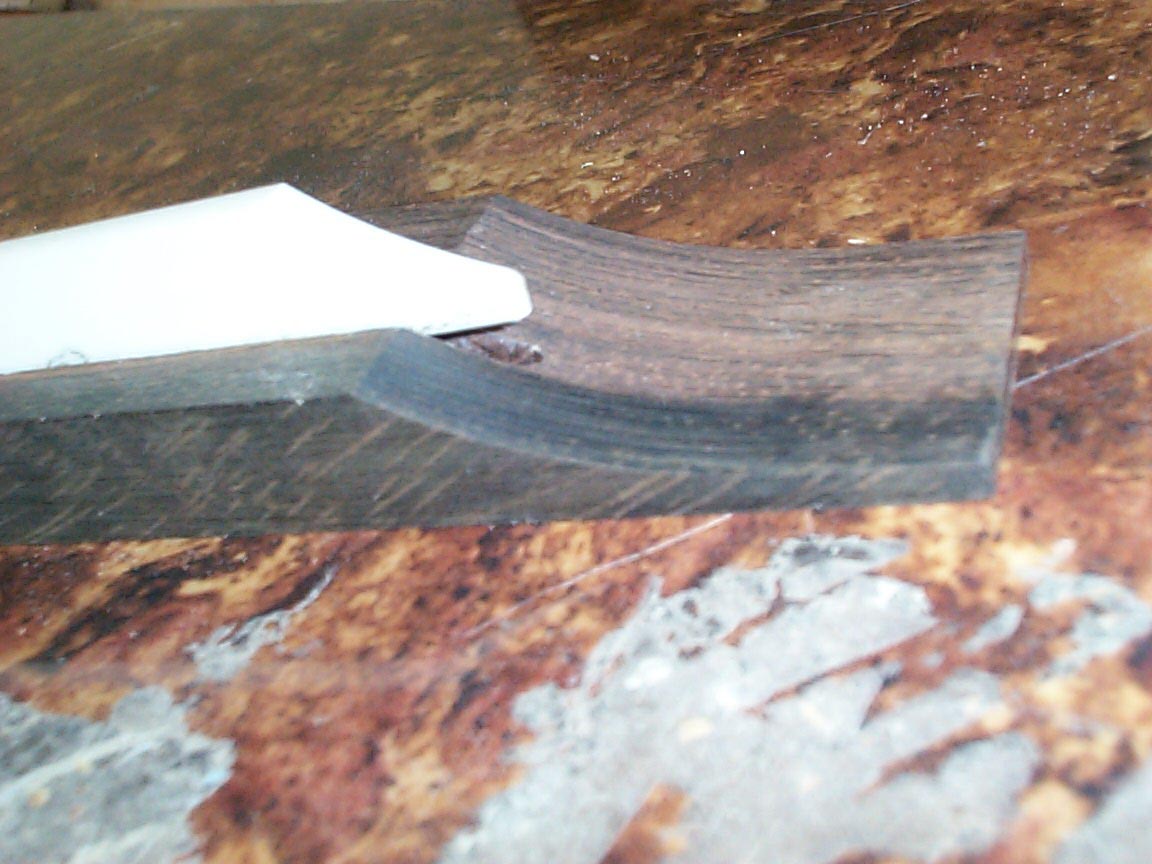
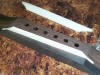
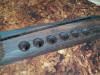
The slot is cut into the wings, but not
completely through. This gives us the look of a through saddle, and the
advantages of a long saddle, yet with the convenience of a drop in
saddle. No glue required! |
I'll now fit and cut two saddles for this
bridge. Both will be included with then guitar. One will be tall, the
second one will be about 1/16" shorter, for lower action, should it rise
in the future. |
|
|
|
 |
 |
 |
|
 |
 |
|
|
|
| We can clearly see how the drop in long
saddle works. |
A bit more free-hand shaping at the belt sander, and we're nearly done. |
|
|
The pin holes get a chamfer cut. |
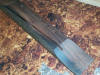
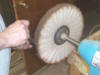
The bridge now gets sanded to 320 grit,
and polished on the buffer. This is a new step for me, but I'm really
liking the looks of the semi polished bridges. |
|
|
|
 |
 |
 |
|
 |
 |
|
|
|
| See? |
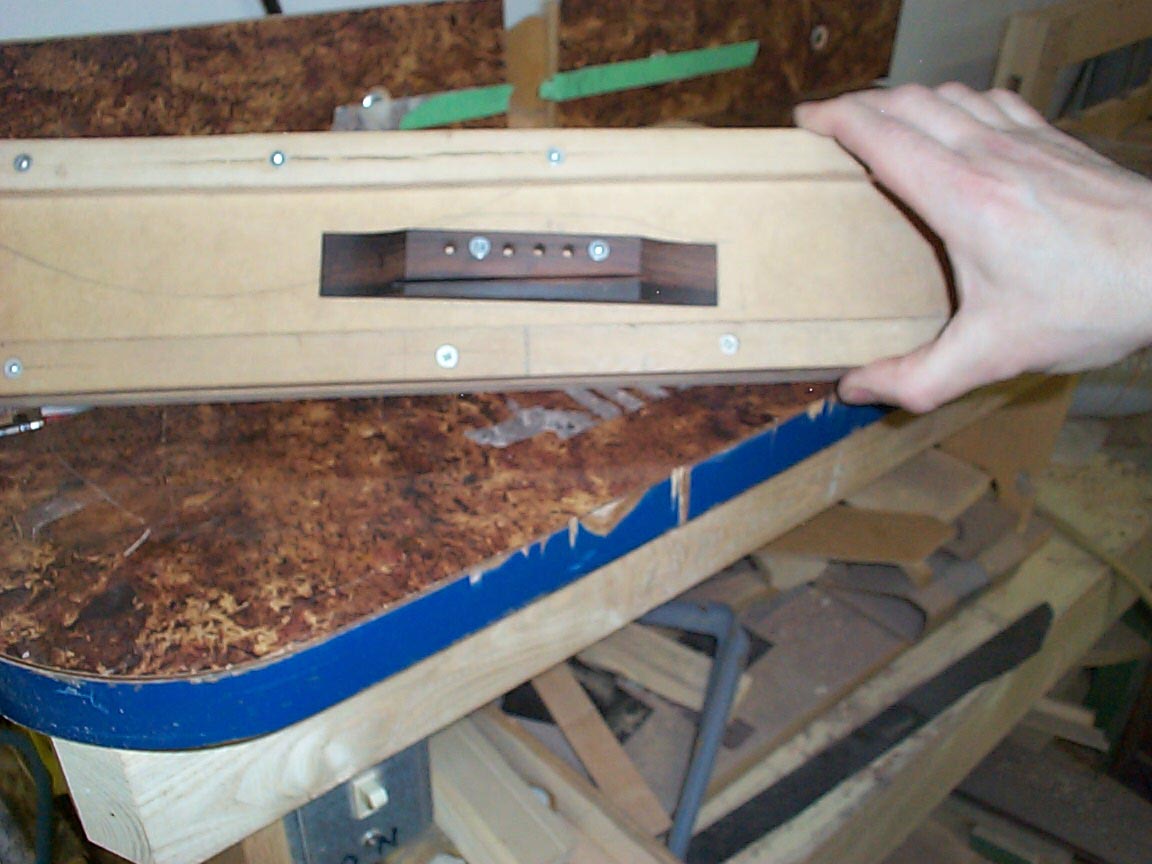
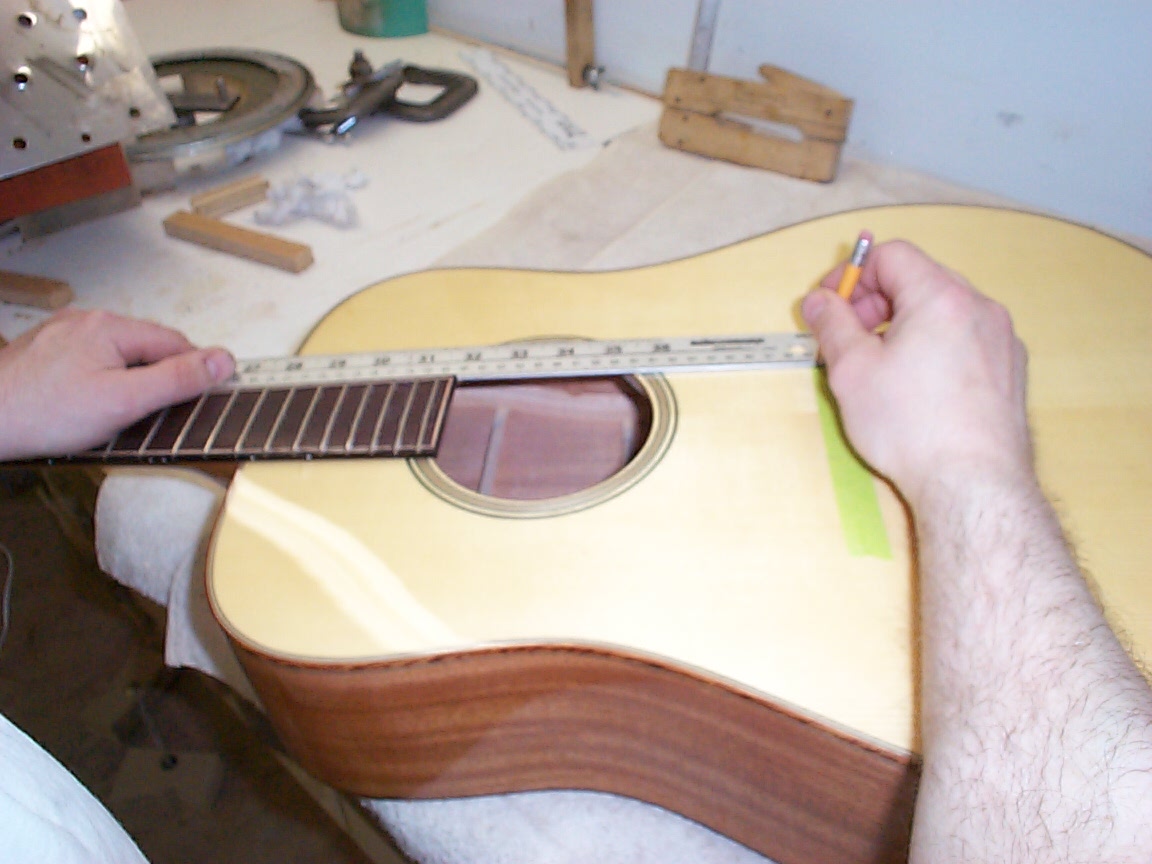
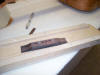
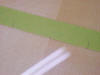
Now we set the neck angles. Most of this was done while the woods were
still in the rough, but now we need to refine it all. A piece of tape is
stuck roughly where the bridge will be, and a straight edge is held to
the neck, and a line marked on the tape for each side. |
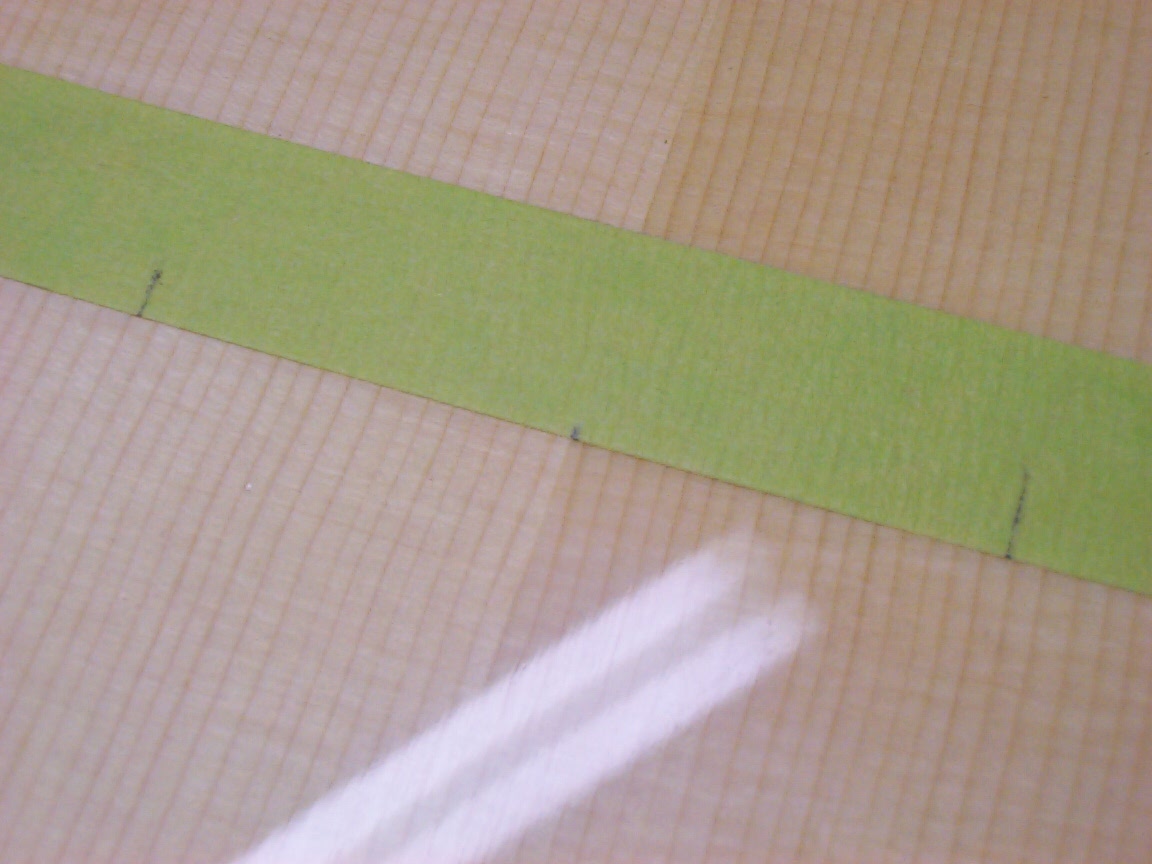
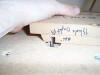
Along with a pencil mark at the center, we
can now measure and see if our neck is skewed to one side or not.
A quick tip for anyone out there, when using a straight edge for this
type of work, always "flip' the straight edge over, and use the same
edge for all the markings. This will eliminate any possible problems
that would arise if the straight edge was slightly bent. In fact, using
this 'flip" method, it doesn't even have to _be_ straight at all.... |
|
Okay, we see that we did pretty good, and
are only off to the treble side by about 1/32". |
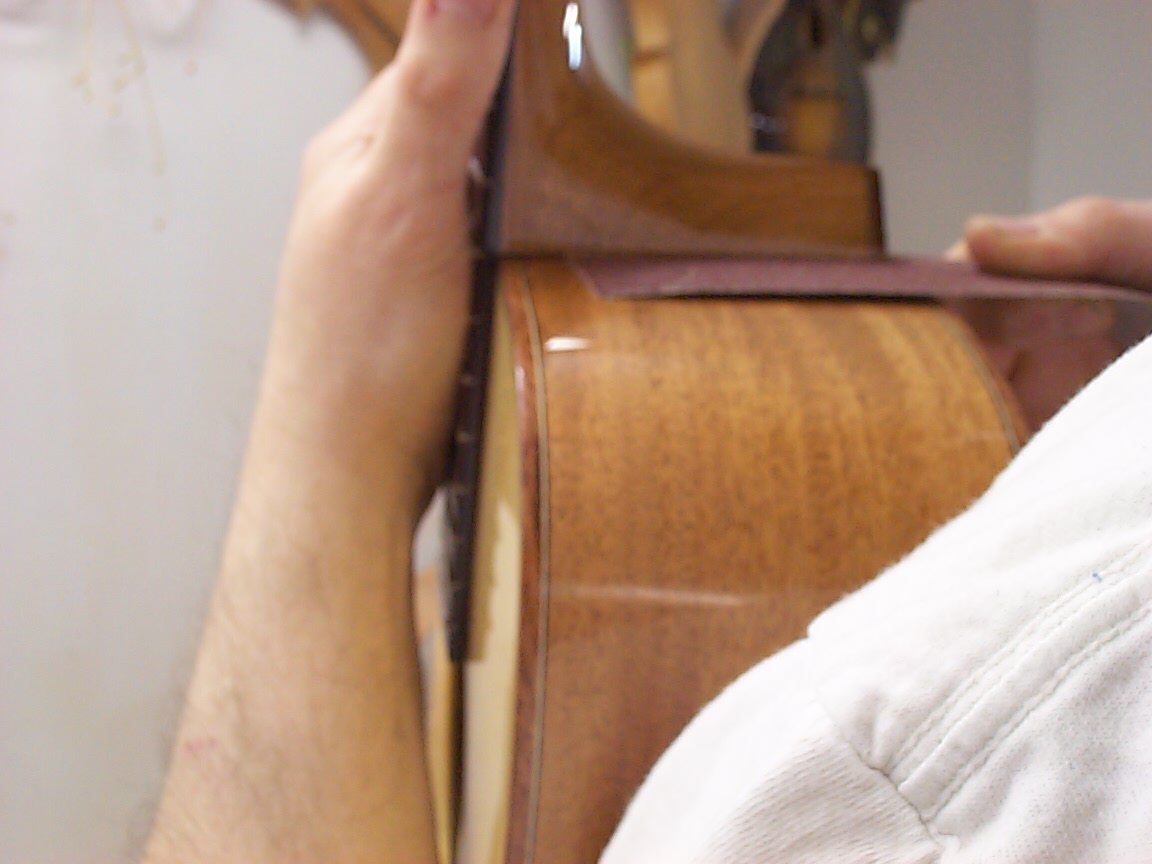
I'll loosen the neck, and slip in some
sandpaper with its back lined with some slippery tape, and pull the
paper between the body and neck a few times on the treble side to make
the neck skew over to the bass side. This is all trial and error work,
and is slow and tedious. Takes a little while, but I got this one spot
on!
Next, we'll locate the bridge in its final position, drill for some
locating pins, remove all the lacquer under it, and glue it down after
making a fresh batch of hot hide glue! |
|
|
|
|
|
|
|
|
|
|
|
|
|
|
Previous Page |
|
|
|
|
Next Page |
|
|
|
|
|
|
|
|
|
|
|
|
|