|
 |
 |
 |
 |
 |
|
|
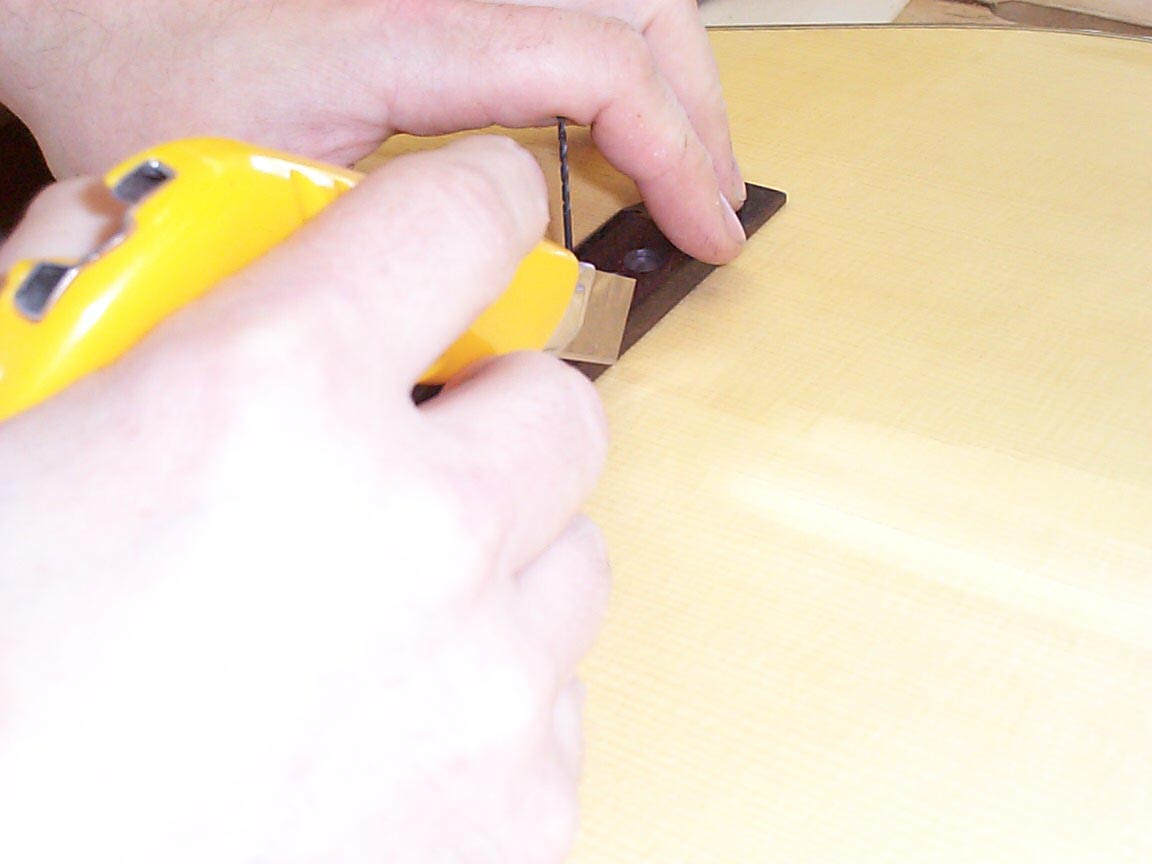
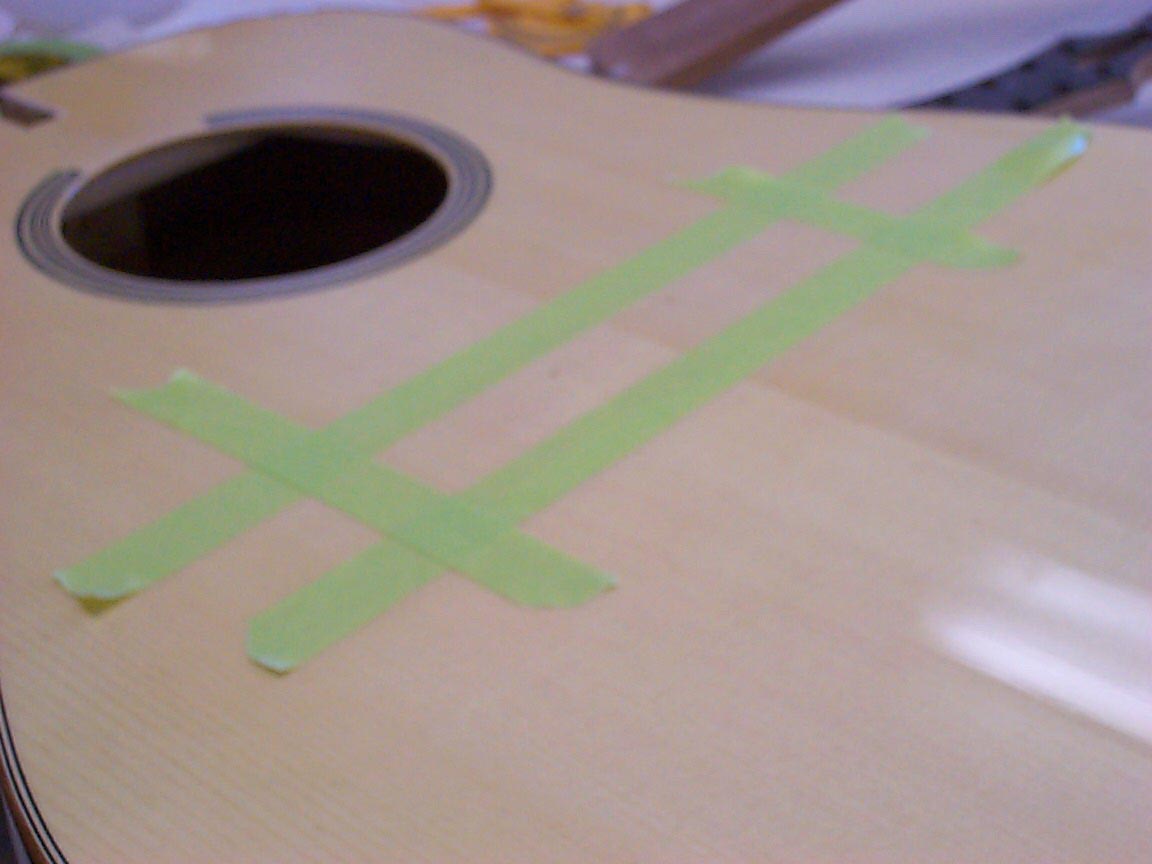
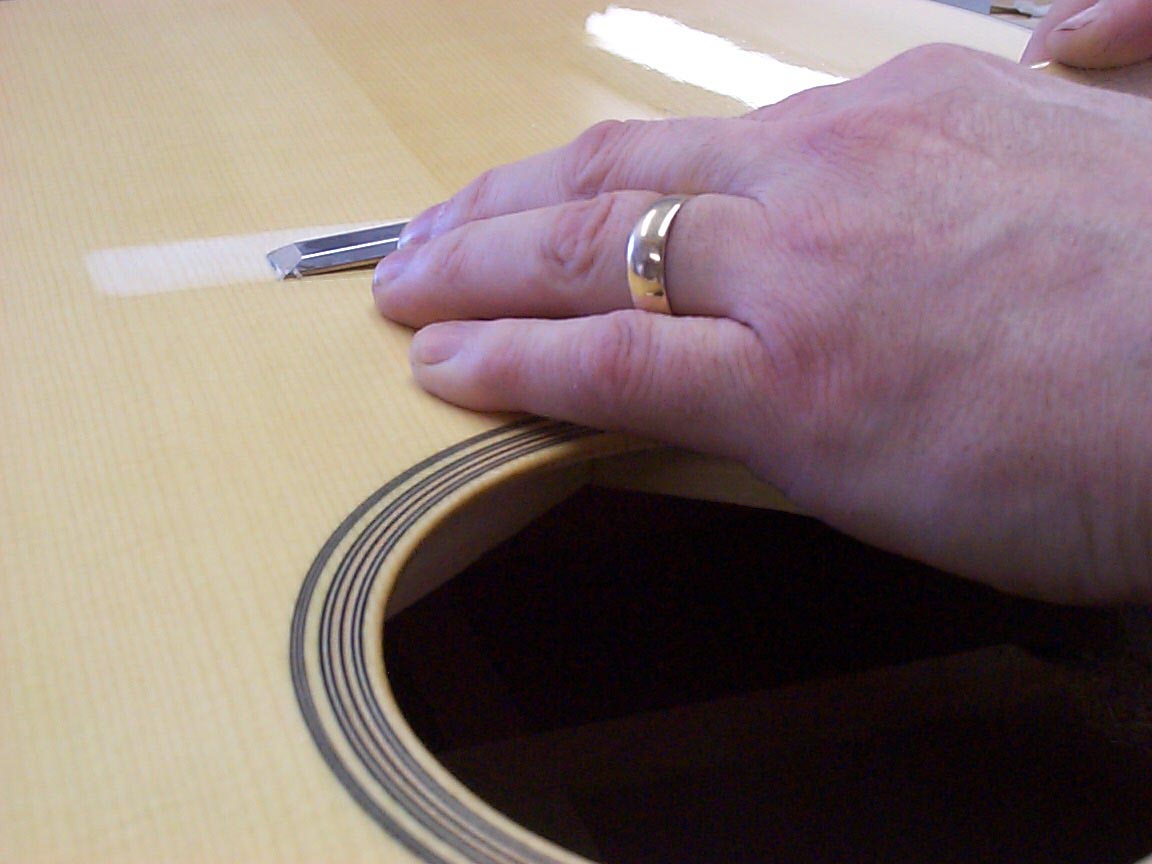
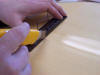
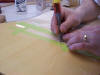
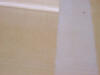
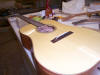
Once we have the bridge located and a couple of pins in place to hold it
there, we'll CAREFULLY scribe around it with a dead sharp utility knife. |
A new blade is used every time! We only want to cut the finish, not the
wood. This takes a good "feel" for what's happening under the knife. A
dull blade just won't transmit the same way. |
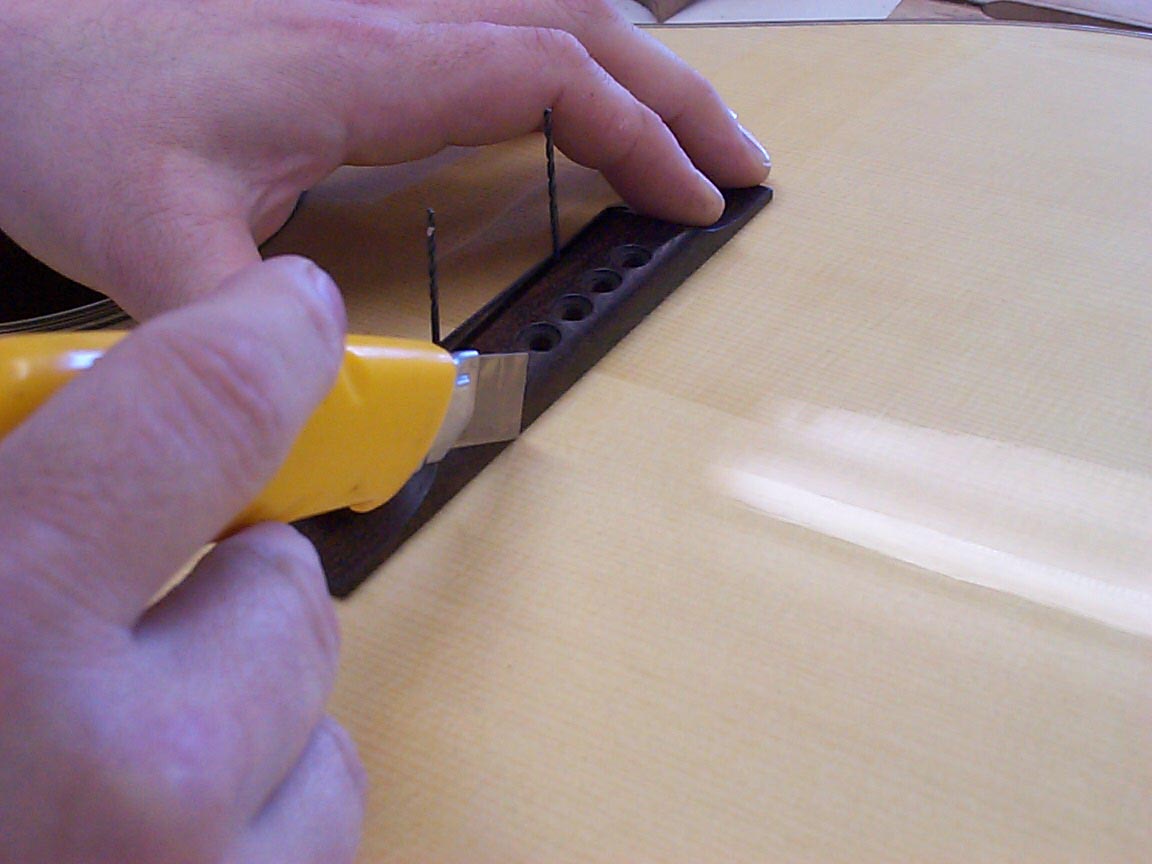
See? If we cut into the wood, we risk having the spruce shear off under
the bridge. If you've ever seen a bridge come unglued, yet it had a
layer of cleanly cut spruce still stuck to it, now you know why. |
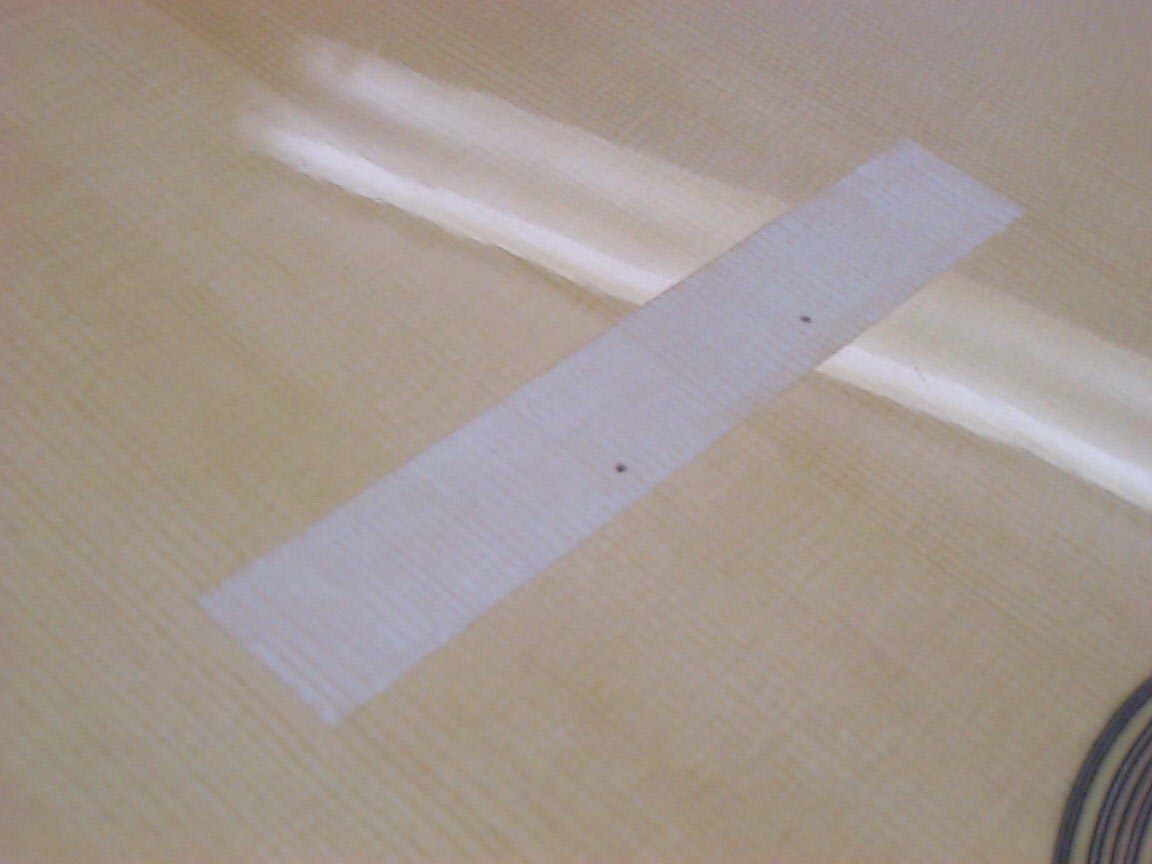
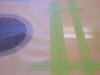
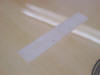
I'll now carefully mask to the scribed lines. This tape is only to contain
an accident. |
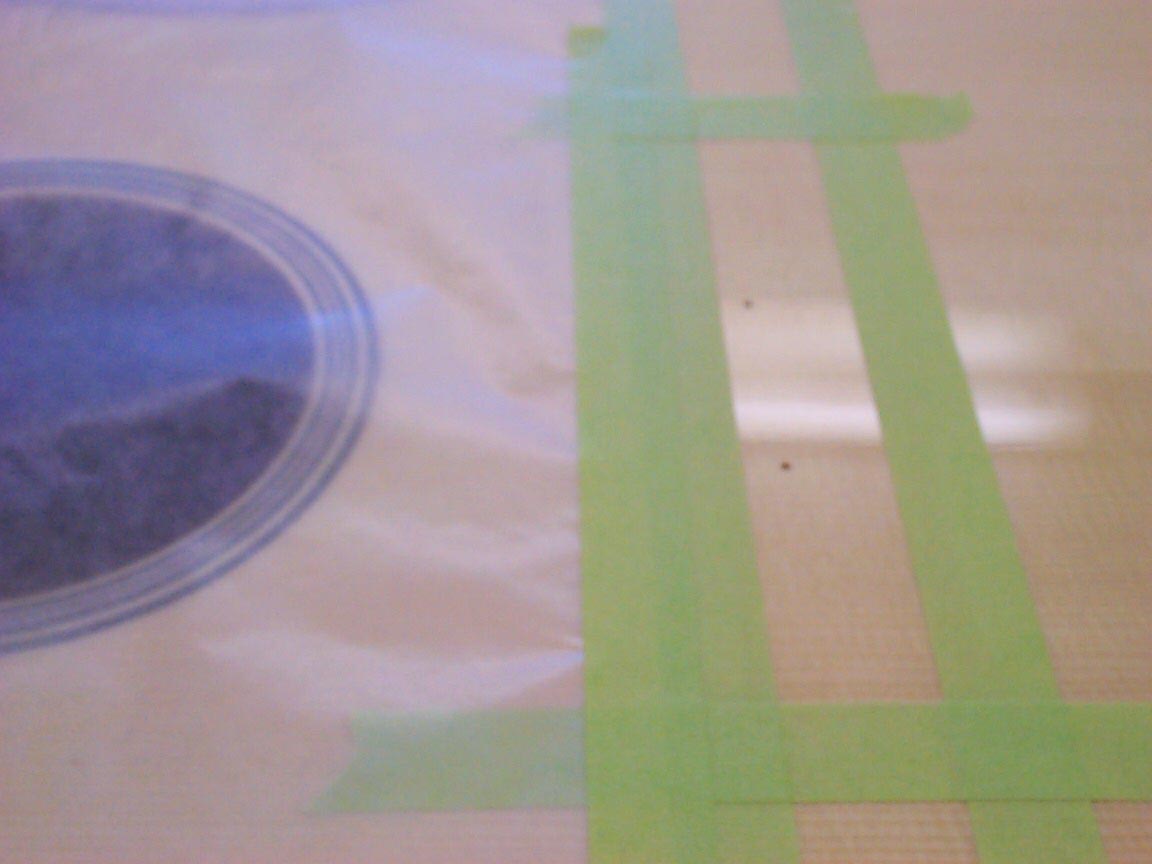
Since I'm going to use some lacquer remover to remove the bulk of the
finish, I'll tape on some waxed paper over one side; I'll work over this
part, and if a drip should happen, it won't be a problem. |
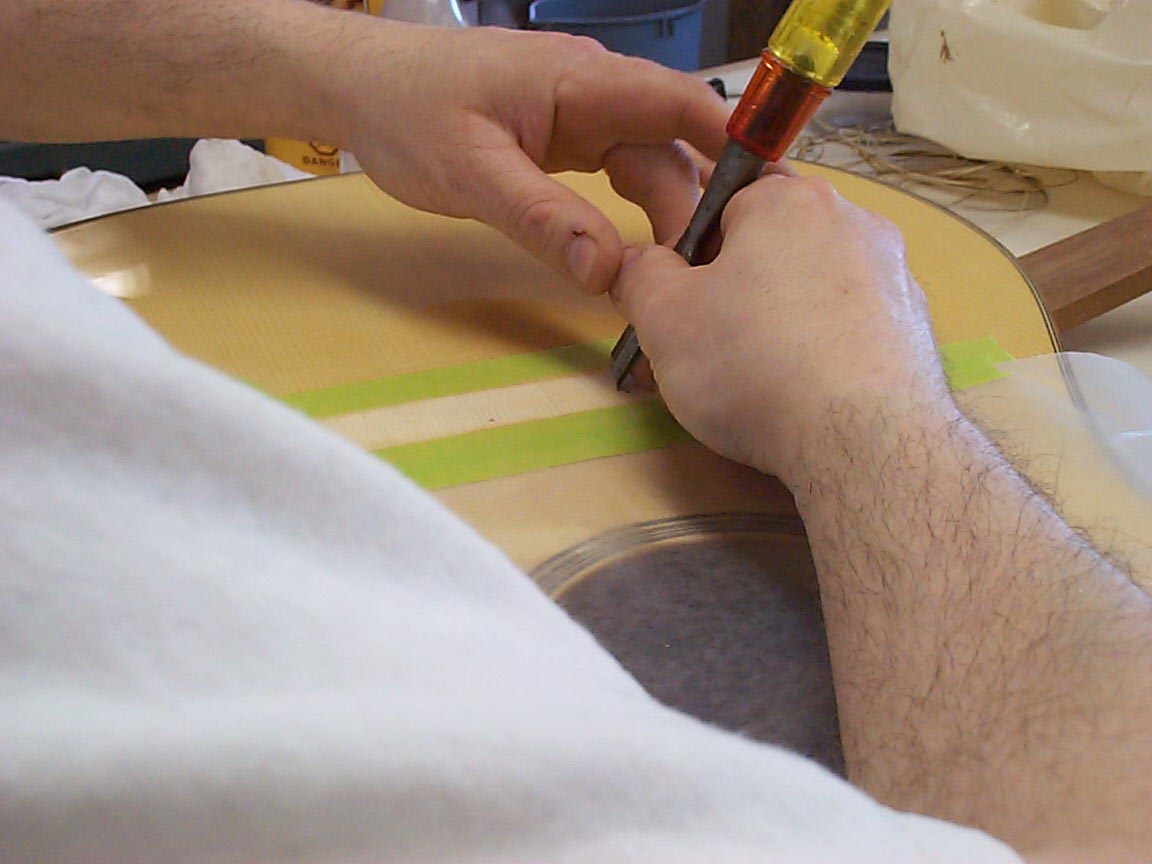
The remover will only take off so much, and I'll not work right to the
edges. The rest is scraped off using the edge of a chisel.
By the way, some lacquer removers can inhibit a good strong glue
bond. I've been using "Circa 1850" lacquer remover for 8 years, now,
with no lifted bridges, yet. But be weary of other removers, until you
test them. |
|
 |
 |
 |
 |
 |
 |
|
|
More scraping...This is tedious, at best. One slip, and I'm refinishing
the entire guitar's top! |
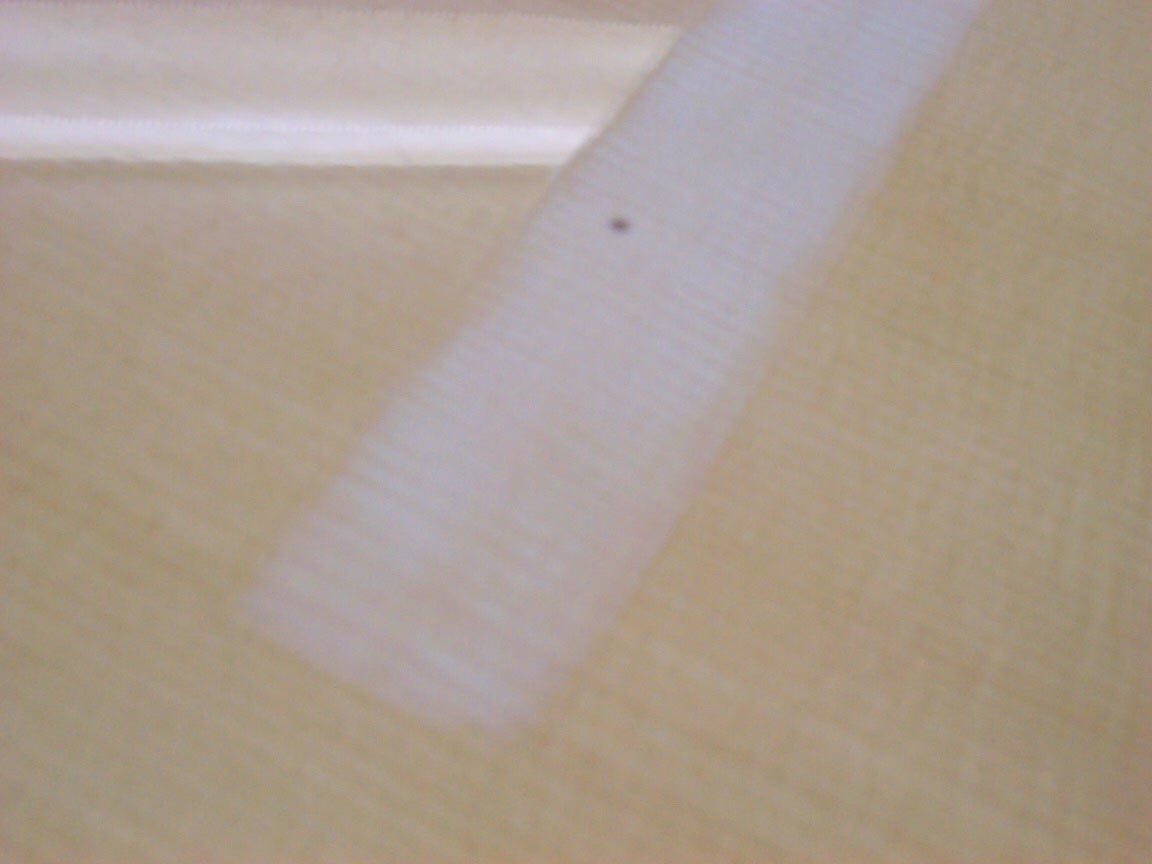
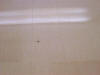
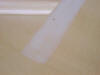
At this point, I'll stop the scraping for now. Note how the edges aren't
completely sharp and clean.... |
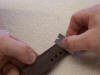
I'll now take out my favorite chisel, which is kept sharper than sharp.
Using a careful planing technique, I'll go right up against my scribed
cut line with it, lifting only the lacquer(about .005" thick!) and not
the spruce. |
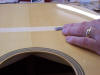
Look carefully, and you'll see the lacquer lifting before the chisel. |
This is looking better. |
|
|

.The best glue bond we can achieve between a wood to wood joint is with
good old fashion hot, fresh hide glue. I make a new batch for bridges,
every time. The second "secret" to a strong joint is to have planed, or
scraped, surfaces on both pieces. It used to be thought that rough
surfaces were stronger, but we now know better. |
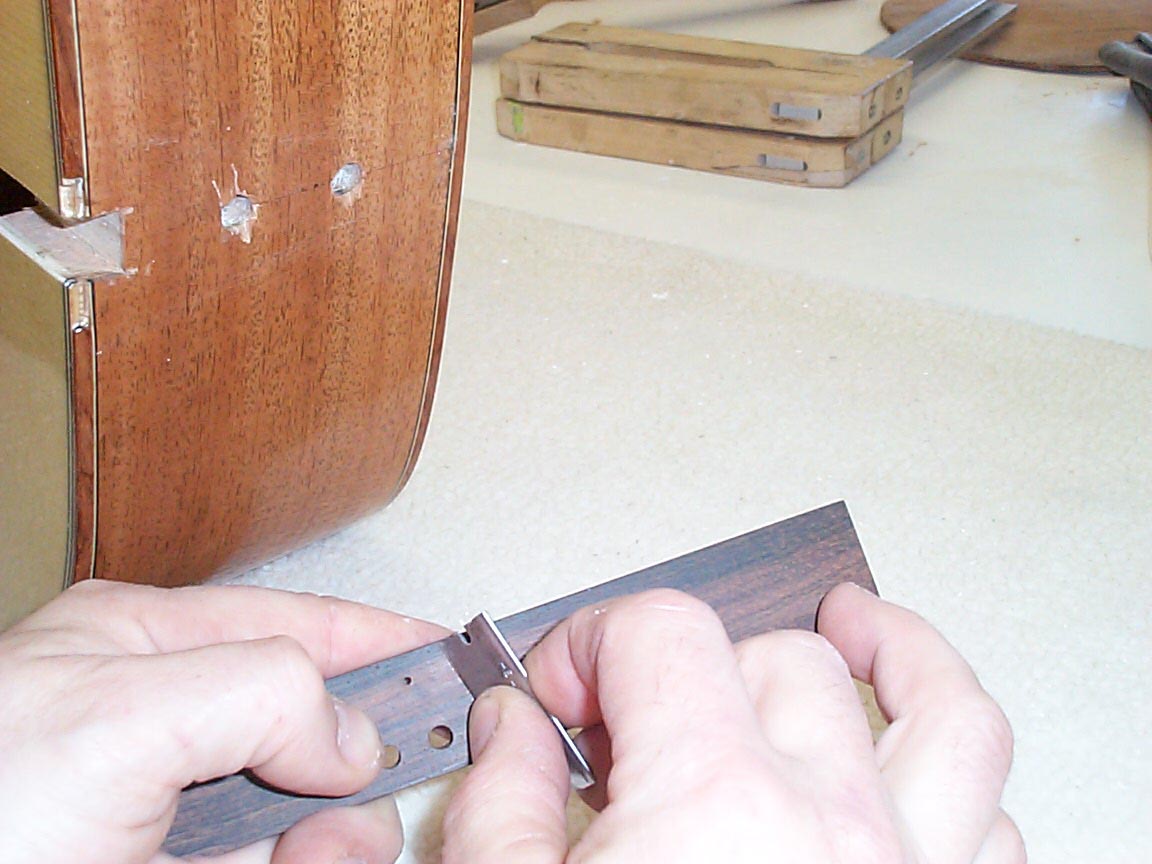
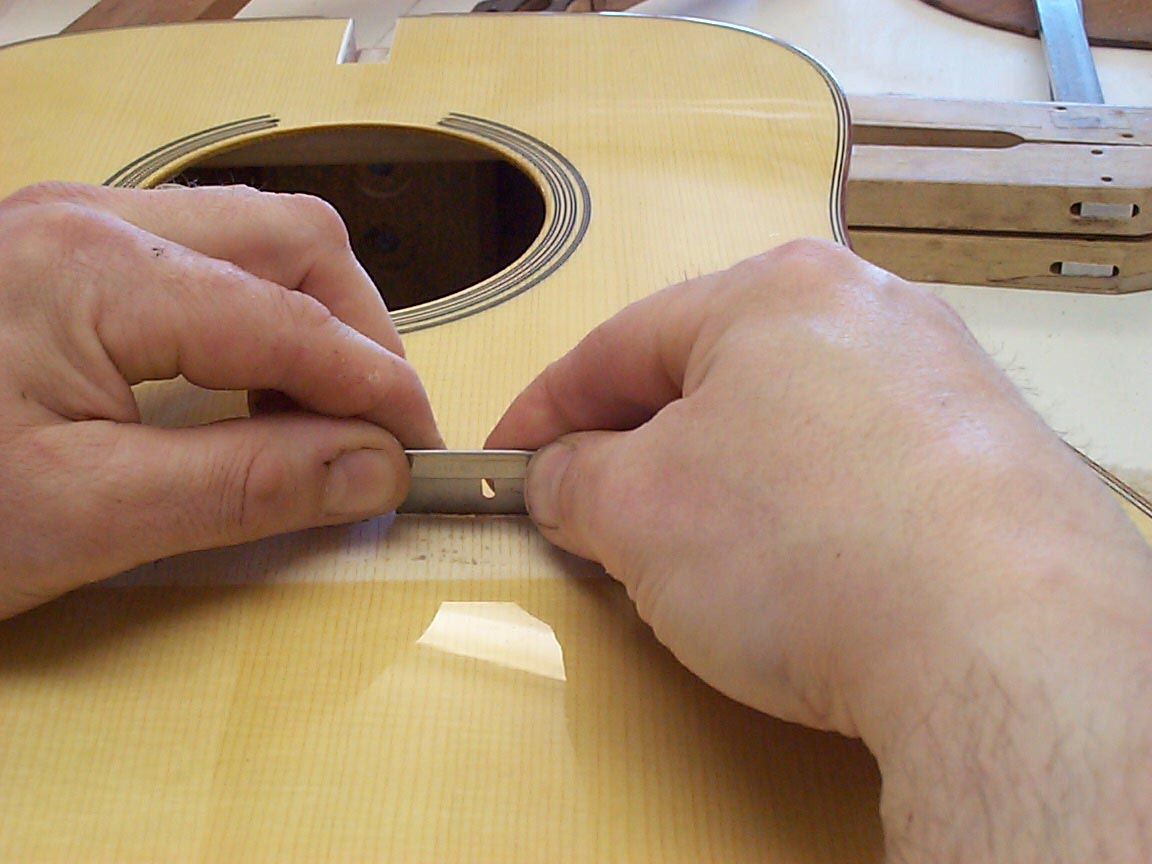
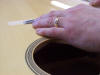
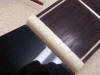
I'll use a new razor blade to scrape the bridge surface. A scraped or
planed surface has clean cut wood fibers. These are much stronger than
the broken fibers of a sanded surface. |
I'll also use the razor blade to do the final scraping of the guitar's
top, too. |
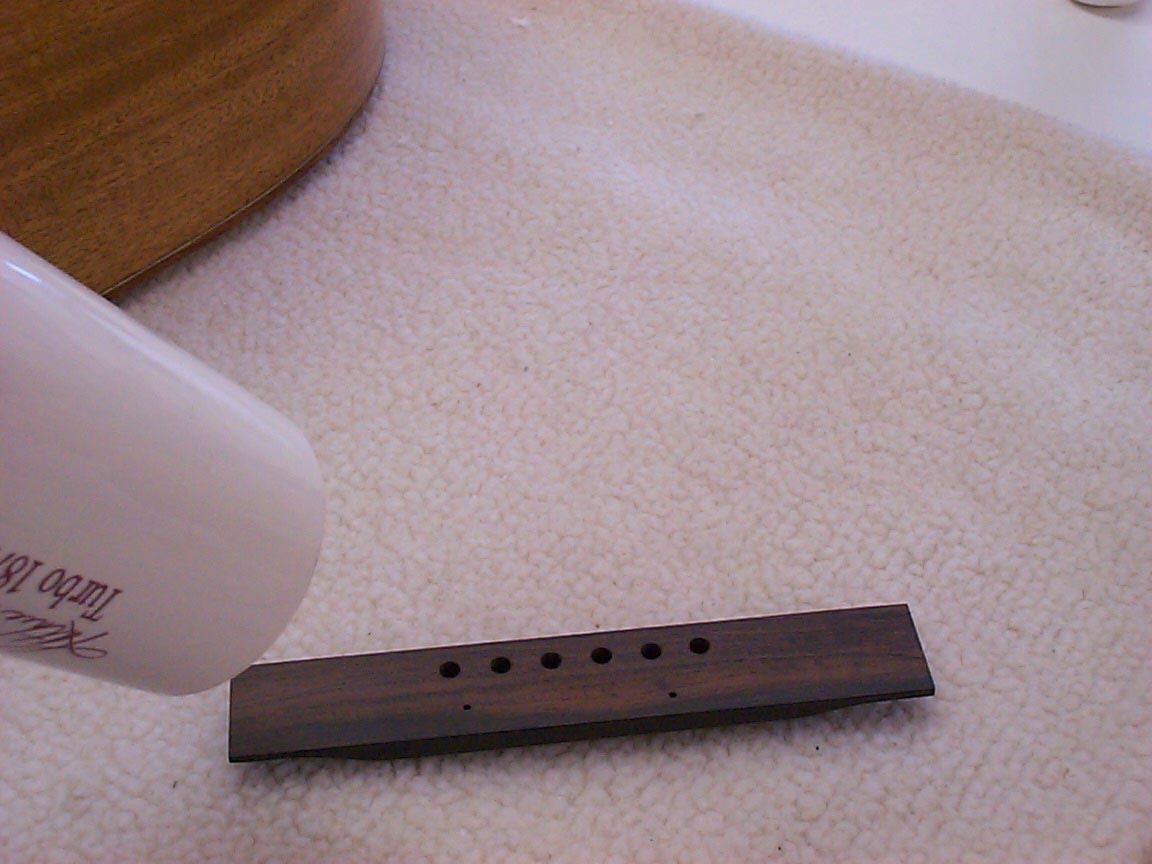
Finally, a hair dryer is used to warm the bridge. This extends the
working time I'll have with the hide glue. If the glue cools to 95f or
less before i clamp, the glue will not hold, and we need to start over. |
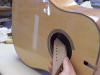
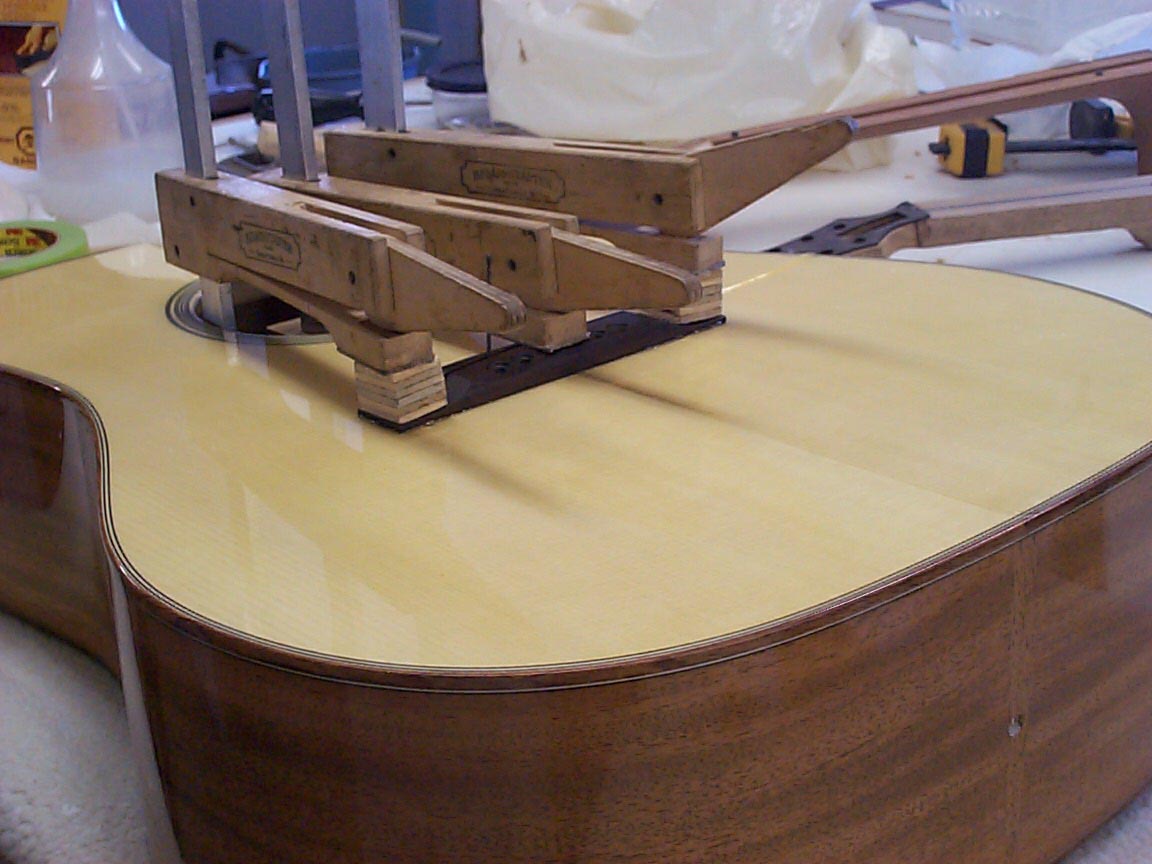
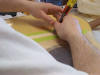
Inside the guitar, a caul that fits between the X braces and sits firmly
on the bridge plate is inserted. |

The bridge is smeared with hot hide glue, and placed into position with
the pins holding it in place. The clamps now bear against the caul
inside, and the bridge on the outside, creating a firm clamping. |
|
|
|
|
|
|
|
|
|
 |
 |
 |
 |
 |
 |
|
|
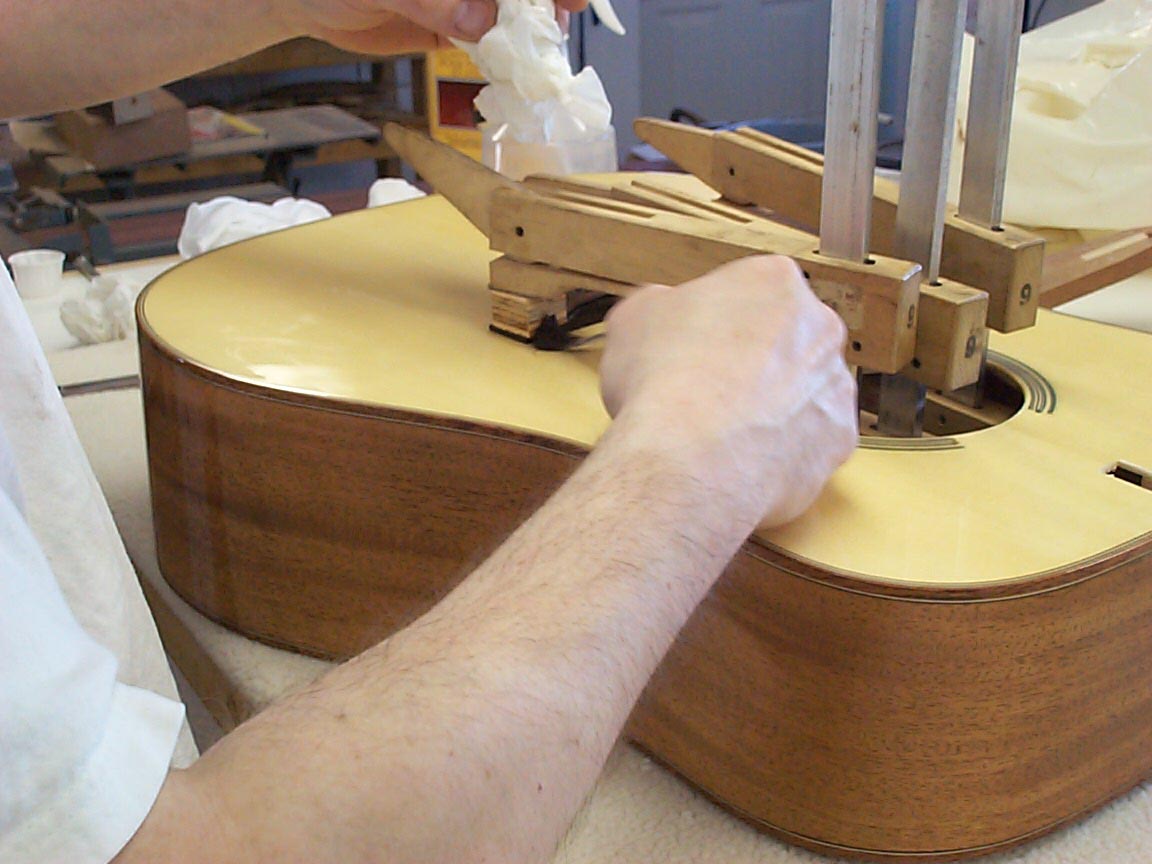
The next 10-15 minutes is spent cleaning up the squeezed out glue before
it can set on the lacquer. Hide glue shrinks as it cools, and it is so
strong it can take a chip of lacquer out. In fact, this is how chipped
edge glass used to be made! Anyone who doubts the strength of hot hide
glue needs to think about that fact! |
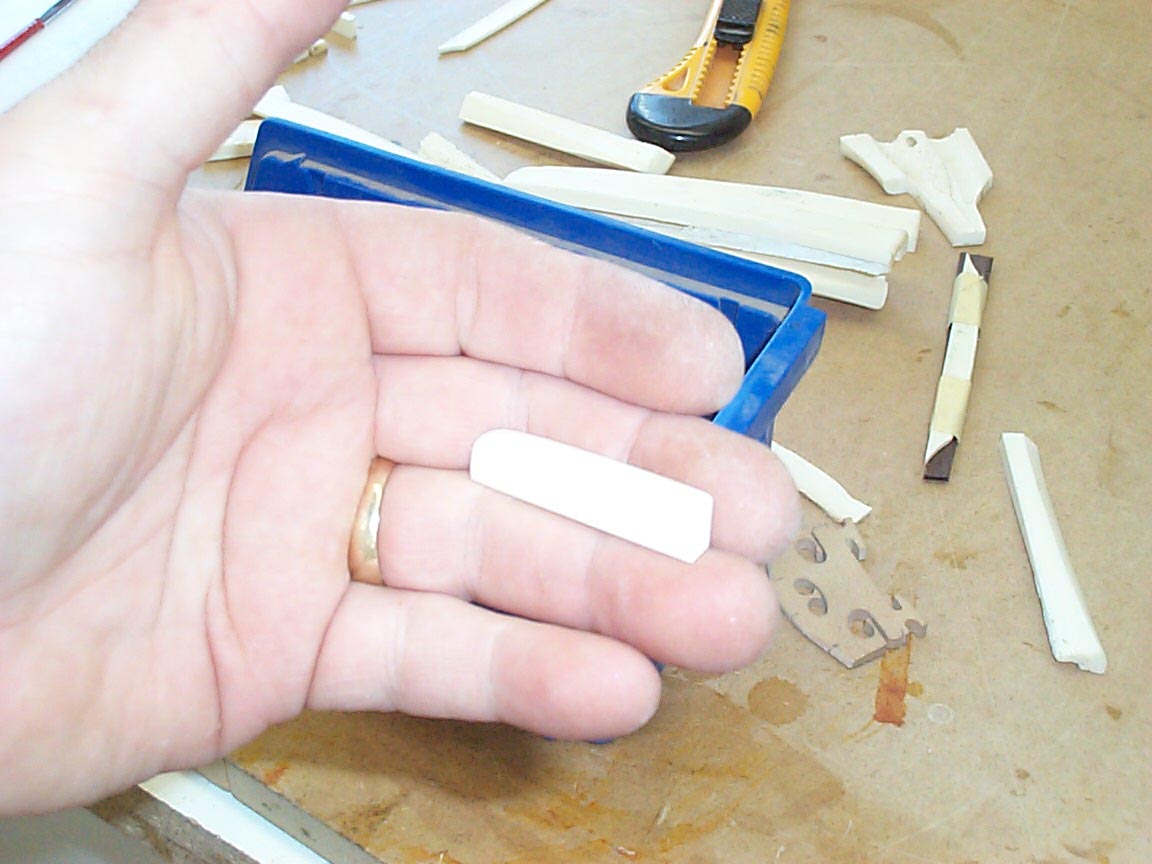
While the bridge sets(for at least 24 hrs.), 'll go ahead and work on the
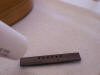
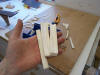
neck. First step is to make a string nut for it. Here are some rough
sawn pieces of bone. |
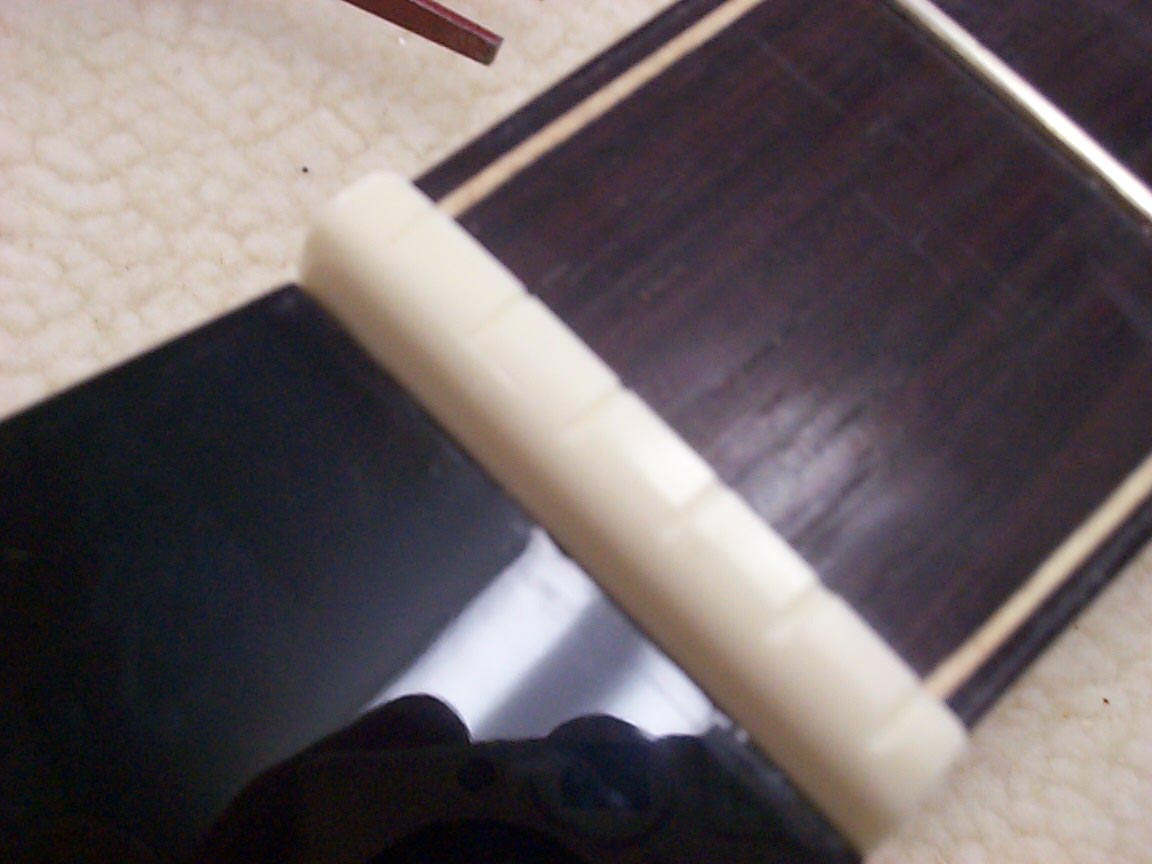
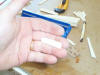
After much cutting, sanding, and cursing at the smell, we have a completed
nut! |
The nut will be fine sanded and polished on the buffer, then lightly glued
in place. |
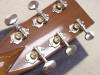
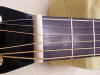
A new set of Waverly machines come out to be mated to the neck! |
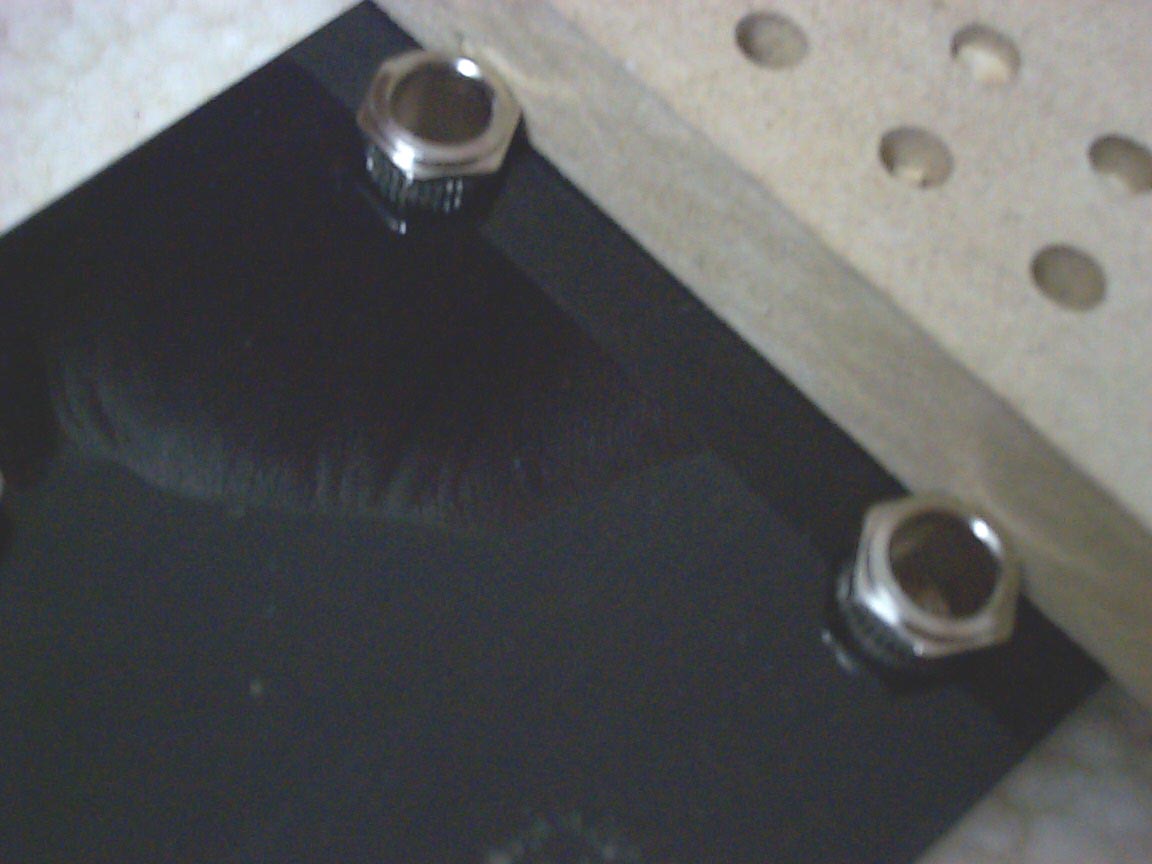
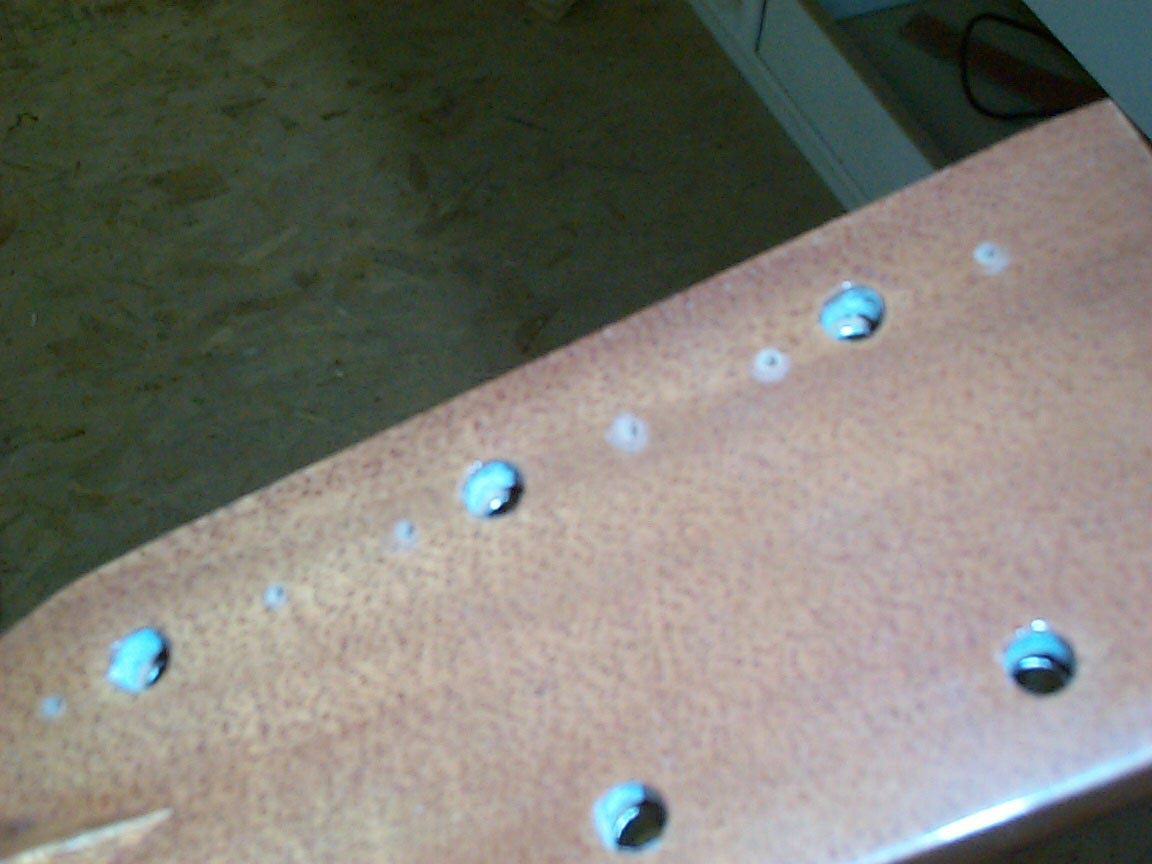
Here, we see the proper way to install the Waverly machines.
A stepped hole is best. the upper half is made larger to accept the
bushings, while the bottom half is kept at 1/4" to fit snuggly with the
shaft. This supports the tuner best, for smooth operation and long life,
and also helps tone and power, it is believed, by channeling any of the
string's energy lost to the tuner back into the neck directly. |
|
 |
 |
 |
 |
 |
 |
|
|
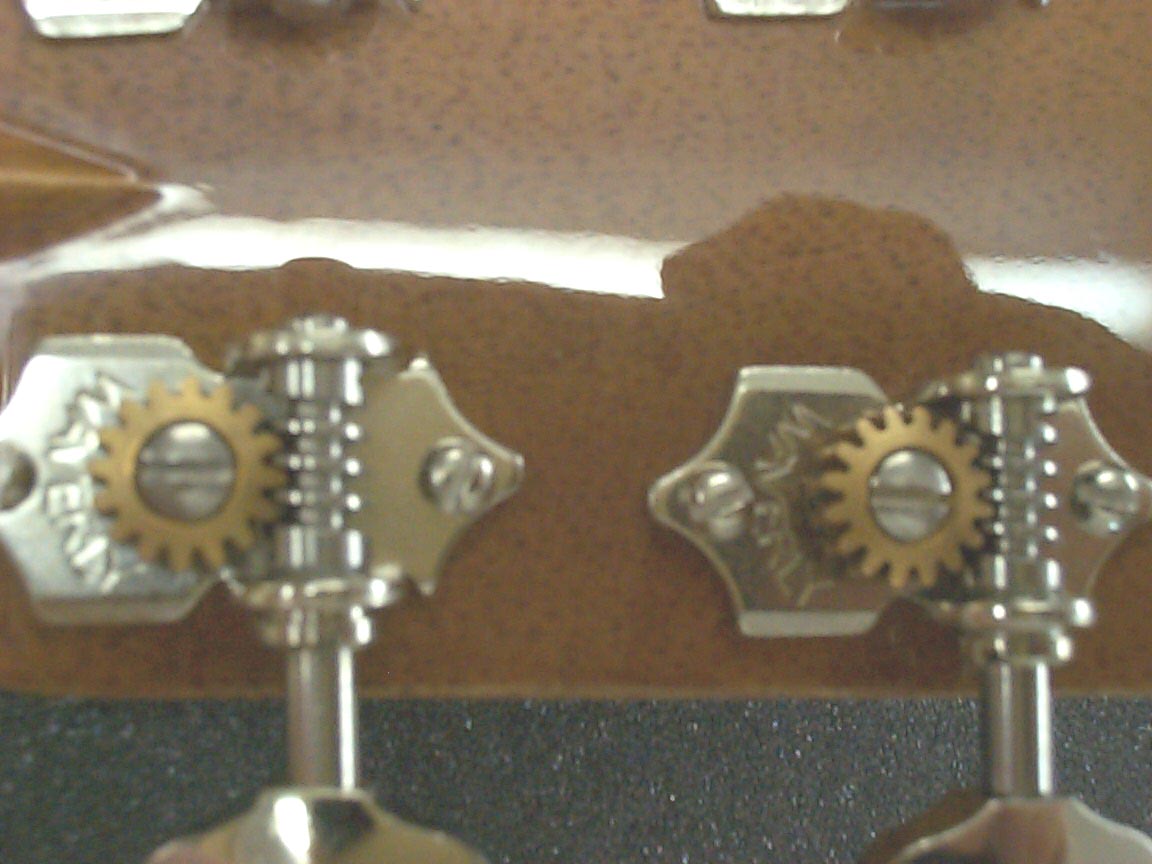
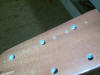
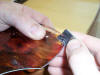
A little tidbit for the fussy among us. I am careful to align the bushings
before pressing them in. This is a simple step, yet I see countless high
end guitars with the bushings just randomly pressed in. Oh well.... |
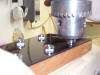
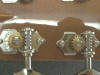
To press them in place, I chuck a short piece of 1/4" dowel in my drill
press, and use the drill press as an arbor press.
The drill is NOT running! |
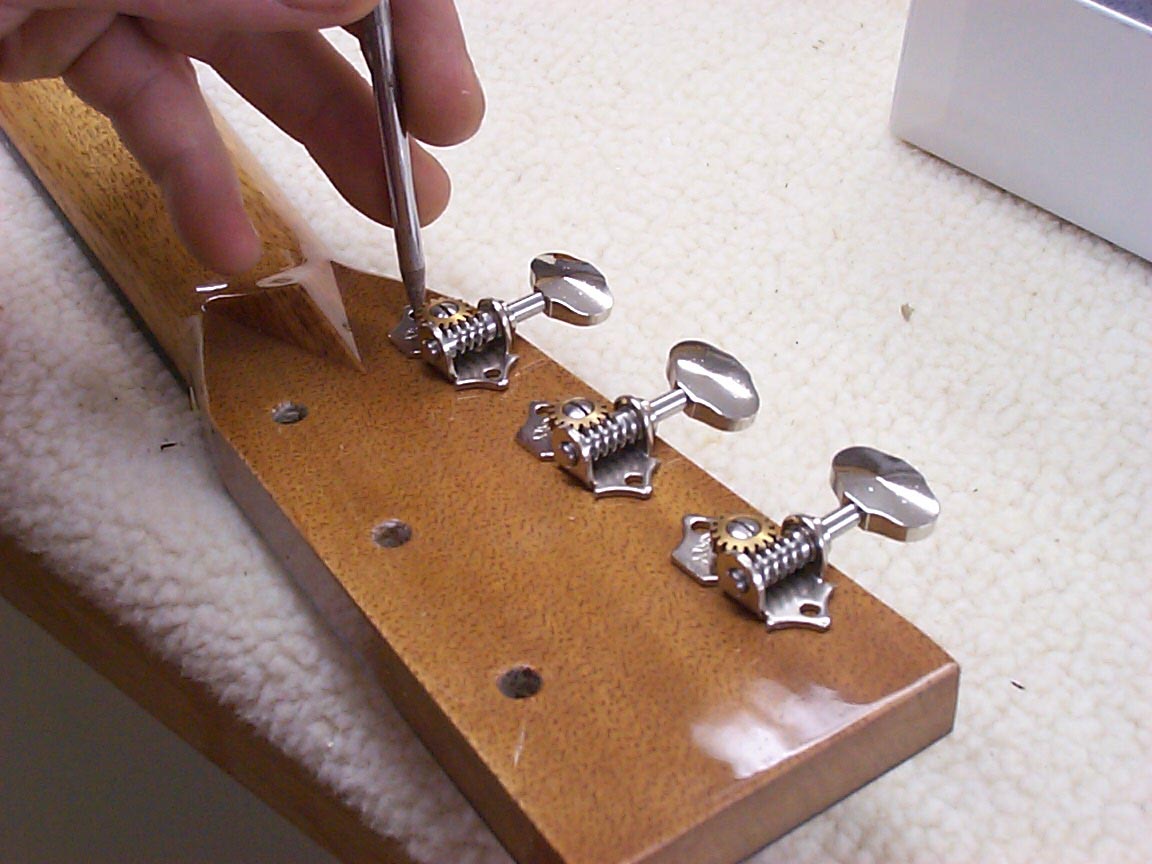
The machines are placed into their holes, lined up carefully, then a sharp
scribe is used to locate the screw holes. |
A small drill bit is used to pre drill the holes. |
And we're there! |
Sweet! |
|
 |
 |
 |
 |
 |
 |
|
|
|
|
|
|
|
|
|
| Yes, they are genuine Waverly machines. No
cheapies here. |
The empty Waverly boxes are great for holding small parts and junk. Just
the right size for so many uses.... |
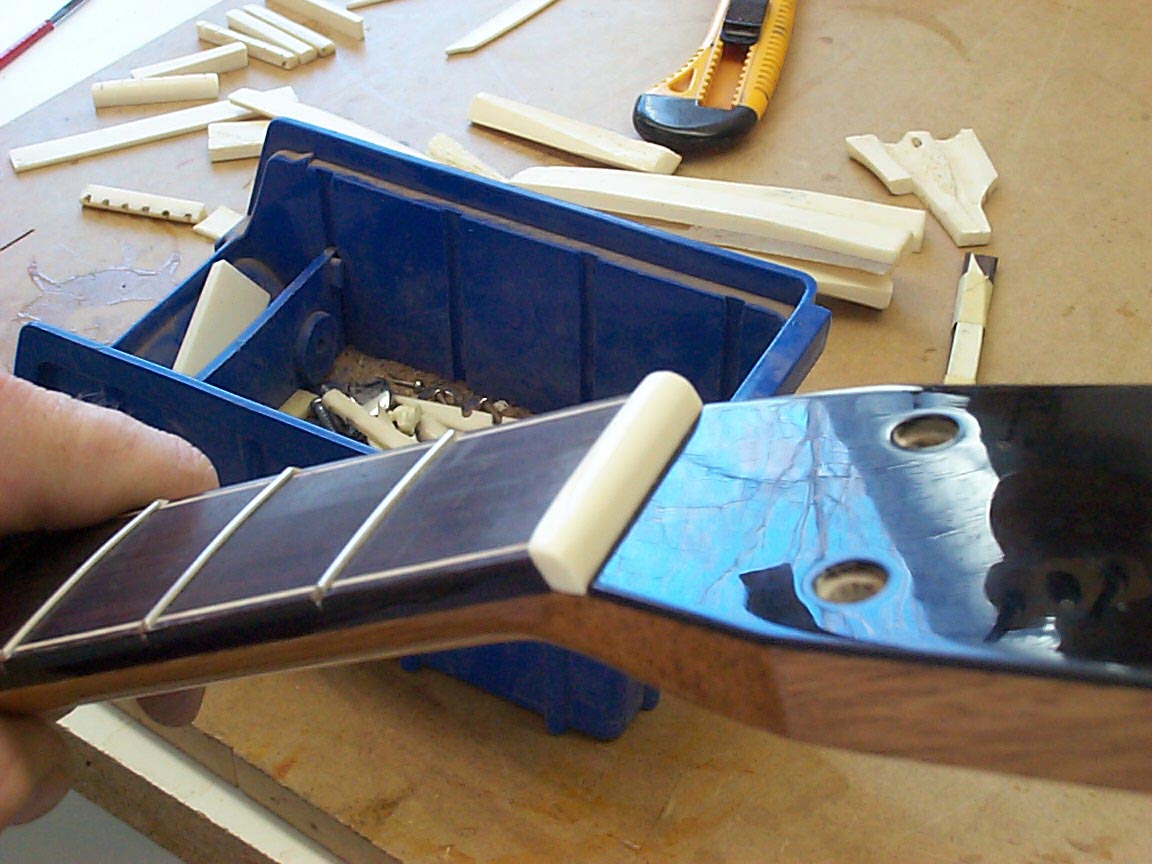
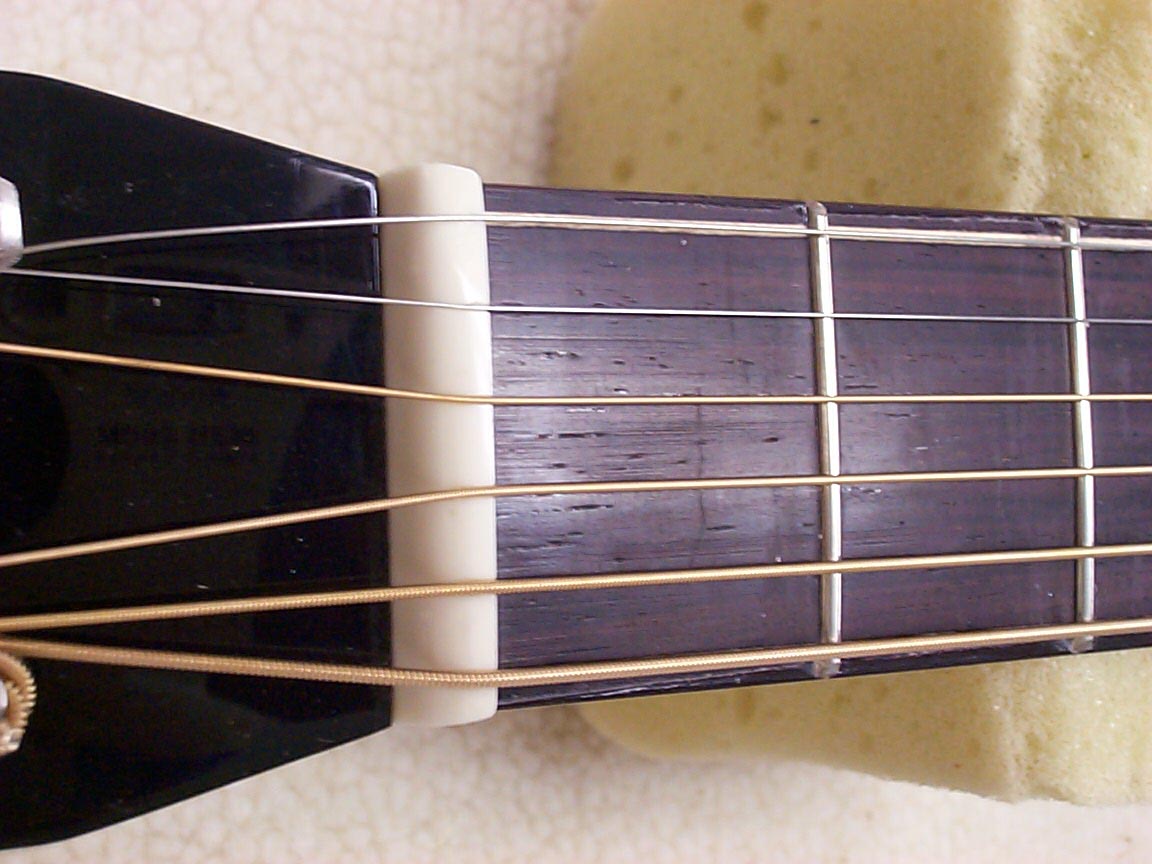
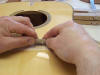
The nut can now be marked of and slotted.
The depth will be fine tuned at a later time, once the frets have been
leveled and polished. |
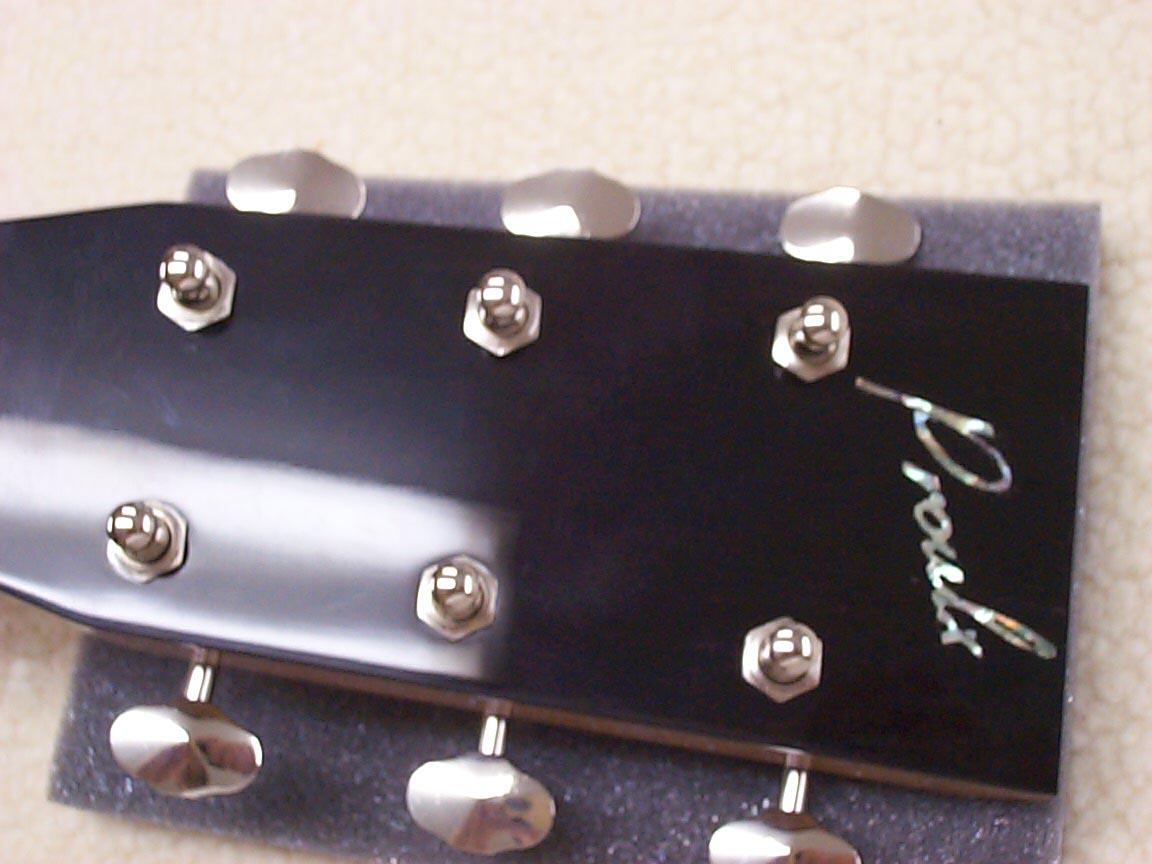
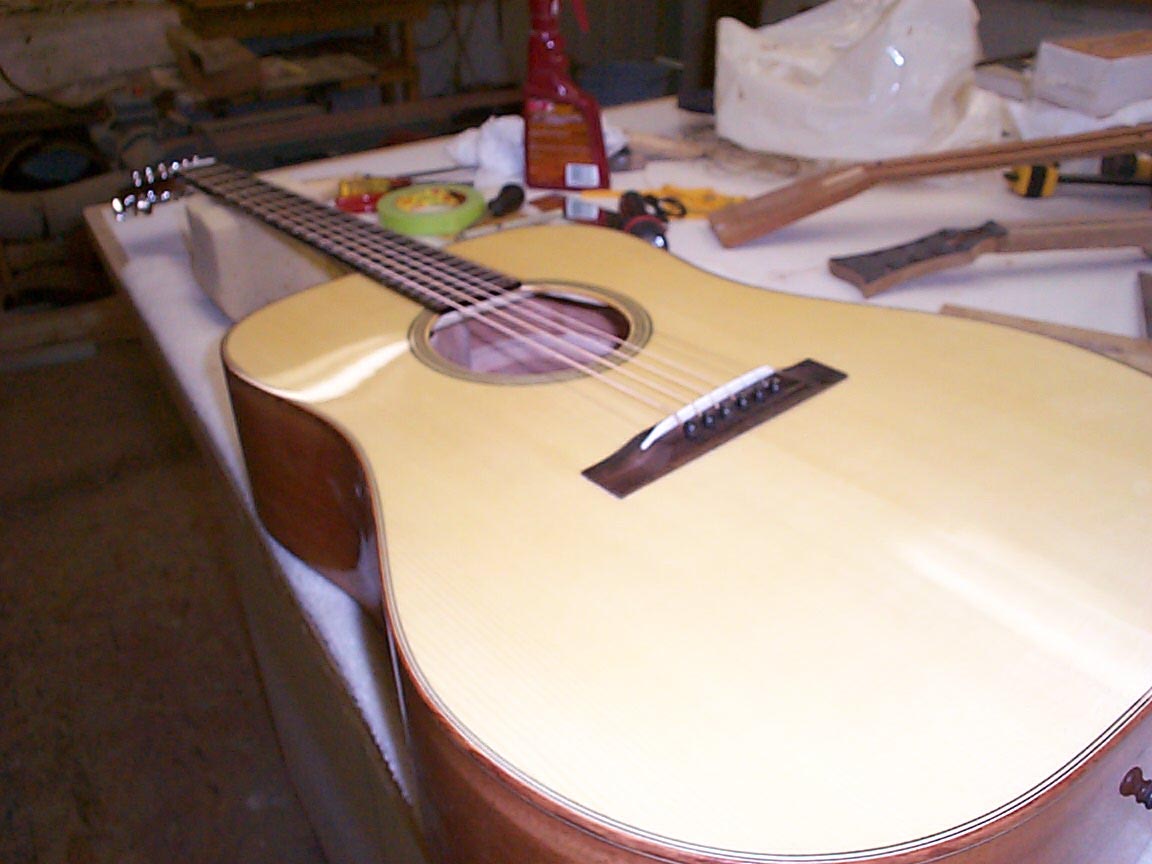
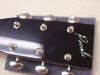
And here's the first photo of the guitar!
First tune played on it was "Big Mon"! |
|
We need a pickguard, now. I cut a 'guard
from a sheet of custom made tortoise material.
Once cut to shape, I'll refine the shape with fine papers, and shape
the radius to match with the rosette. Once that is done, a razor blade
is used to put a chamfer on all edges of the pickguard. Once I'm happy
with that I'll buff those edges.
|
|
|
Previous Page |
|
|
|
|
Next Page |
|
|
|
|
|
|
|
|
|