 |
|
 |
|
|
|
|
|
|
|
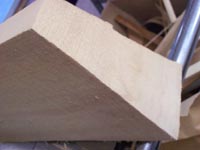
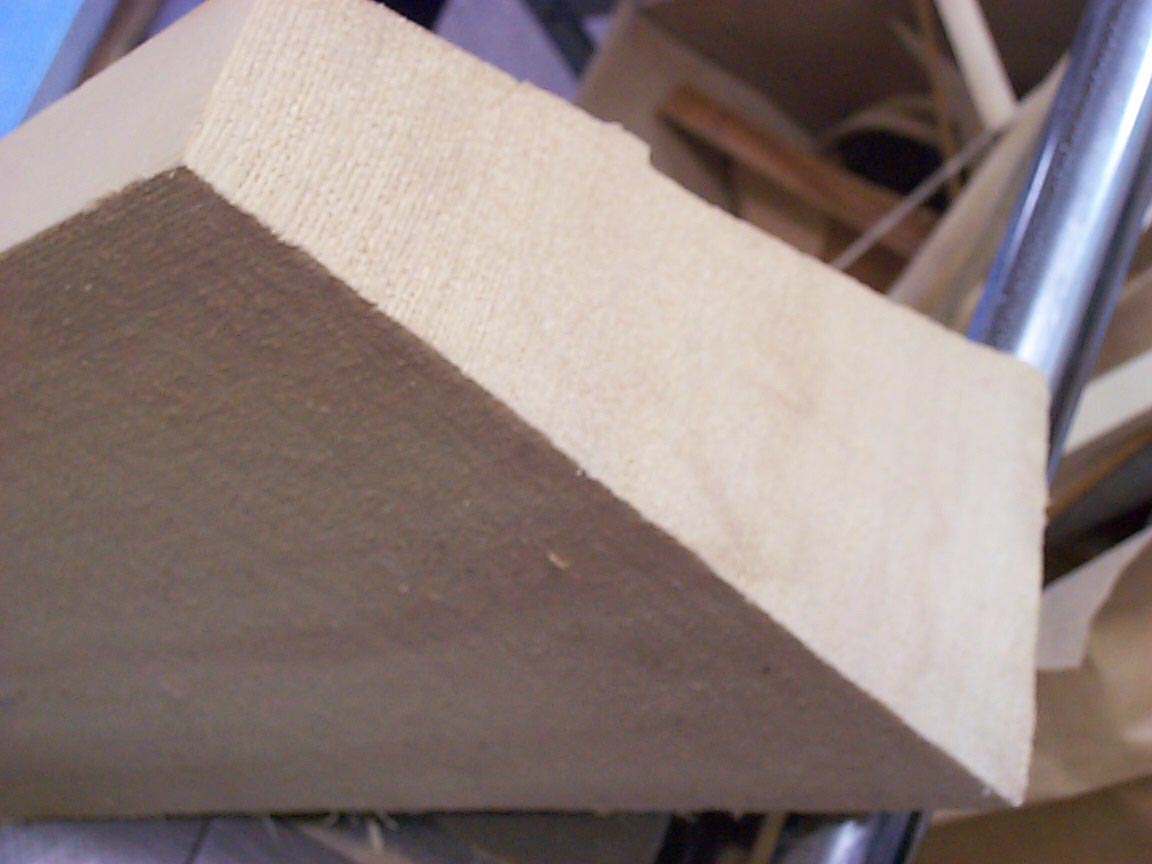
Here's a split wedge of spruce. We first split the spruce so that it
will follow the tree's natural grain. By then cutting against this split
face, we can be sure that any grain runout will be minimized. If we were
to just cut into a log, we could not be sure that the grain ran
straight. |
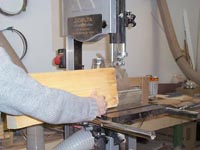
I wish I had a big 'ol resaw, but for spruce billets, my faithful 14"
Delta with the riser block and a sharp blade does a good job of it, albeit
slowly.
|
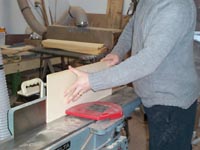
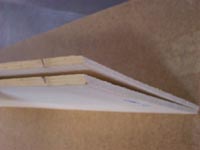
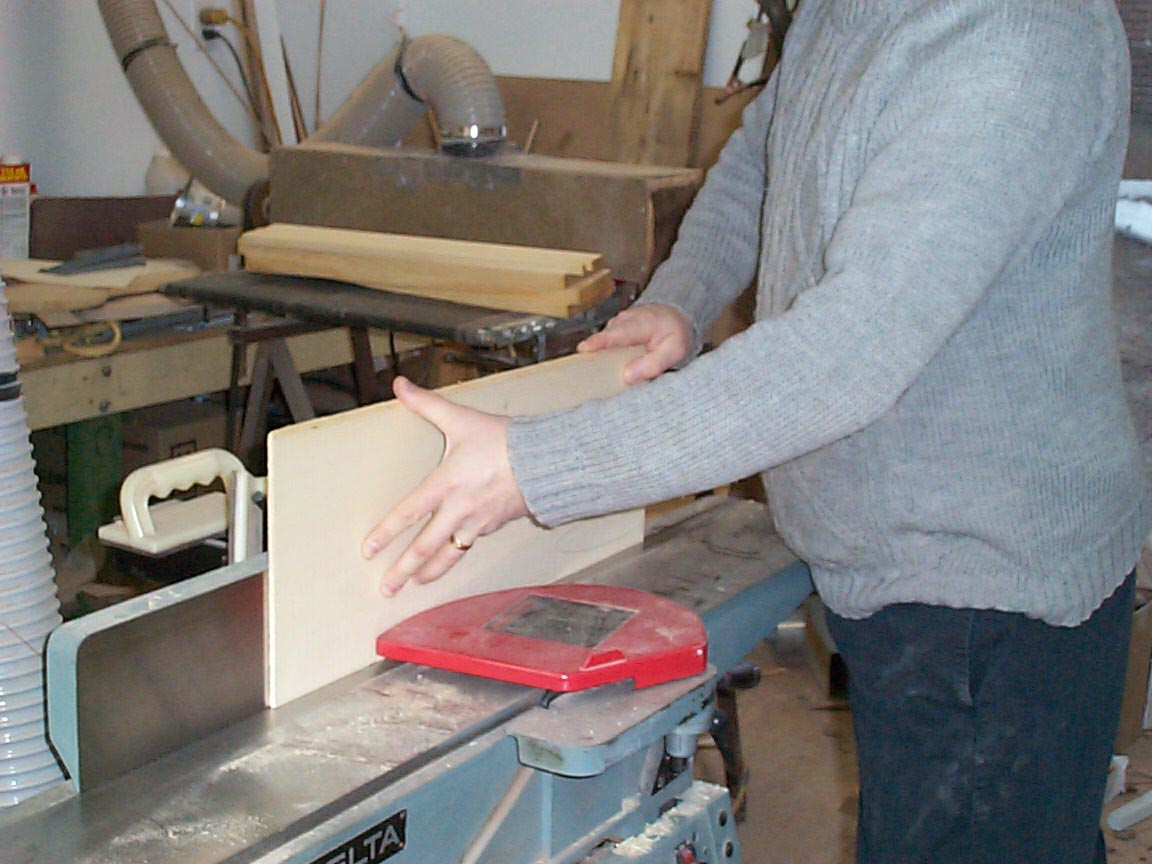
The bookmatched halves are now run on the jointer to clean the
jointing edge. I make one pass to clean it up, and walk to my patio door
right behind the jointer....... |
|
|
|
|
|
|
 |
|
 |
|
|
|
|
|
|
|
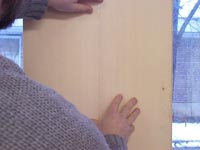
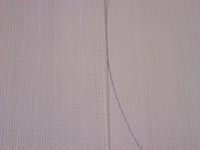
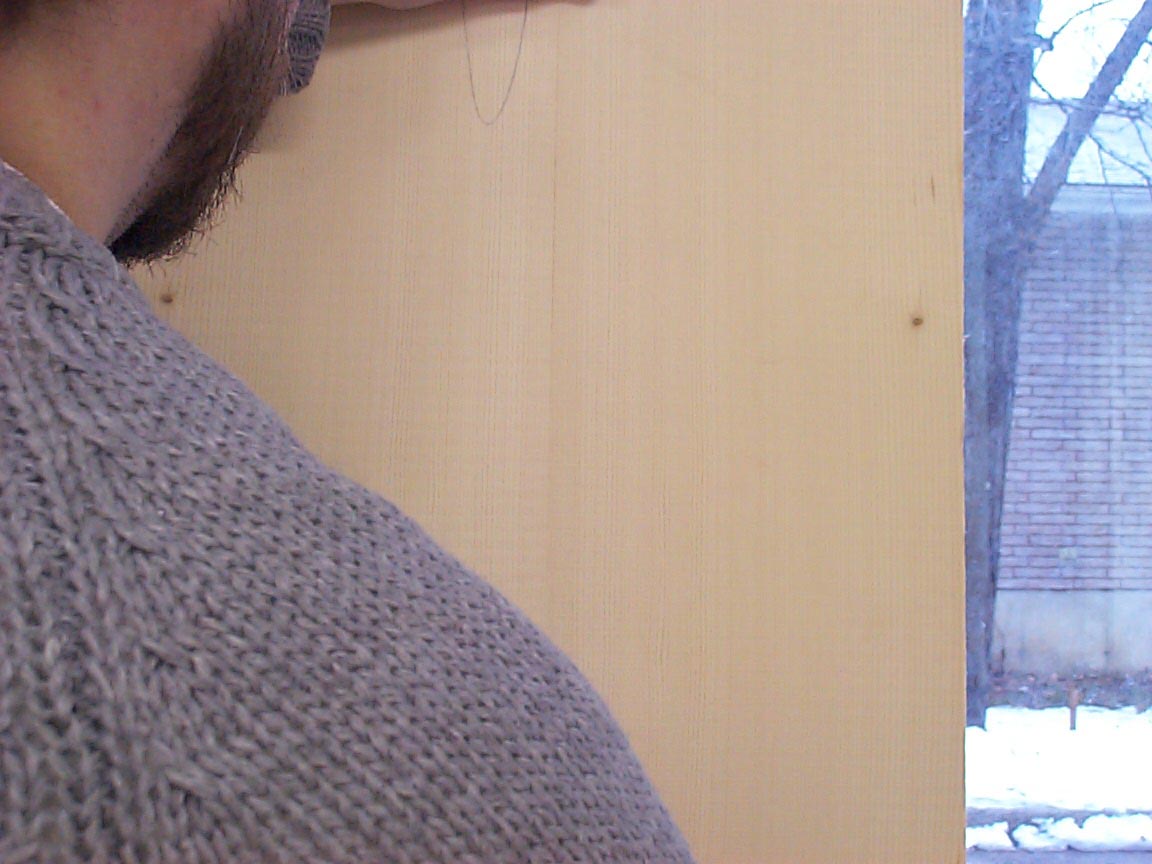
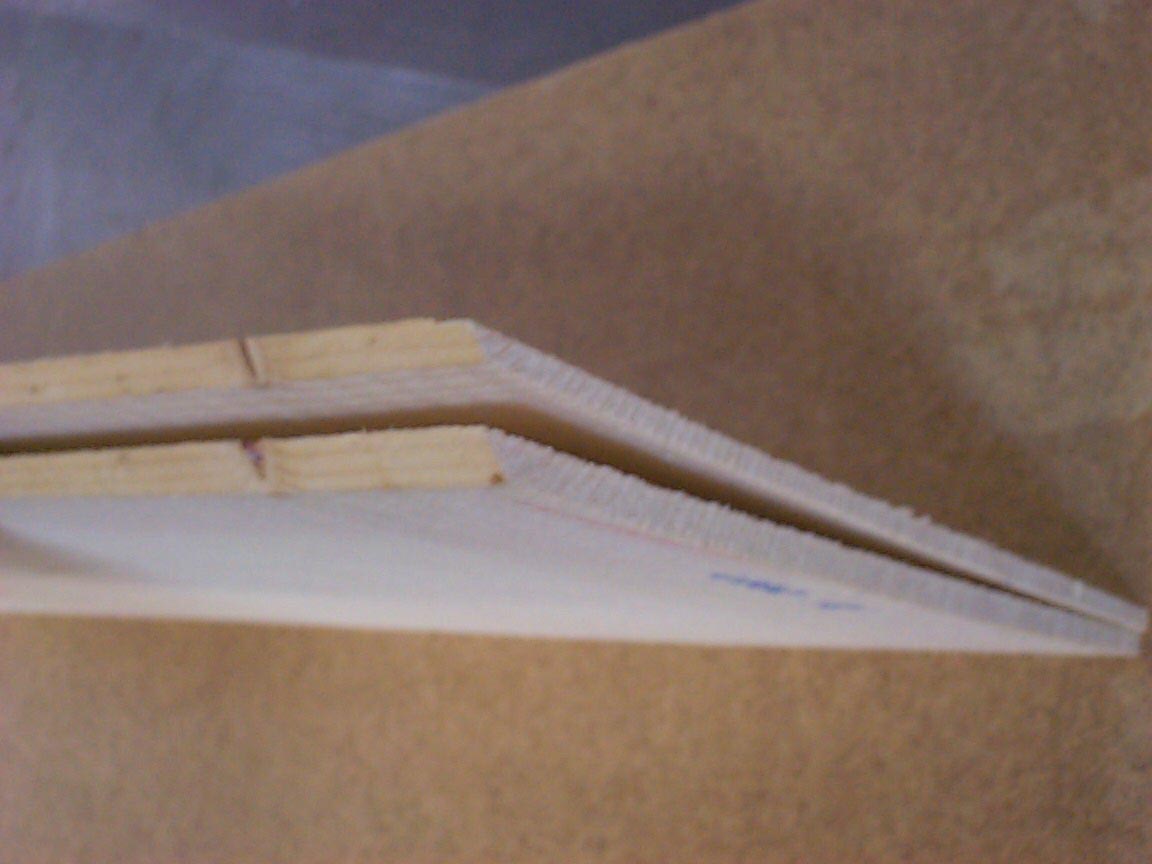
......and hold the two halves together to check the fit. With a
bright window, we can easily see if the joint is perfect or not. This one
still needs some work..... |
....after a few more passes on the jointer, we now have a dead perfect
join! With woods this thin, just applying a little hand pressure for or
aft while jointing can change the results, and we can use this to
advantage.
The pencil marks you see are to indicate defects I can see while
holding it to the window. This is refferred to as "candling" the
spruce. Because we can see right through it, we can see inside, and
sometimes we spot defects, such as a pitch pocket or a void. In this case,
it's a small pitch pocket, but it will be outside of the guitar's
perimiter.
|
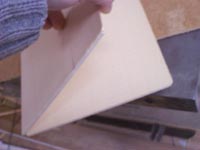
May as well explain what a "bookmatch" is, right?
A bookmatch is simply two consecutive pieces. When cutting the tops
from the billet, we keep track of them, and every two become one top. The
term bookmatch comes from the way they can be opened up like the pages of
a book.
What this does is give us a perfect mirror image of each half.
|
|
|
|
|
|
|
 |

|
 |
|
|
|
|
|
|
|
See? Just like a book! |
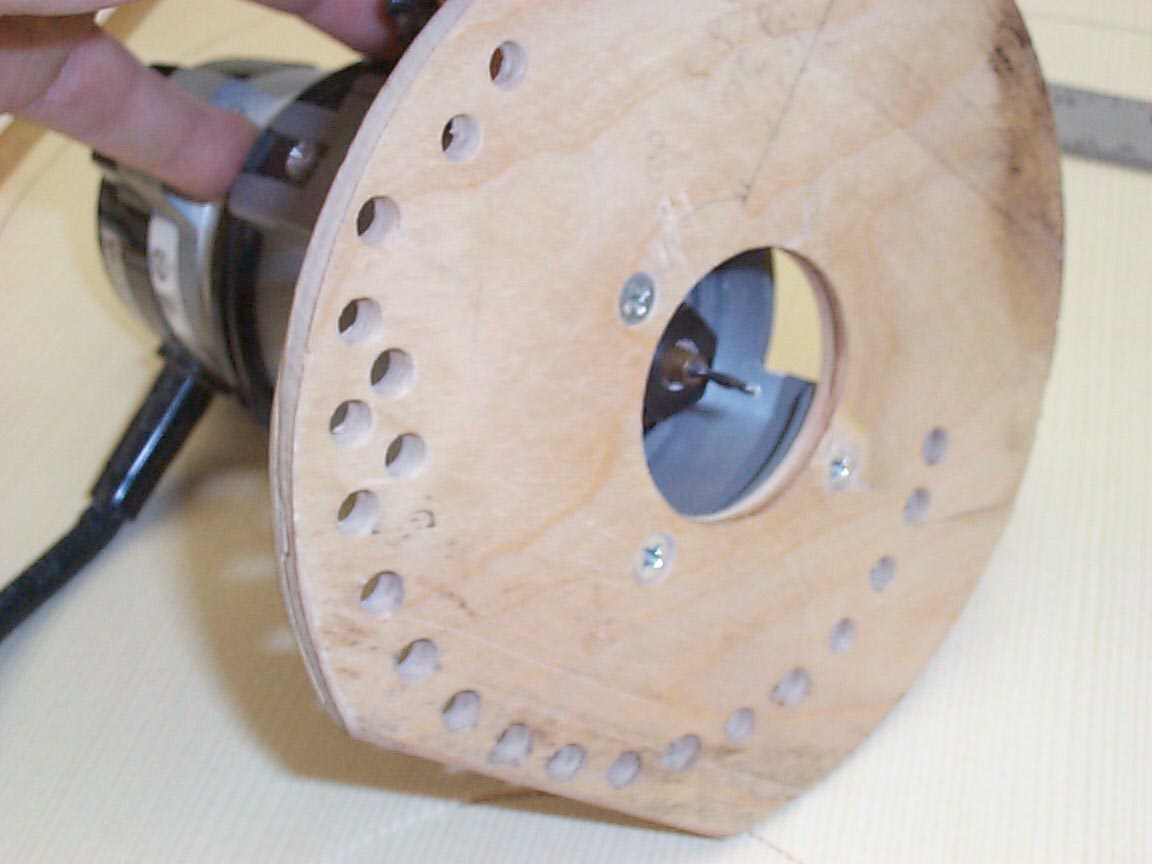
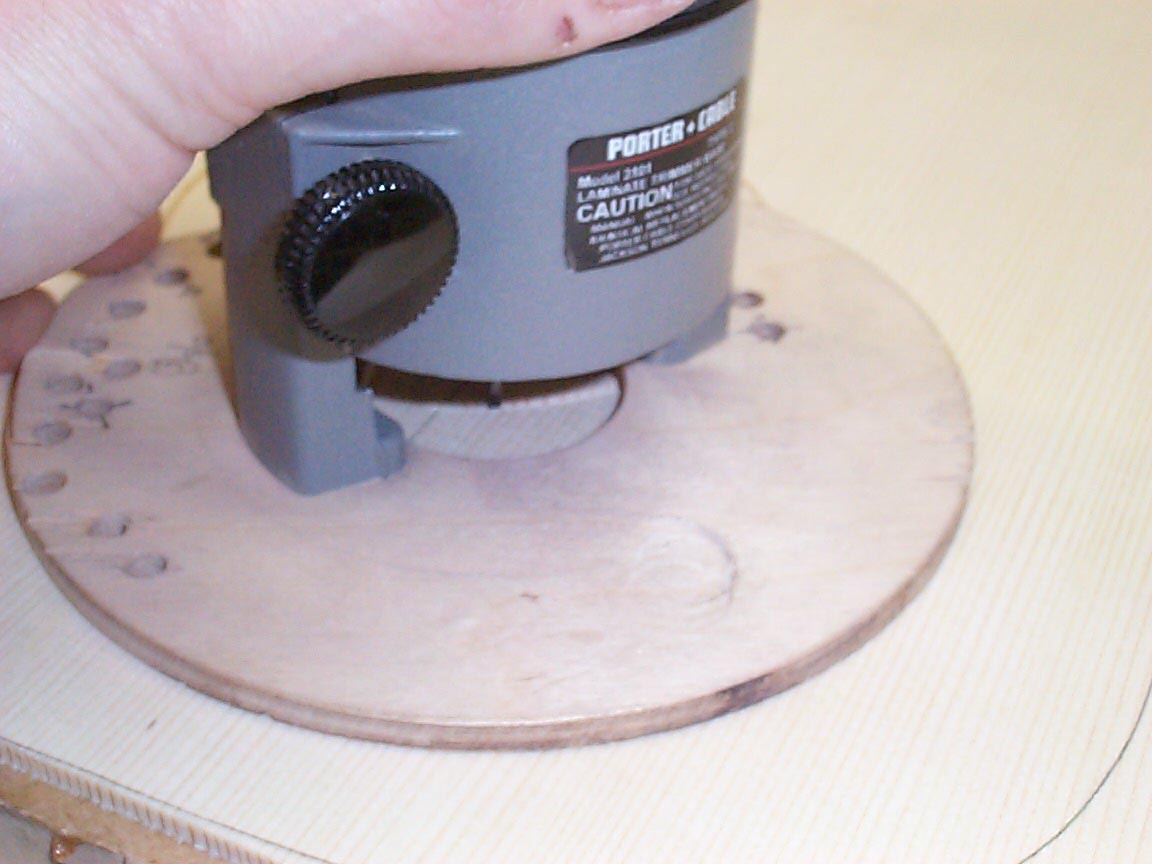
There are many ways to cut the channels to inlay the rosette's rings. Most
builders use a custom made fly cutter of sorts, which is fast and
accurate, but it limits how much they can vary the soundhole size, and the
rosette itself. Since I like to be free to make stuff up on the fly, I
made up this base for my laminate trimmer. With it, and various tiny bits,
there's just about no limit to what we can acheive.
|
In use, there's a hole drilled in the guitar top, in the center of what
will be the soundhole. In this hole we place a short 1/4" dowel that
also goes into a hole in the workboard underneath. I then choose the
proper hole to cut the ring I want, and spin the router, slowly, around as
it cuts. Different sized rings need different bits, or the same bit, in
multiple cuts, using different holes in the base. Simple yet versatile.
|
|
|
|
|
|
|
 |
|
 |
|
|
|
|
|
|
|
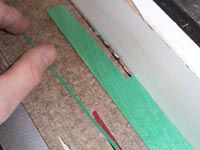
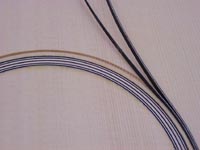
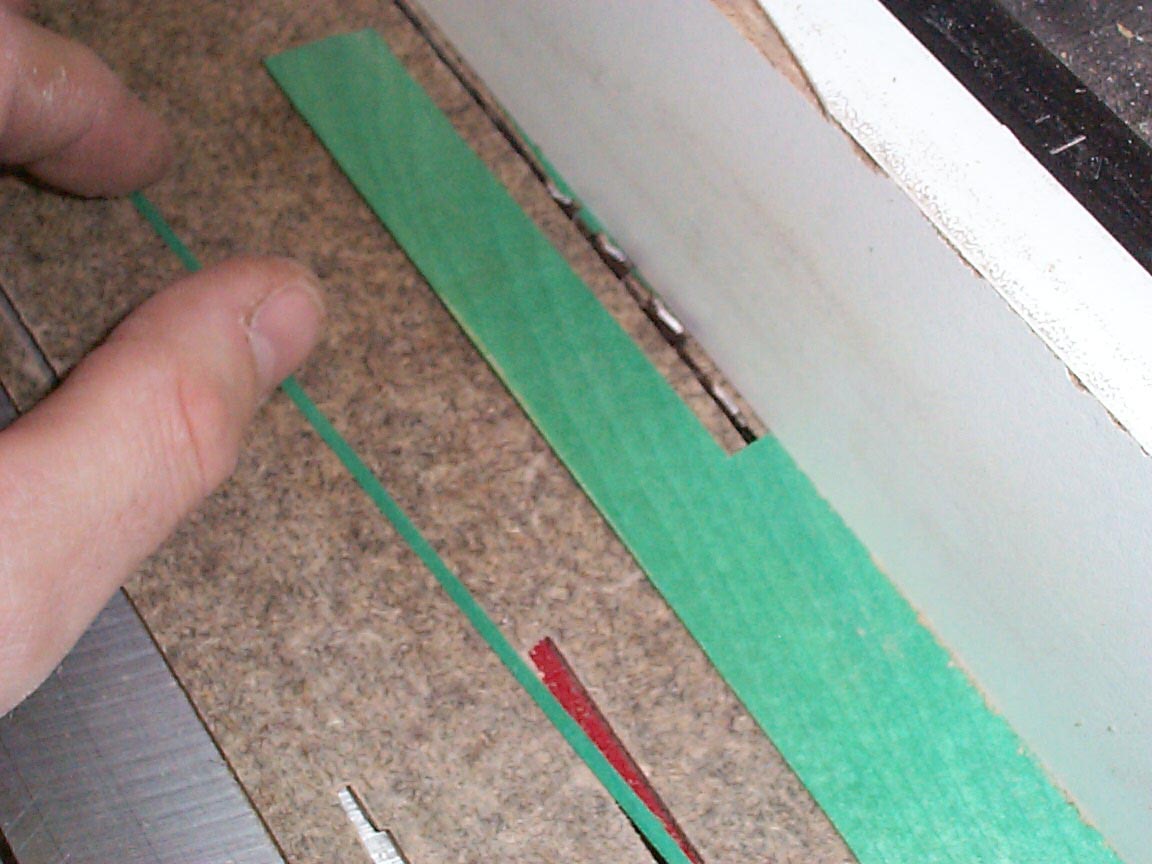
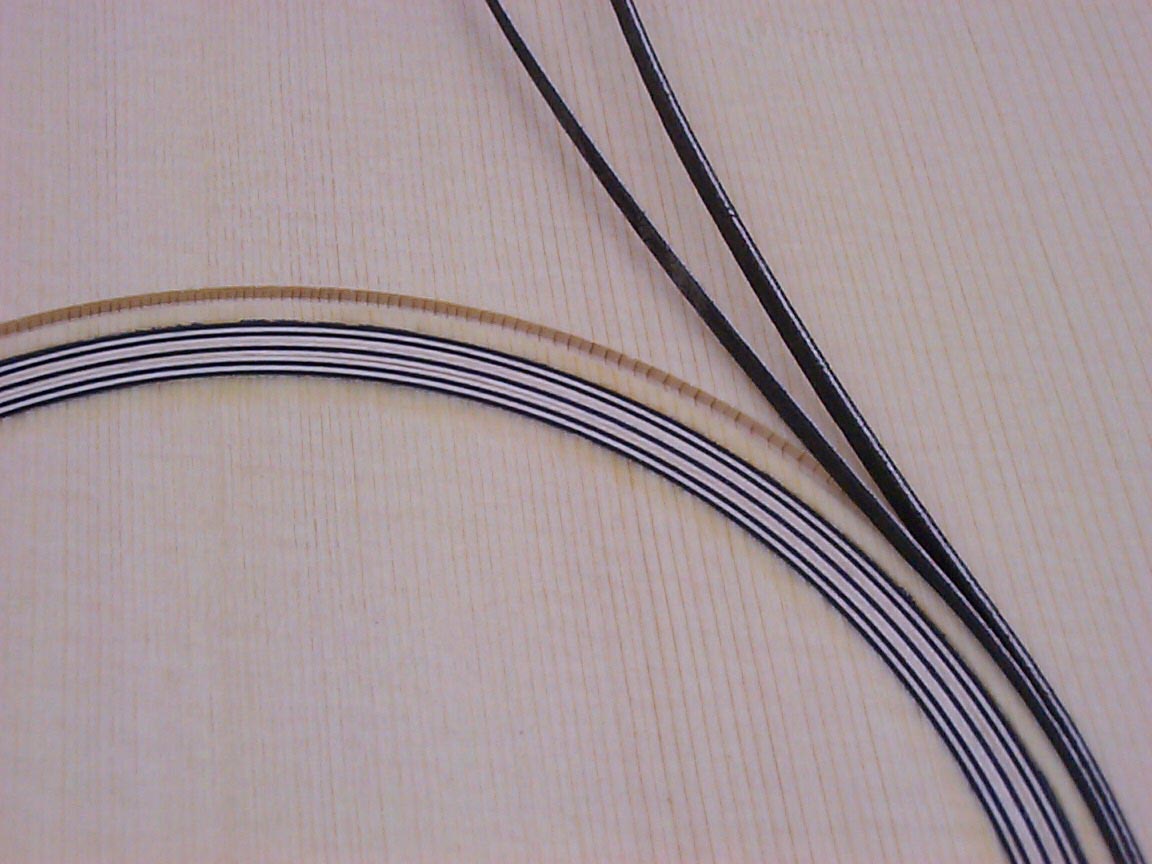
The "lines" that make up most rosettes and purflings start
out as veneers. Maple and/or holly for white lines, dyed maple or ebony
for black lines, and I like to have fun with colored veneers, too. I also
sometimes use exotic wood veneers, if and when I find some kicking around.
Here, I'm slicing up some green veneer. Next to the wider piece that will
be cut, we can see a short section of what is now purfling. |
These purflings are used in various combinations to achieve the desired
look. The entire rosette is wood.
|
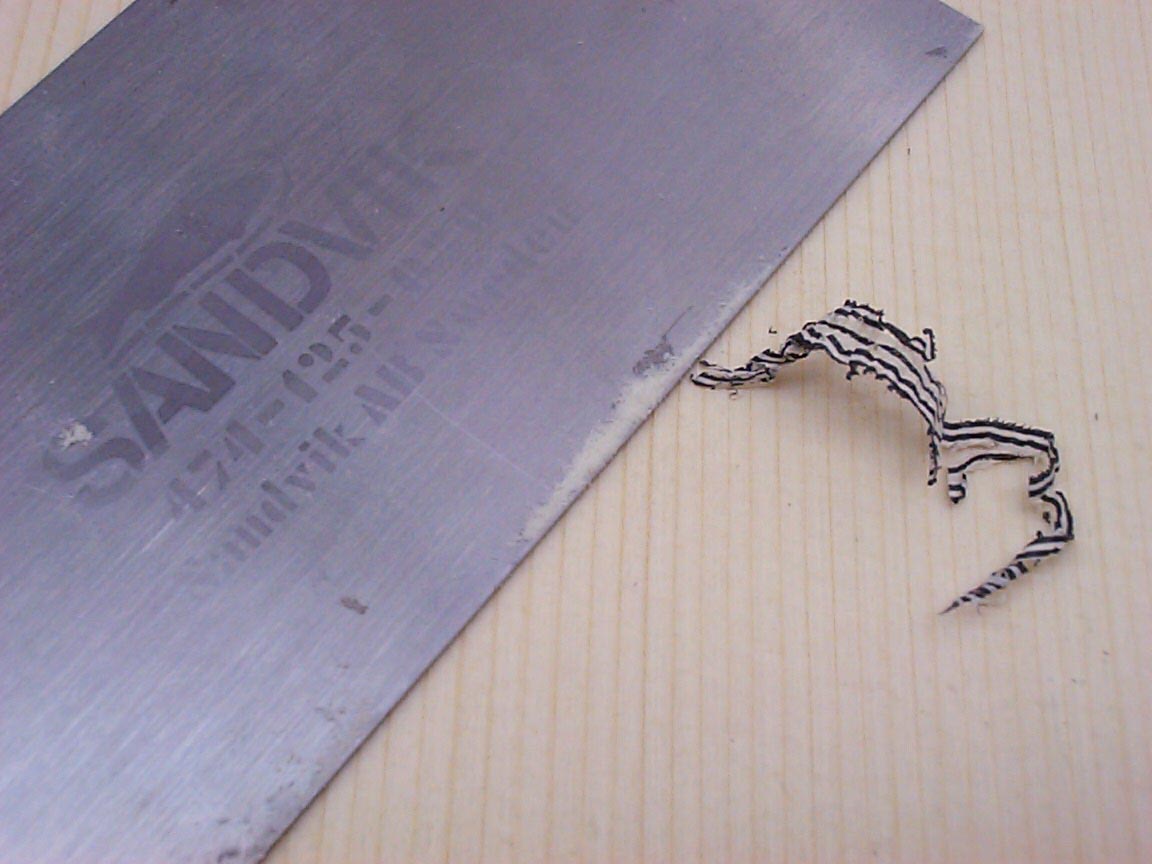
Once the glue is dry, we can then scrape the rosette flush to the
top. Sanding won't work well because the rosette's rings are made up of
various hardwoods, and thus the soft spruce would sand quicker.
A cabinet scraper does a fine job of levelling.
|
|
|
|
|
|
|
 |
|
 |
|
|
|
|
|
|
|
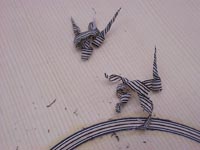
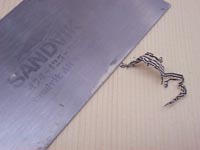
Here, we see the scraper(gotta be a Sandvik!) and a shaving of the
rosette. Properly sharpened, a scraper works as a plane, cutting thin,
thin layers of wood. |
Just thought you might enjoy looking at some very nice Red spruce!
|
|
|
|
|
|
|
|
 |

|
 |
|
|
|
|
|
|
|
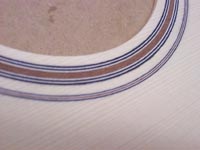
Here's the rosette in Bryan Kimsey's latest OM/D prototype. It's a wide
Sapele ring, bordered with black white purflings. Note the very thin
Sapele line in the outer rings, too.
|
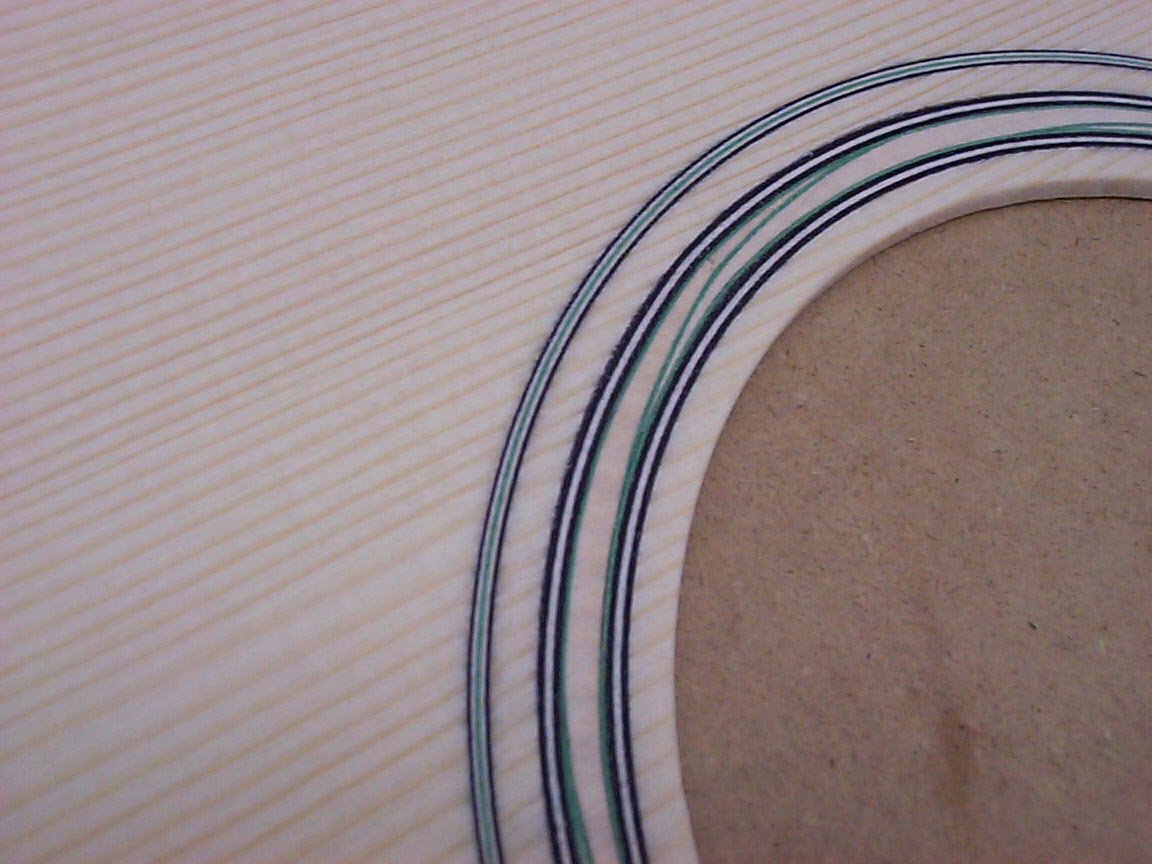
Here's a rosette made with a really neat inner ring. I'll be showing how I
made this purfling very soon. It's something I've been wanting to try
for a while, and I finally figured out how to accomplish it! Also note the
thin green line in the outer rings. that's the one I cut from the sheet of
green veneer, in the previous
photo. Neat, eh?
|
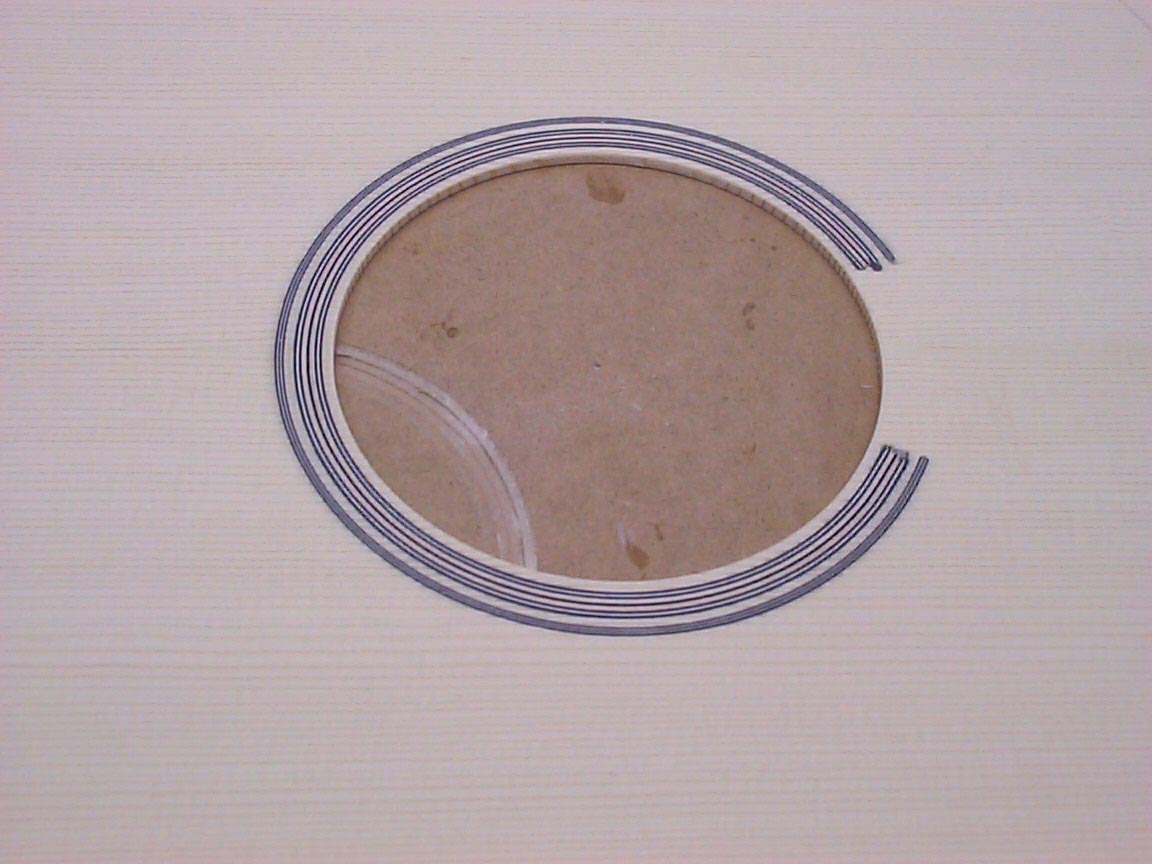
And finally, here's the DU guitar's rosette! Nice and simple. Oh, the
soundhole is a full 4-1/2", too. I really, really like what happens
with large soundhole, red spruce topped mahogany guitars.
|
|
|
|
|
|
|
 |
|
 |
|
|
|
|
|
|
|
Previous
page
|
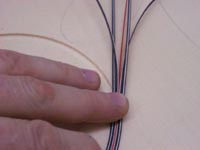
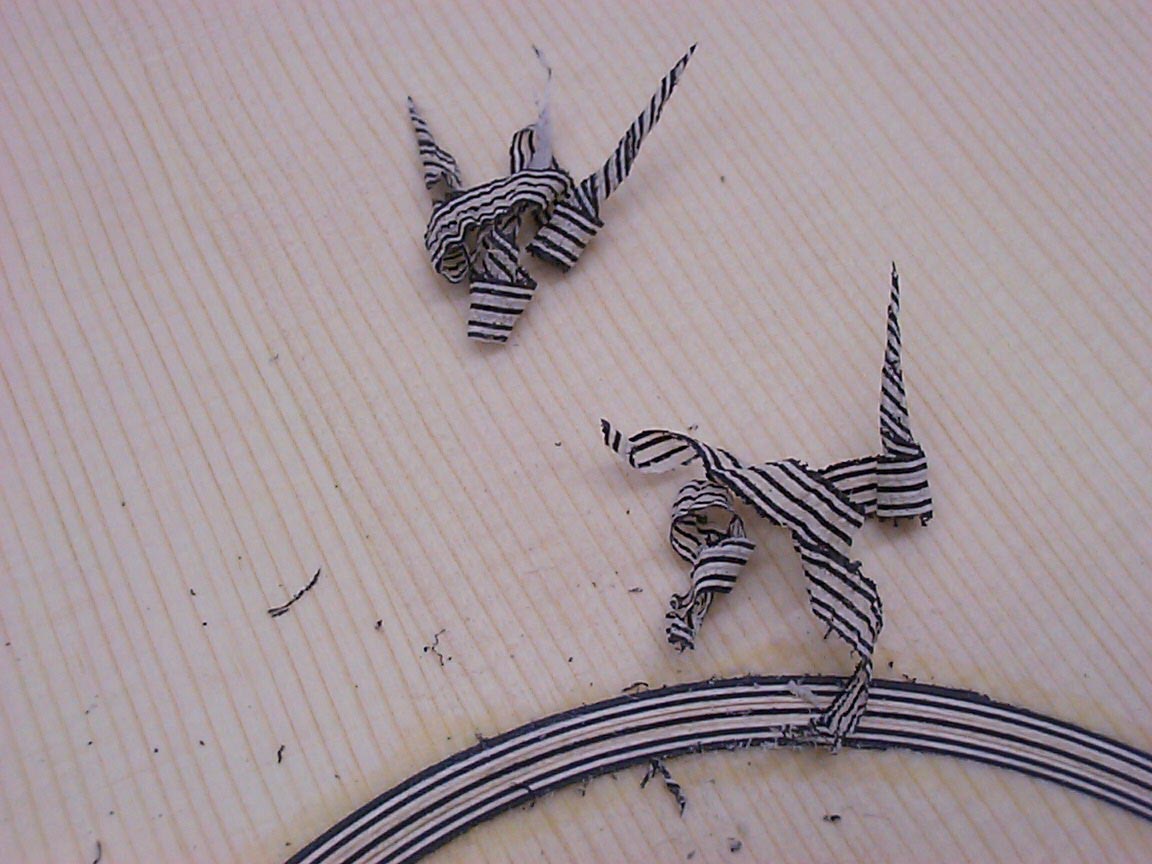
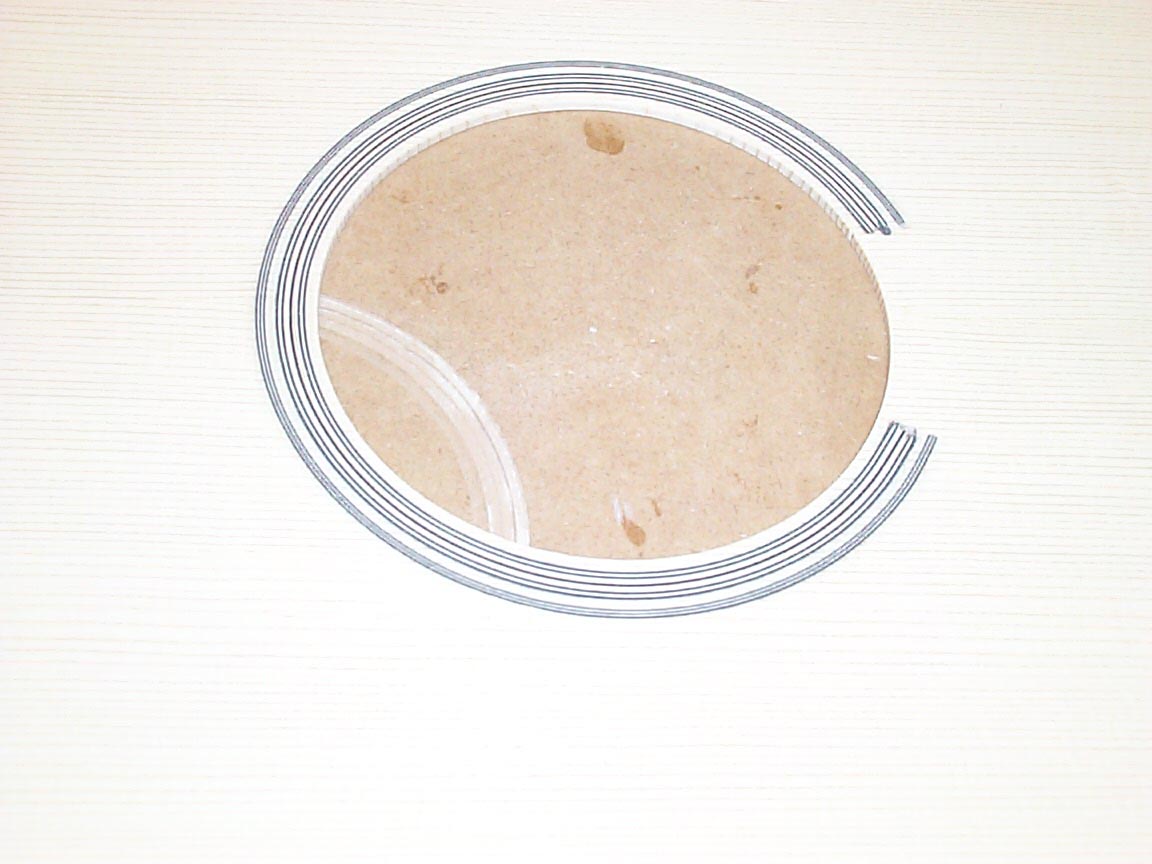
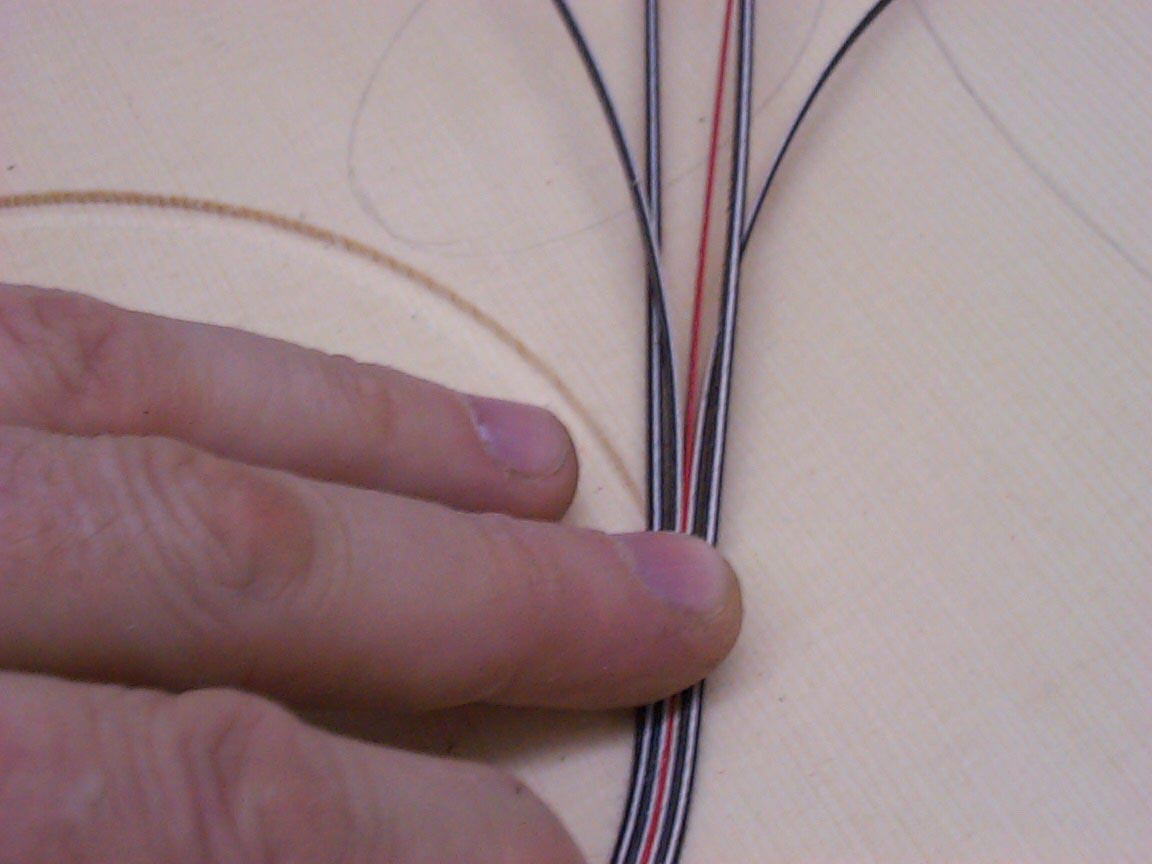
Here's another shot showing yet another rosette in the making. It gets
tricky handling all of those thin purflings at the same time, and trying
to rush it in before the glue swells the wood! Note the red purfling in
this one; I'm really beginning to enjoy adding colors.
|
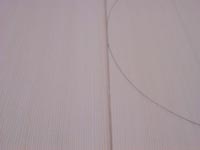
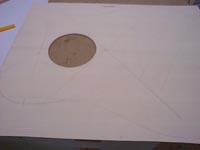
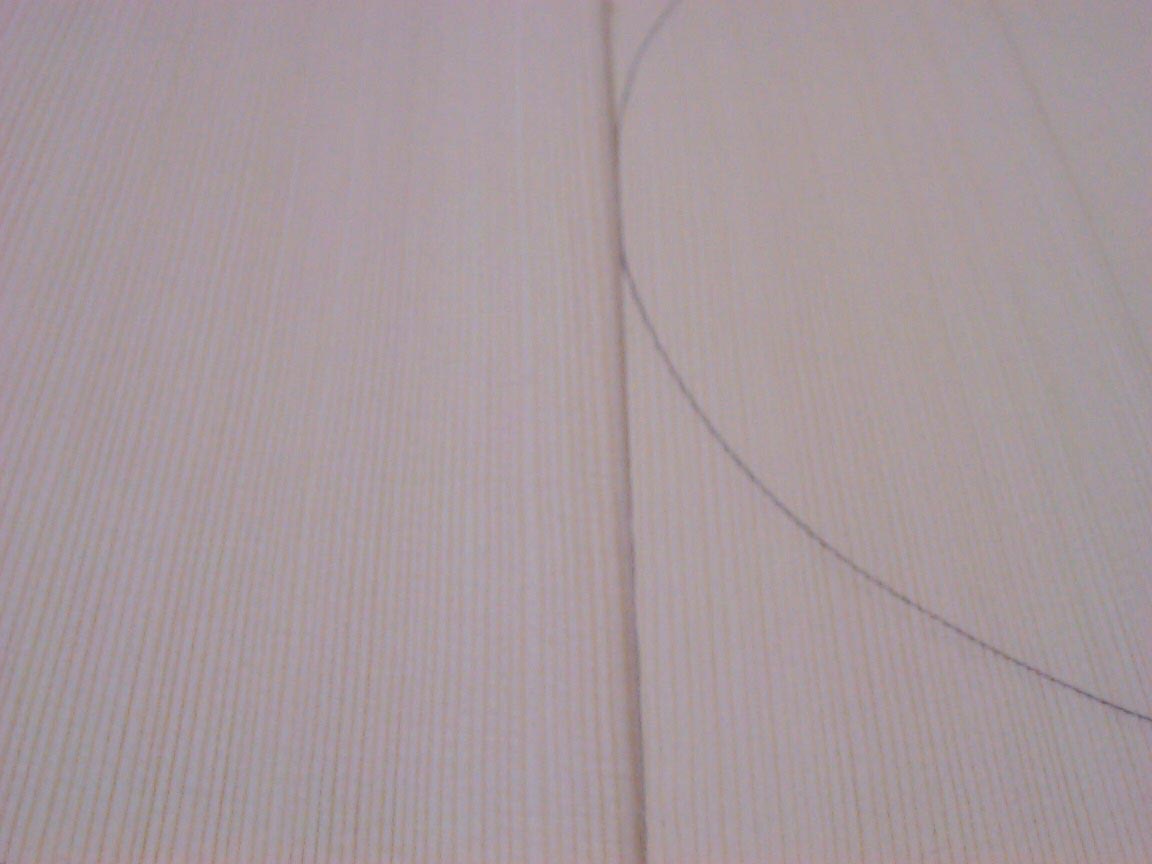
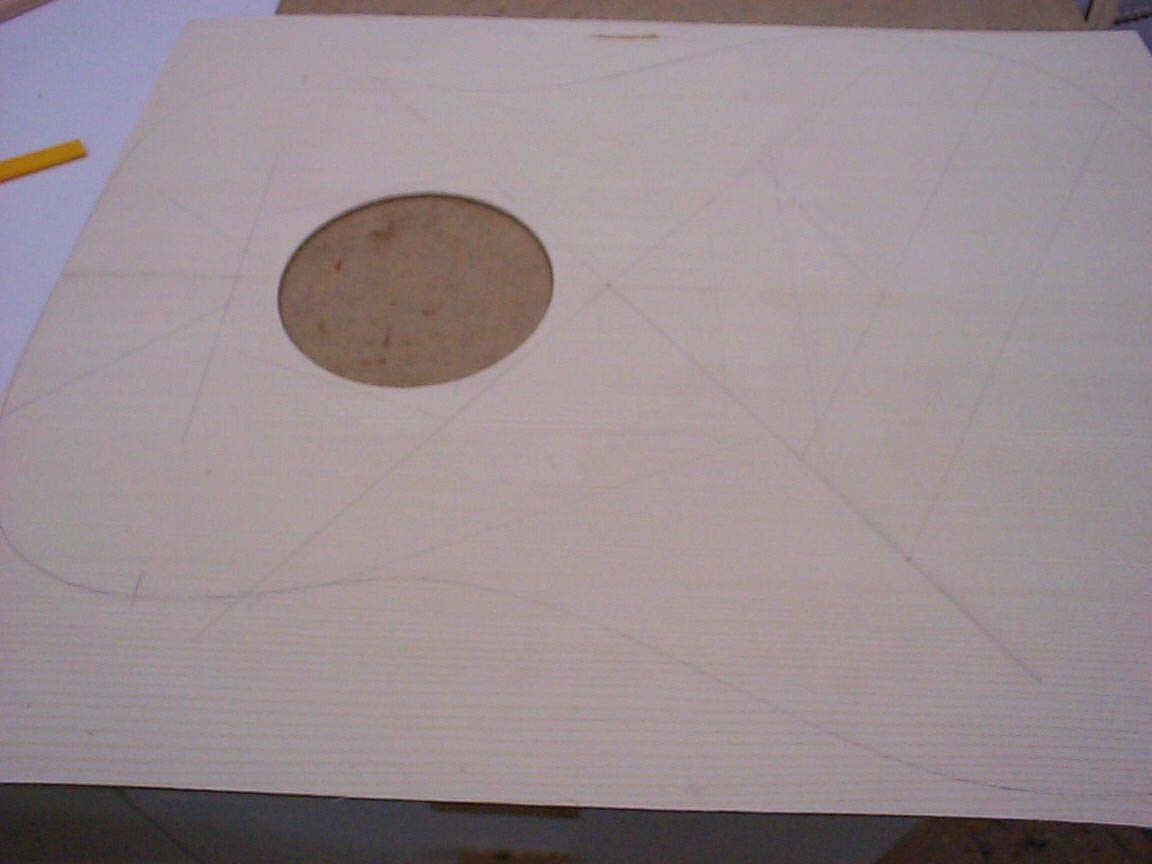
Now, with the rosette and soundhole done, we can flip this puppy over, and
lay out the bracing pattern. Someday, I may have a template to do this,
but s of now, I still dray each one out individually. This lets me move
anything I want, at will, mostly dependant on the properties of each top.
Next
page
|
|
|
|
|
|
|


