 |

|
 |
|
|
|
|
|
|
|
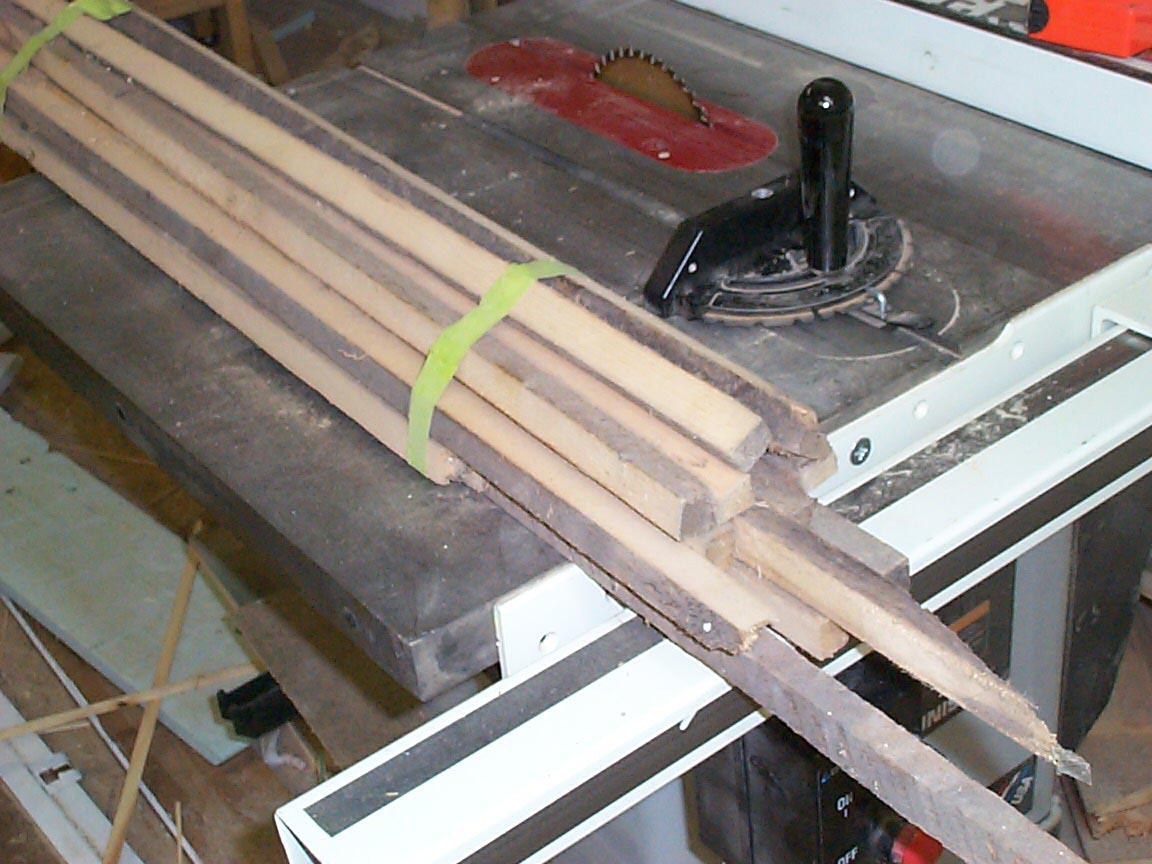
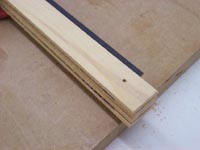
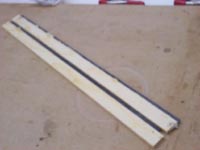
Here is some old growth Black spruce that I salvaged from a house
that was built in 1912. Can't get more "seasoned" than that, can
we? Yup, I like this old stuff..... |
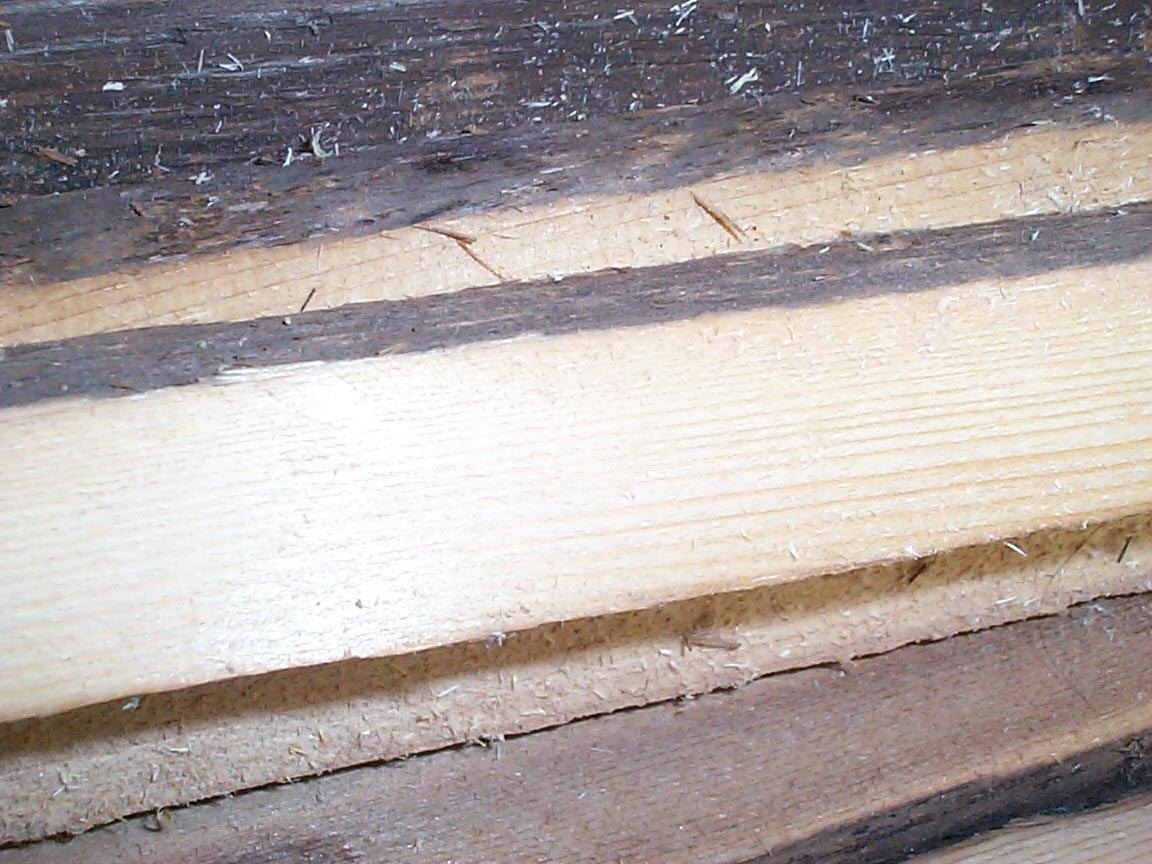
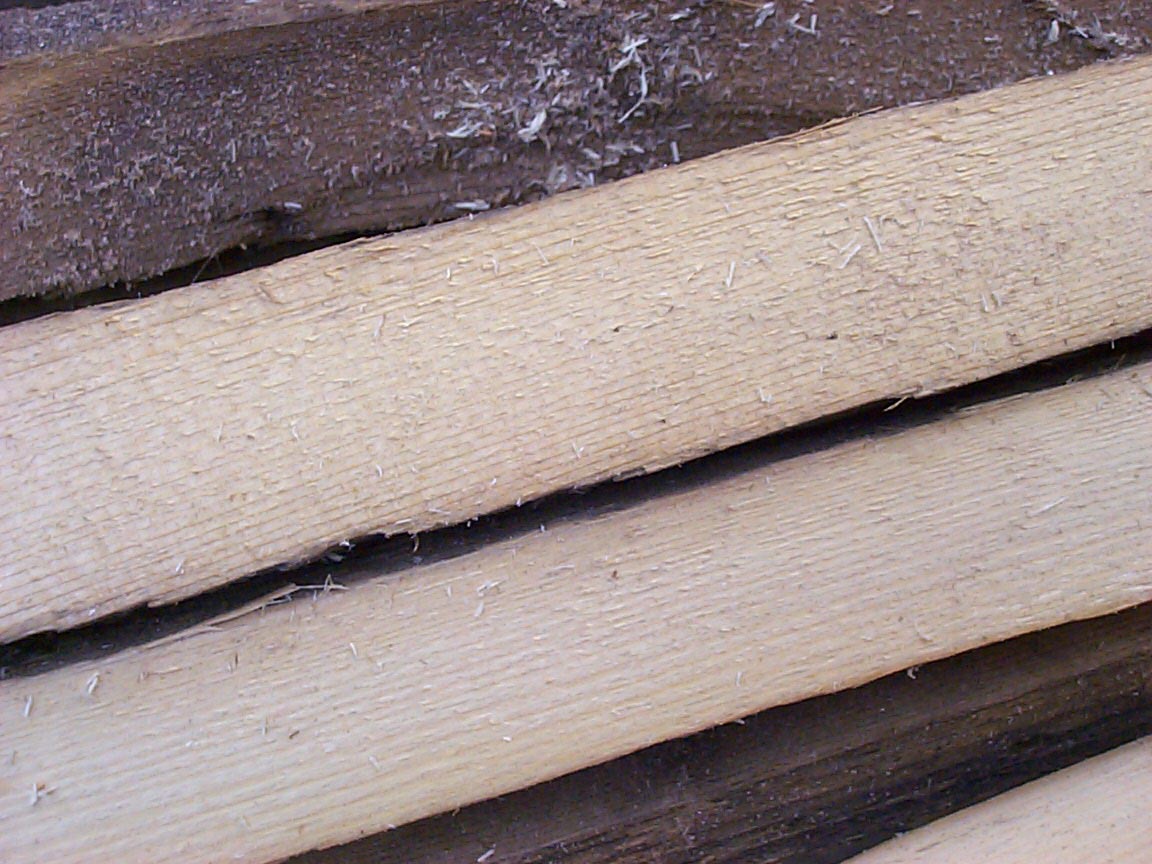
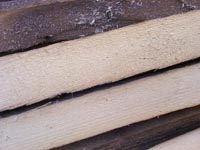
After splitting many, many boards, I can saw along the split line, and see
the grain for what it is.
|
Nice stuff! |
|
|
|
|
|
|
 |
|
 |
|
|
|
|
|
|
|
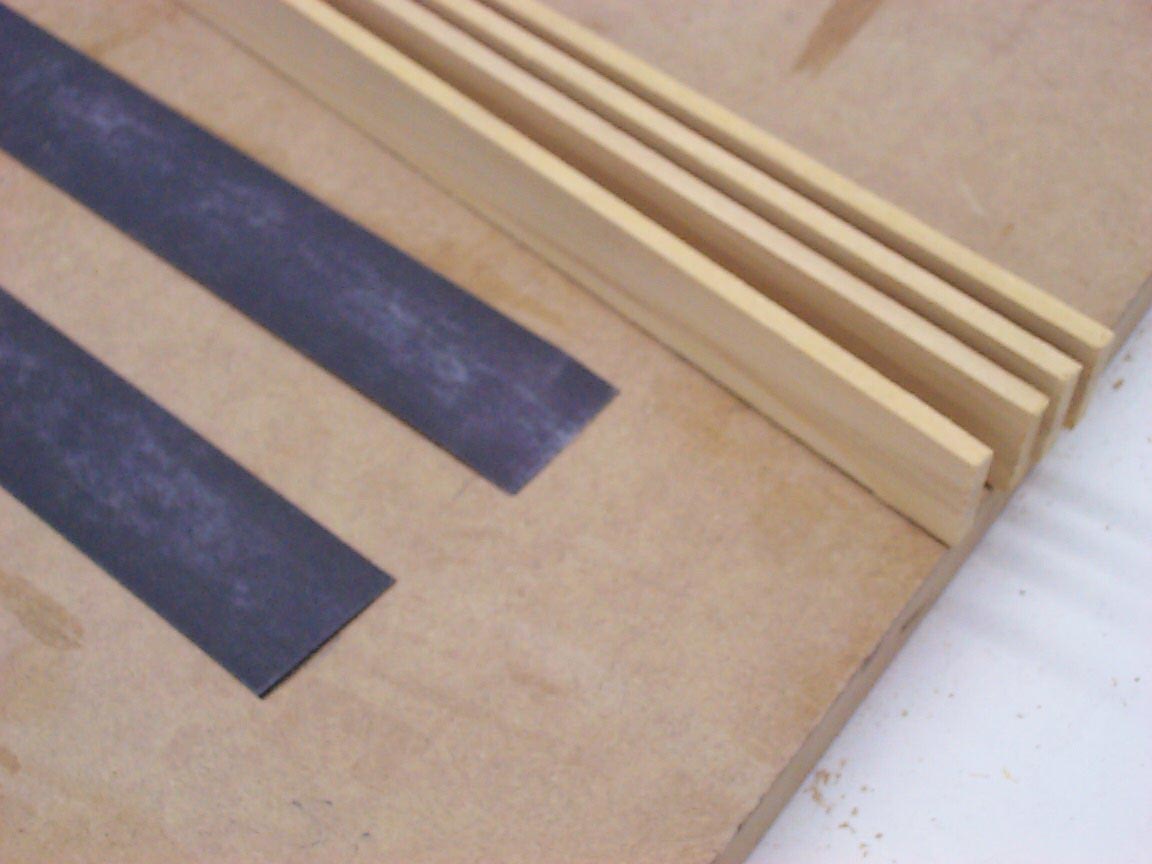
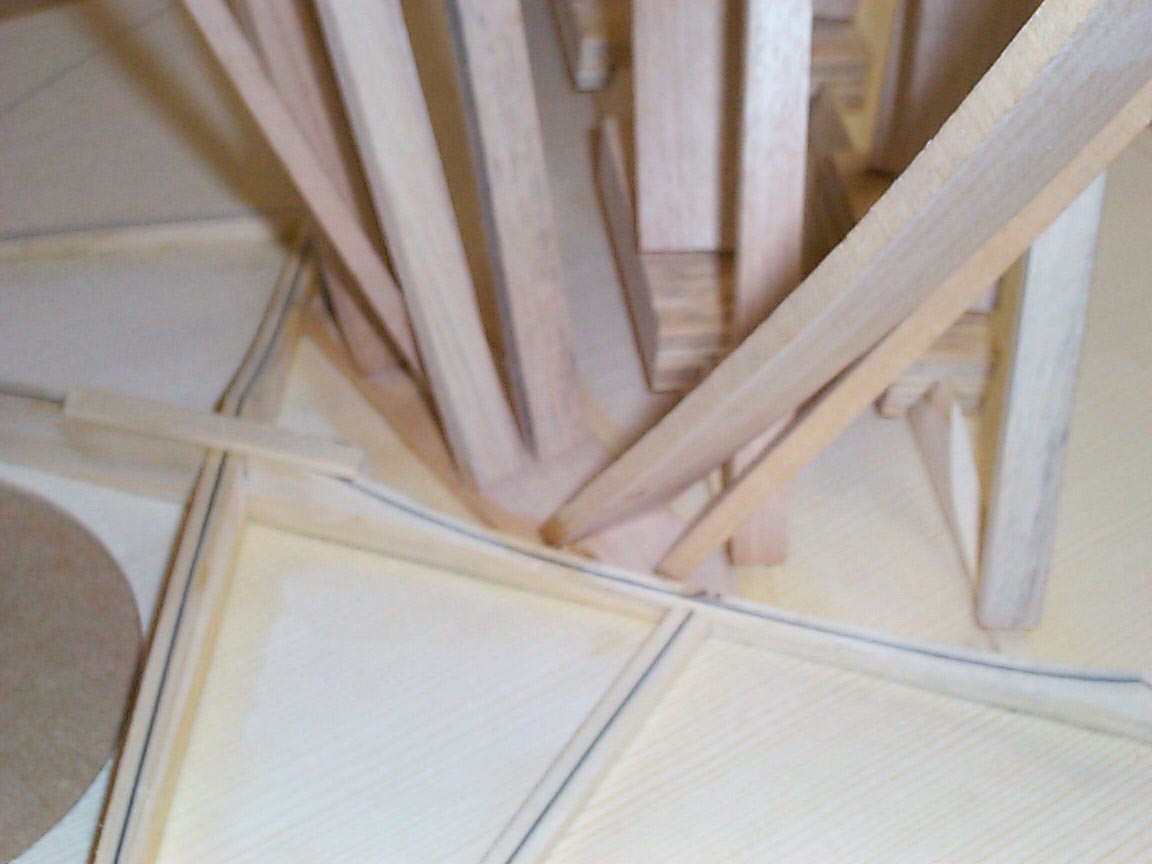
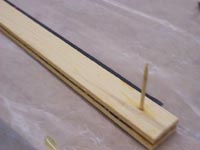
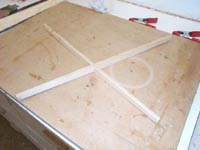
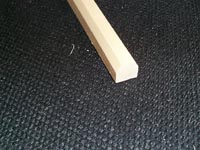
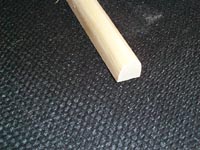
The brace stock is then sliced up thin, and rerpared to be laminated
with the carbon fiber I use in my X braces. |
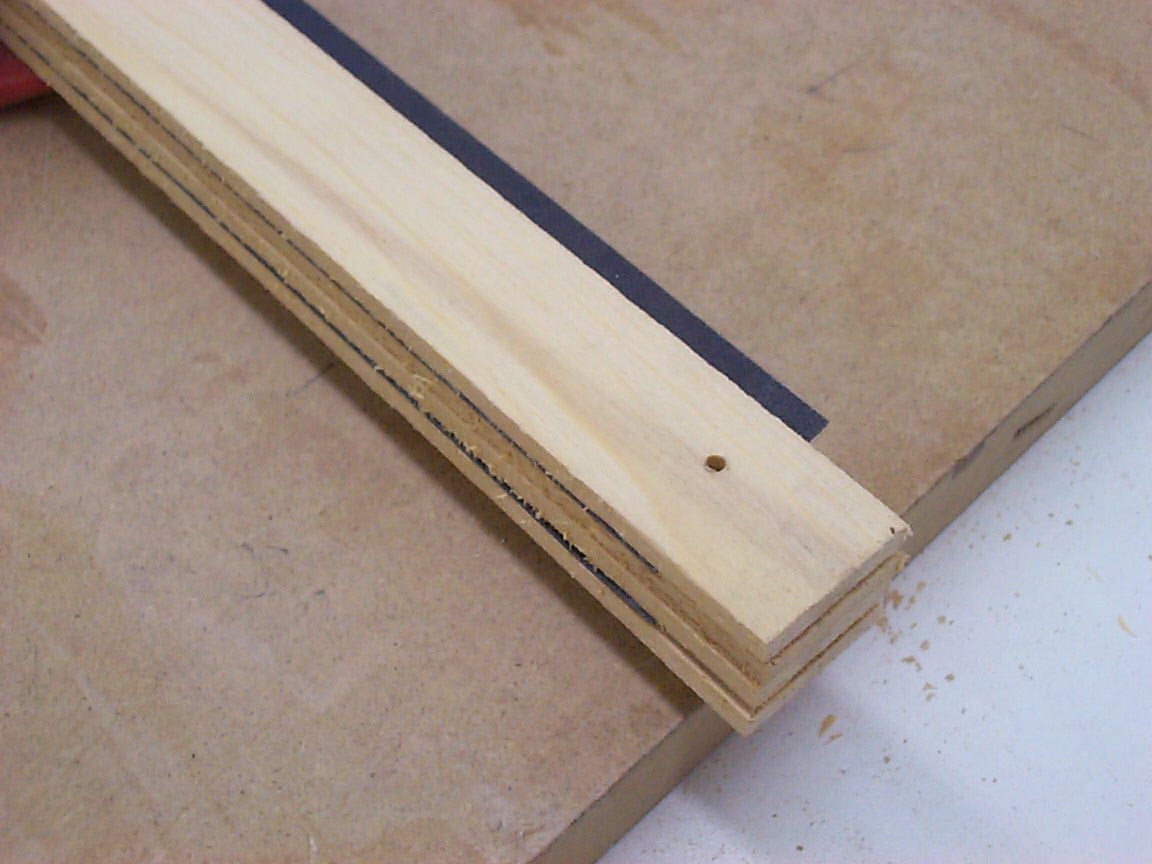
A hole is drilled in both ends, so that they can be pinned together.
the glue used here takes 24 hours to cure, and we don't want to pieces to
slip and become mi-aligned.
|
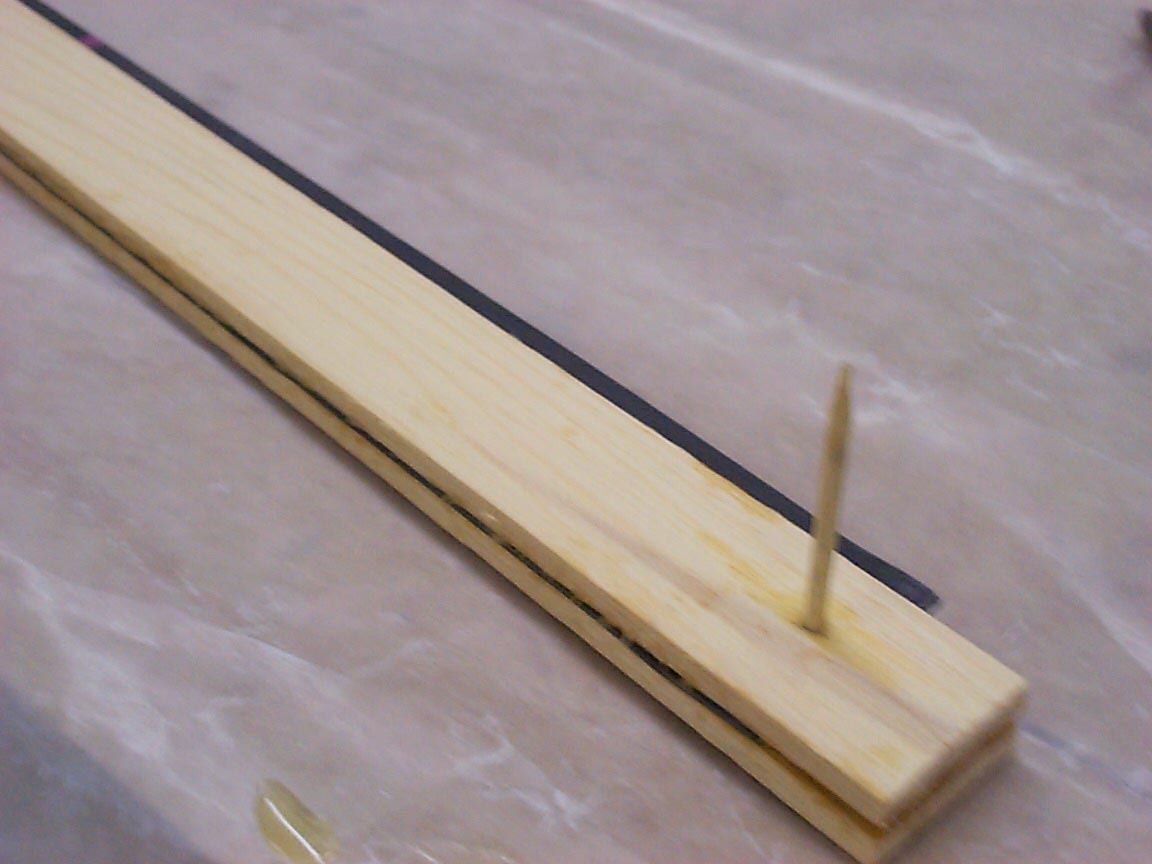
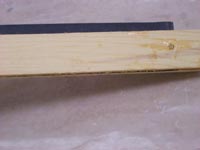
Here's one pinned. I now pull the pin through a bit, and snip it
flush. If it should stick out even a hair, it could mess up the glue bond
between the CF and spruce. |
|
|
|
|
|
|
 |
|
 |
|
|
|
|
|
|
|
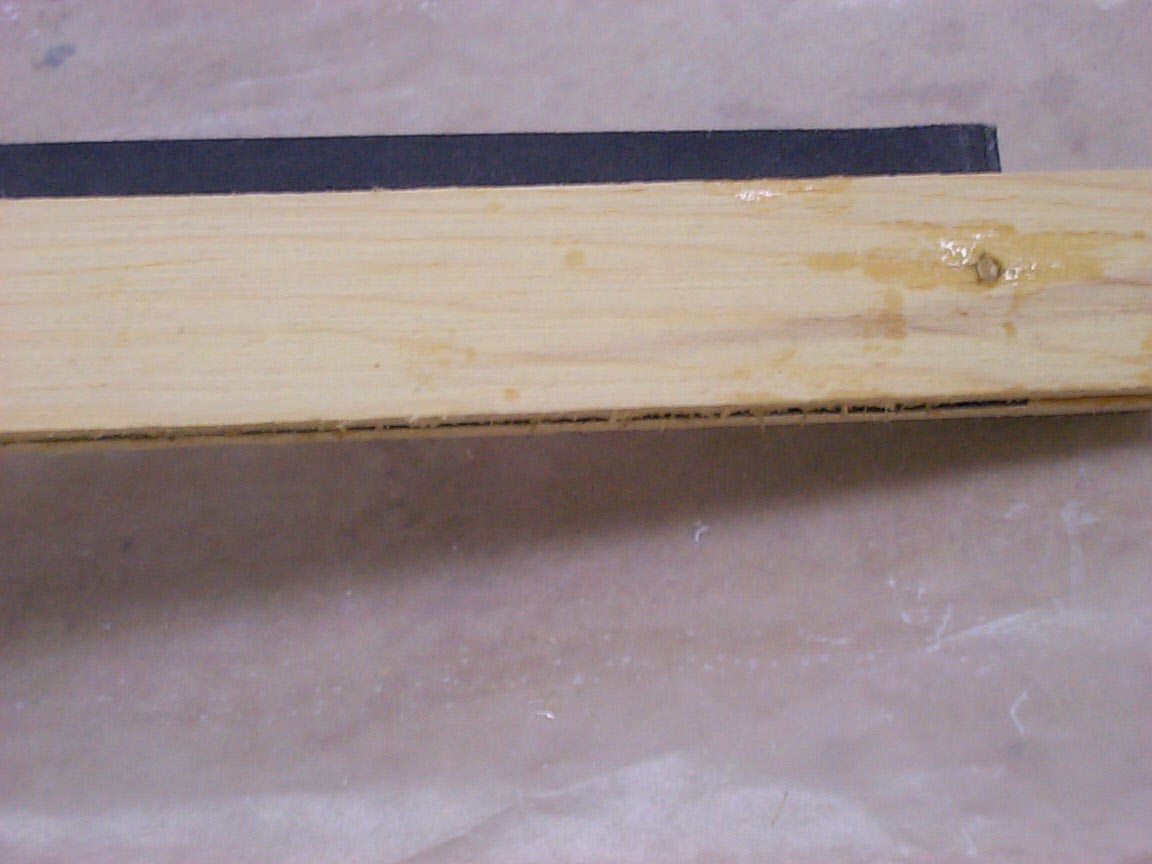
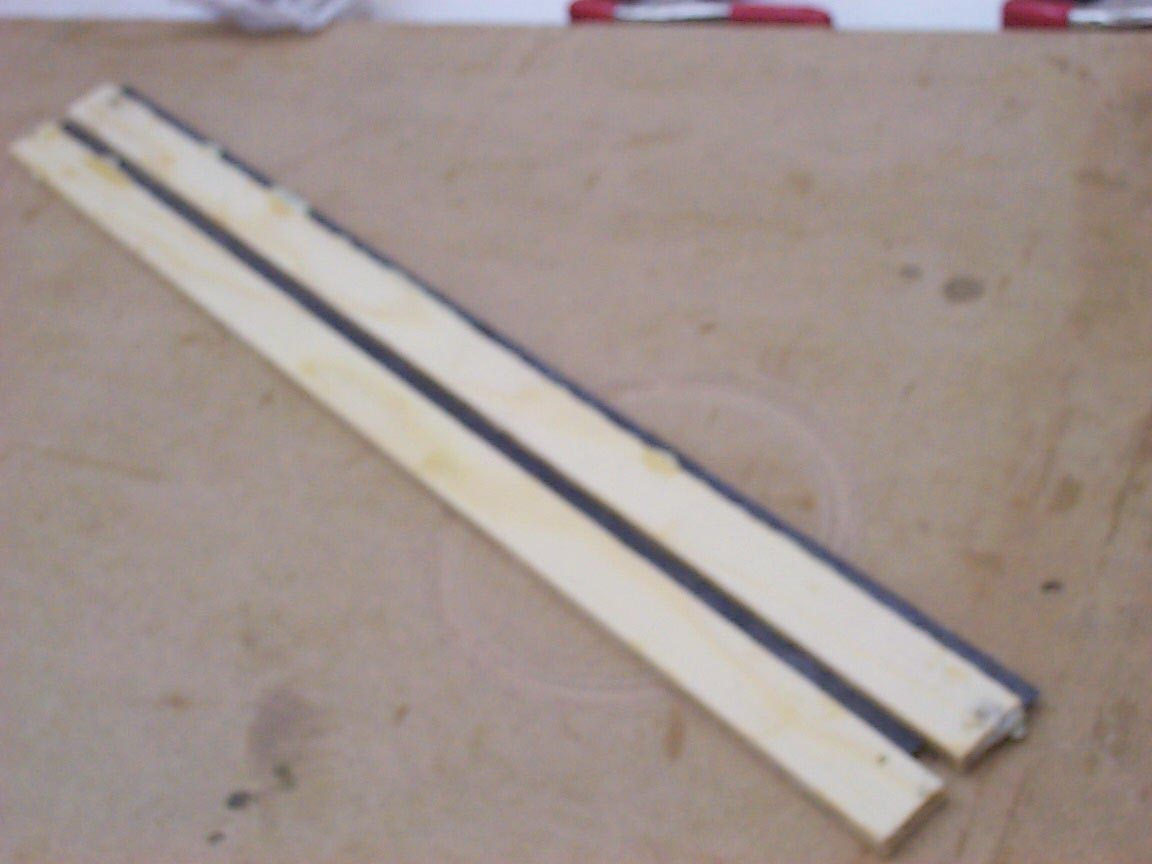
All flush...
|
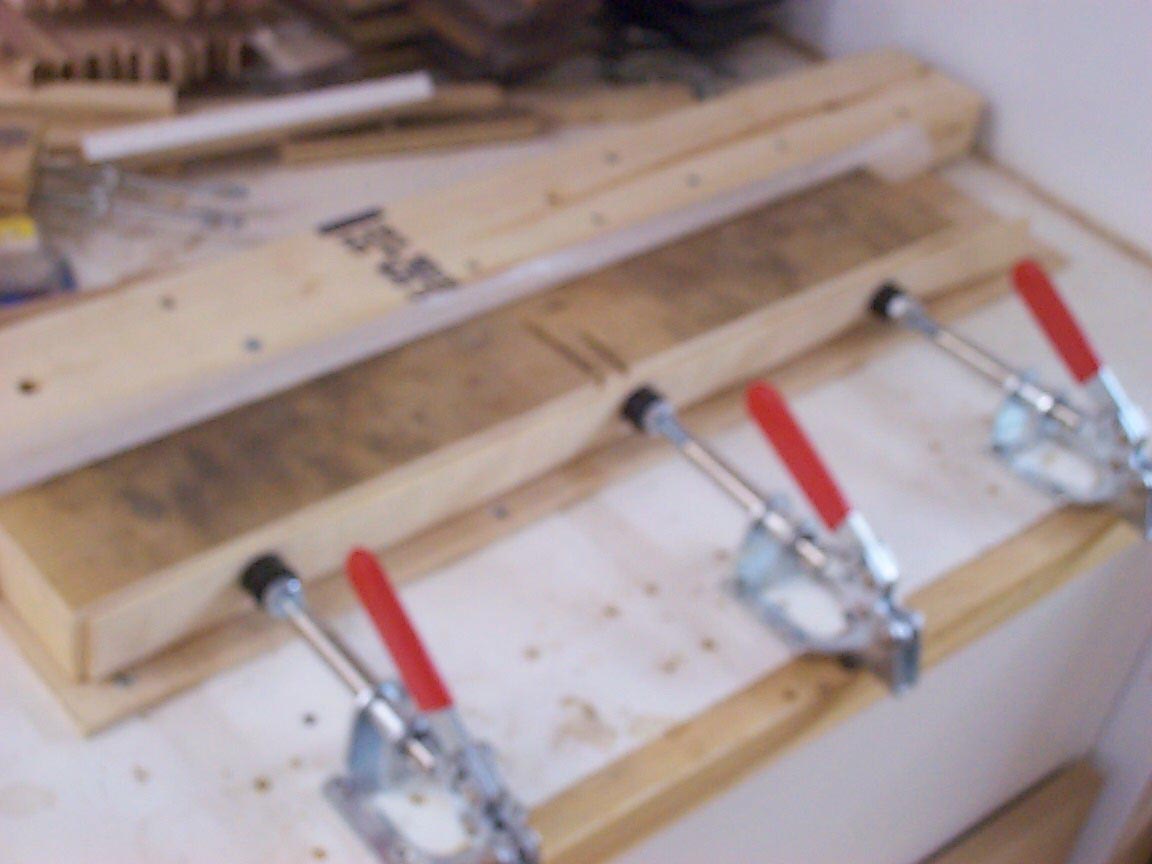
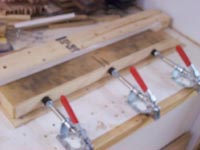
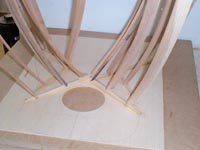
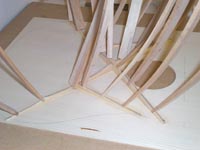
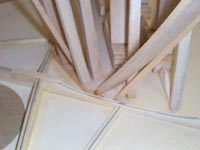
The 6 pieces that will become a pair of X braces are now wrapped in waxed
paper so they won't stick to each other and to the jig.
here, we see my clamping jig. We need a good deal of clamping pressure
to laminate with the carbon fiber, and this rig can put forth 1500 pounds
of pressure!
|
And the end results.
|
|
|
|
|
|
|
 |
|
 |
|
|
|
|
|
|
|
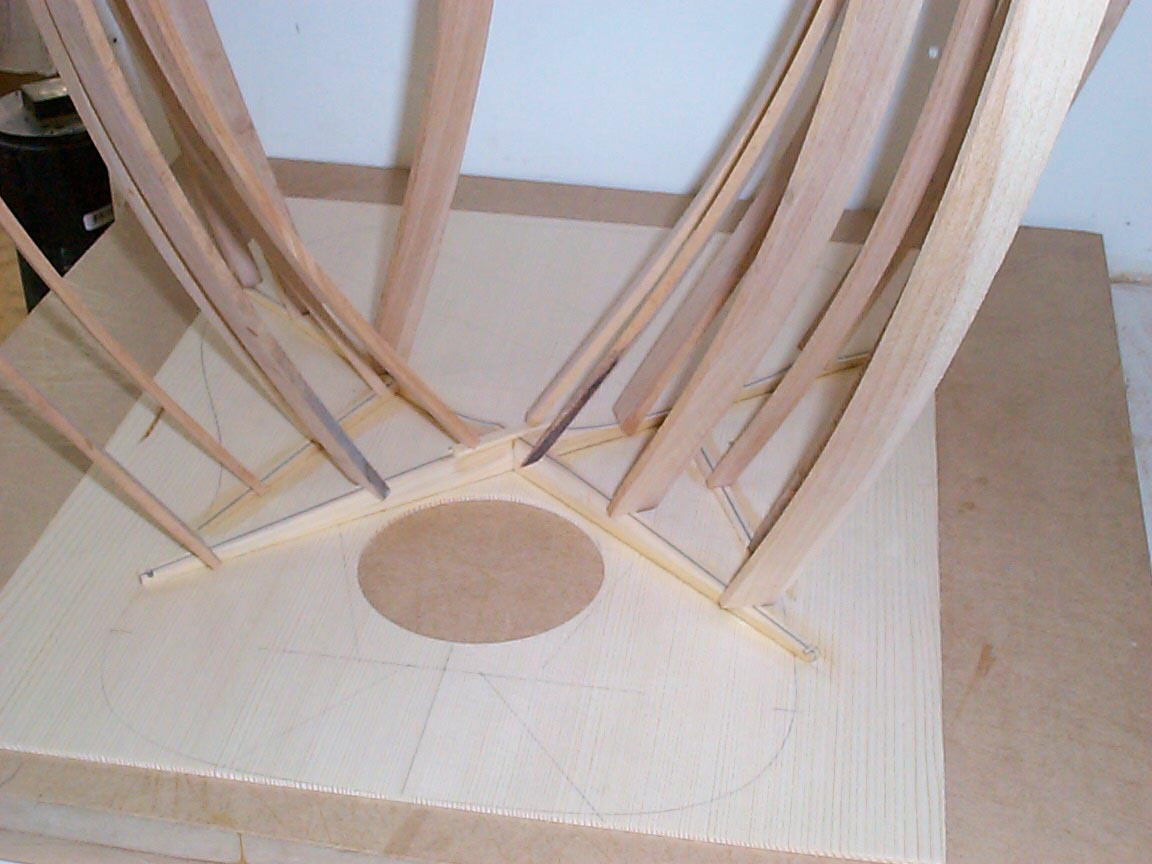
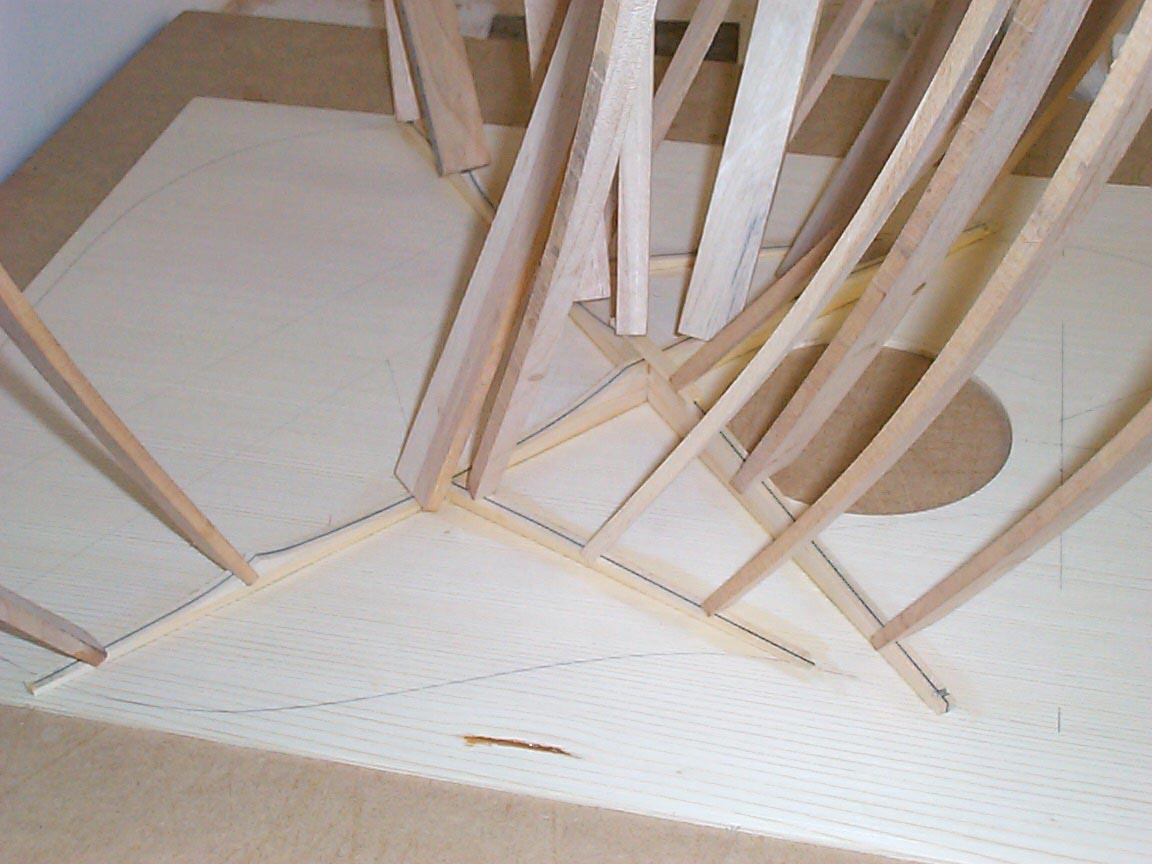
A lap joint is then carefully cut into the braces where they meet.
This little joint is critical! |
the braces are sawn to their rough profile. The carbon fiber is murder on
chisels, so I remove most of the "meat" with the bandsaw. But,
still, there's plenty of room left to tune the bracing when we're done.
This is not an assembly line robot procedure!
|
The braces are slowly glued in place using nothing but fresh, hot
hide glue. |
|
|
|
|
|
|
 |
|
 |
|
|
|
|
|
|
|
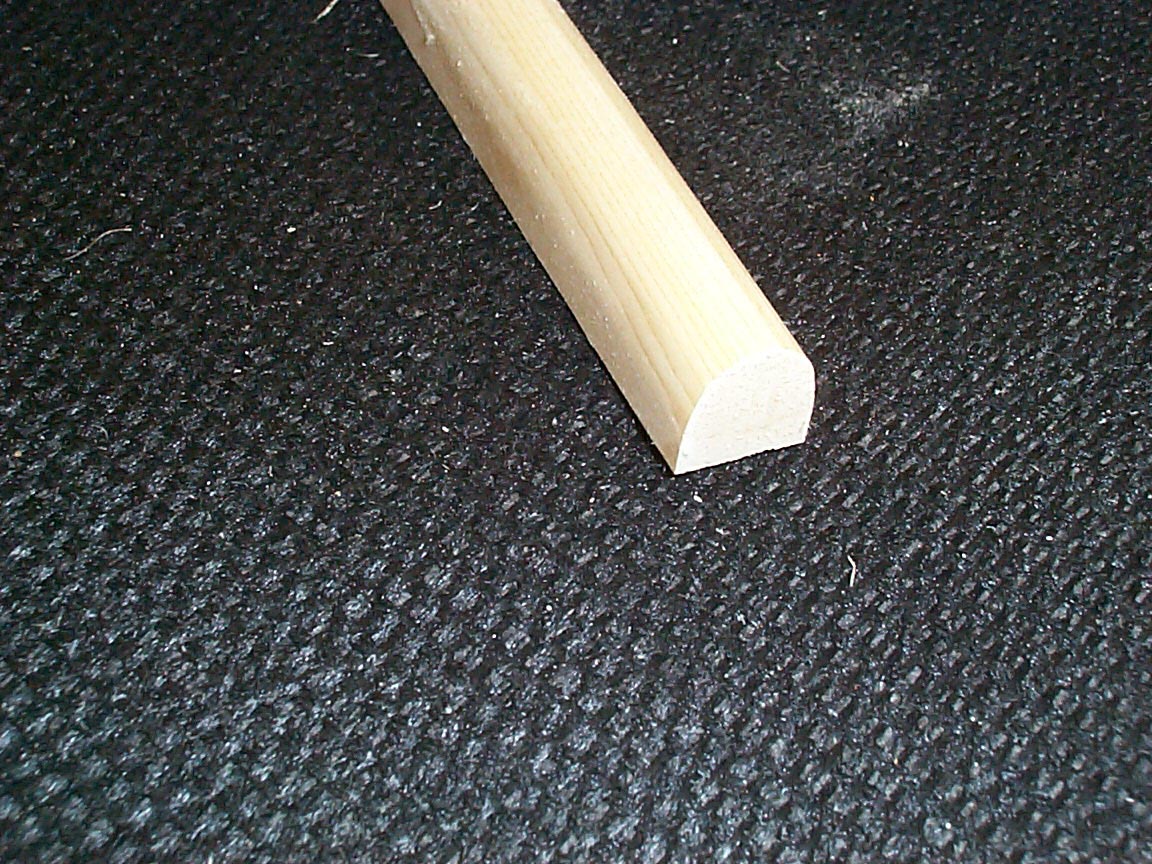
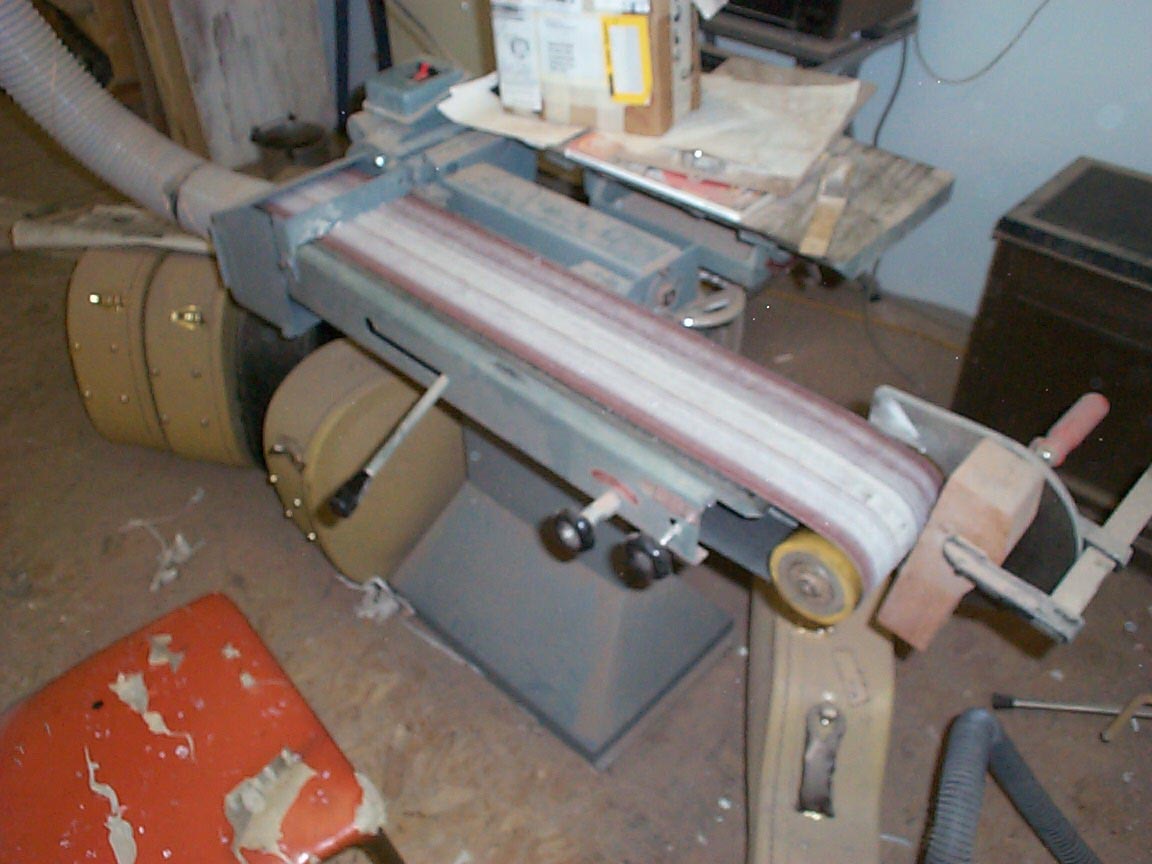
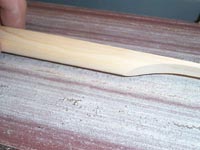
The large transverse brace will be rounded over, but I'll hog off
much of the wood with the table saw...... |
...and then take it to the large belt sander to round it over.
|
I often lose much of my fingerprints while doing this! |
|
|
|
|
|
|
 |

|
 |
|
|
|
|
|
|
|
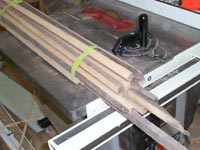
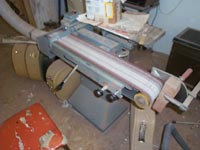
After the table saw, this long bed sander is likely my most used power
tool. Very handy!
|
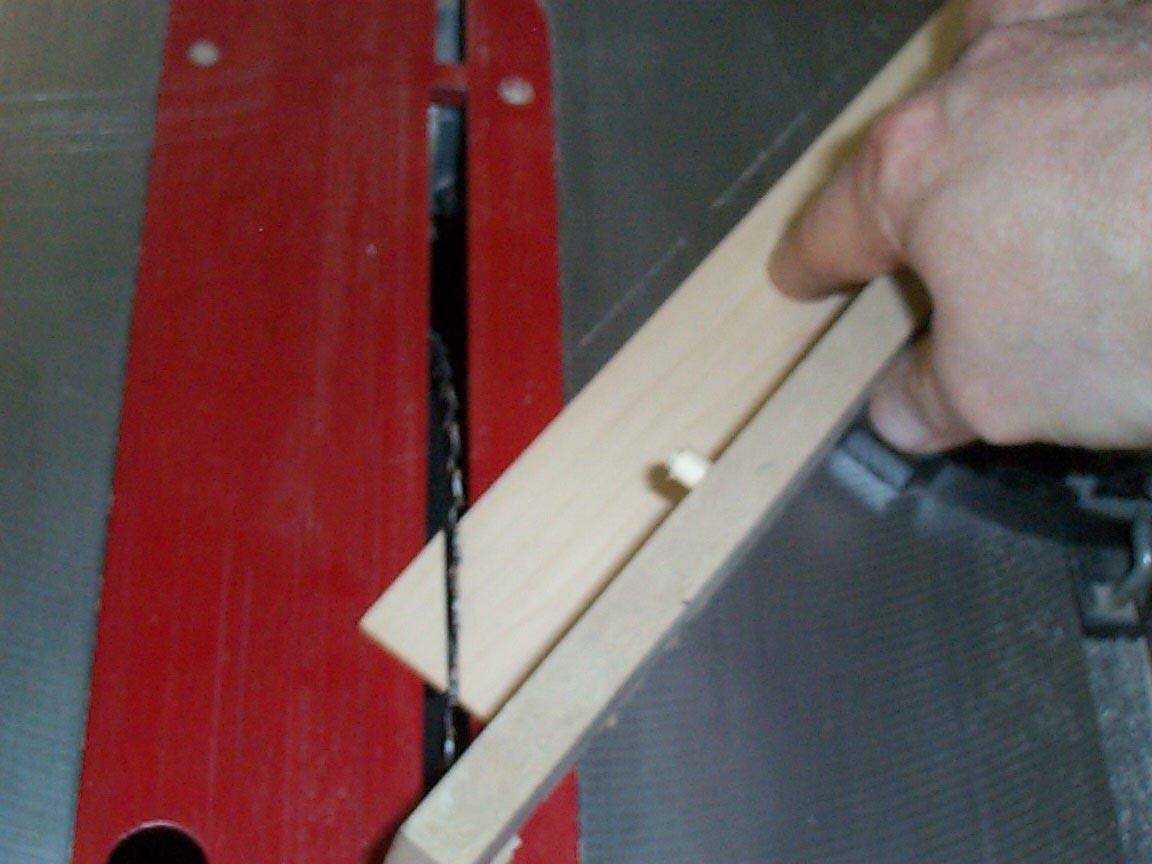
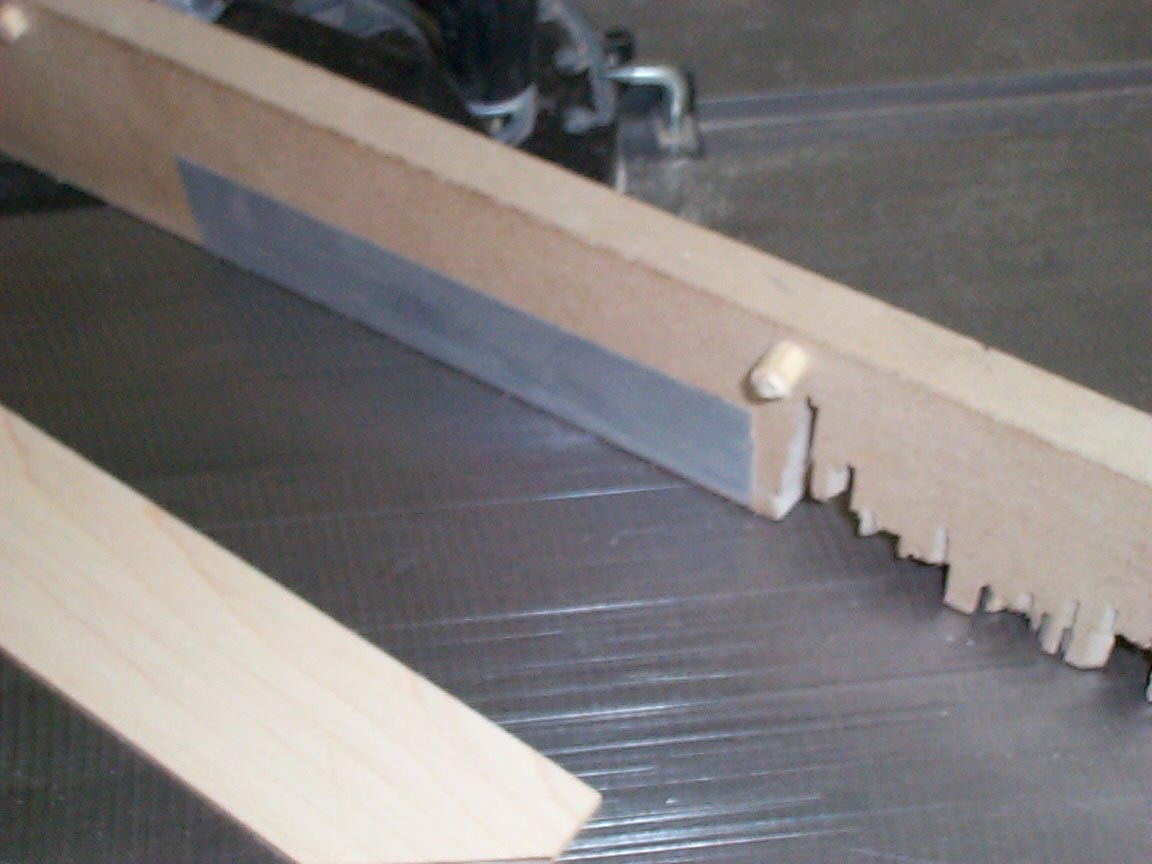
Back at the table saw, we'll saw up our bridge plate from some hard maple
stock I prepared eariler.
|
Here's a trick for the wood workers among you; I added a length of MDF to
my miter gauge, and then stuck some high friction tape to it. This both
prevents the work piece from sliding around while cutting acute angles,
and also brings the gauge right to the blade.
|
|
|
|
|
|
|
 |
|
 |
|
|
|
|
|
|
|
Now the tone bars go in...
Previous
page
|
And the bridge plate.
|
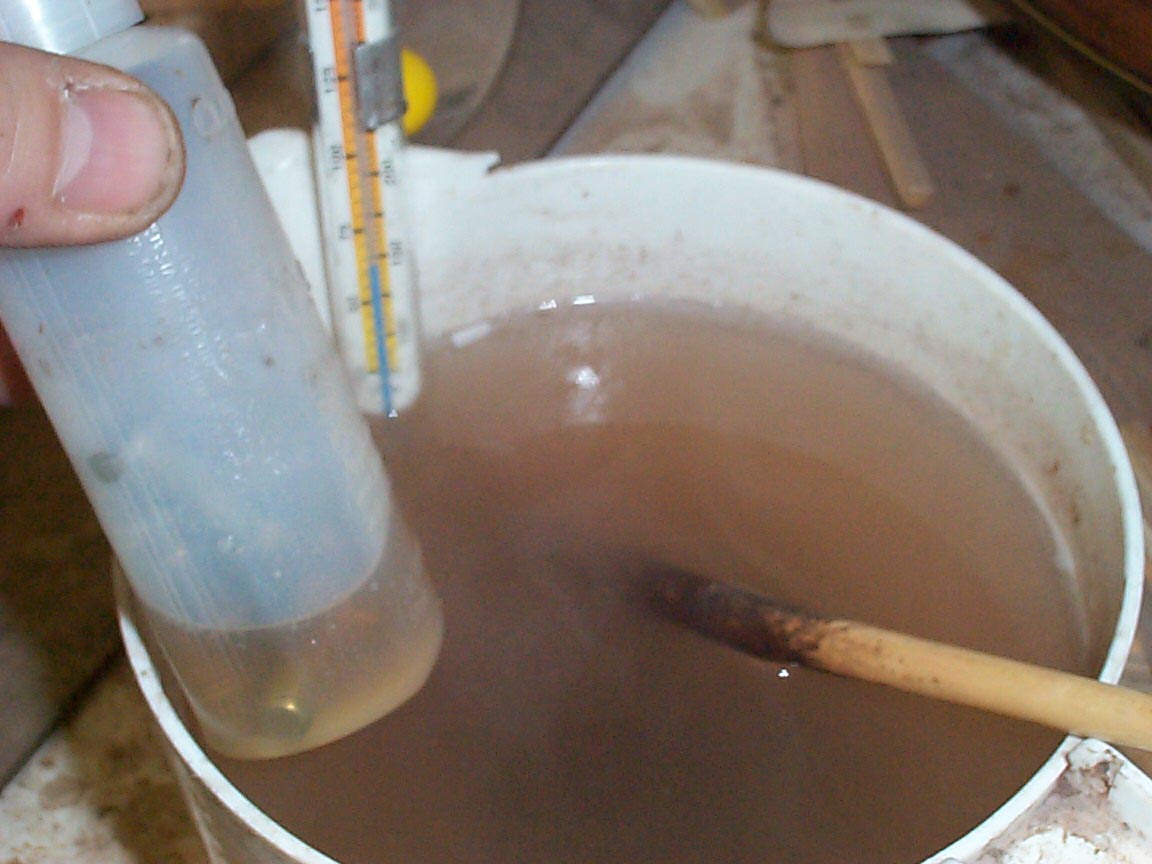
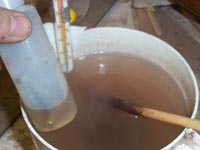
Here's my hide glue setup. A "rival' hot pot is used to warm
the water to 145f. The bottle has a handful of stainless steel bolts to
act both as ballast, keeping the bottle upright in the water bath, and
also as a heat sink, helping to keep the glue warm while it's out of the
bath. the brush is always there, ready to clean up the 'squeeze out'.
Next
page
|
|
|
|
|
|
|