|

|
 |
|
|
|
|
|
|
|
Next, we will cut the fretboard's radius. I like to use a compound
radius, one that begins at 12" at the nut and leads to about 20"
at the end of the fretboard. I believe that the compound lends to a lower
action, and a nice feel. |
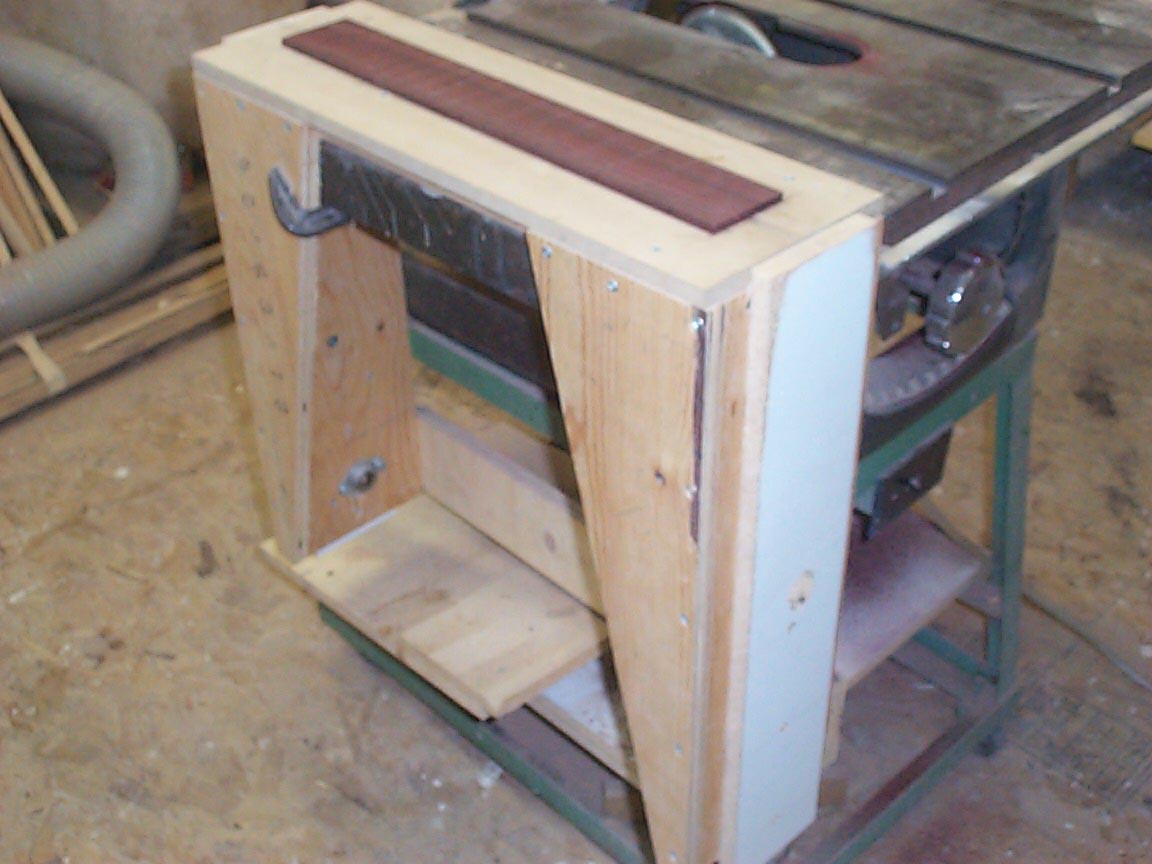
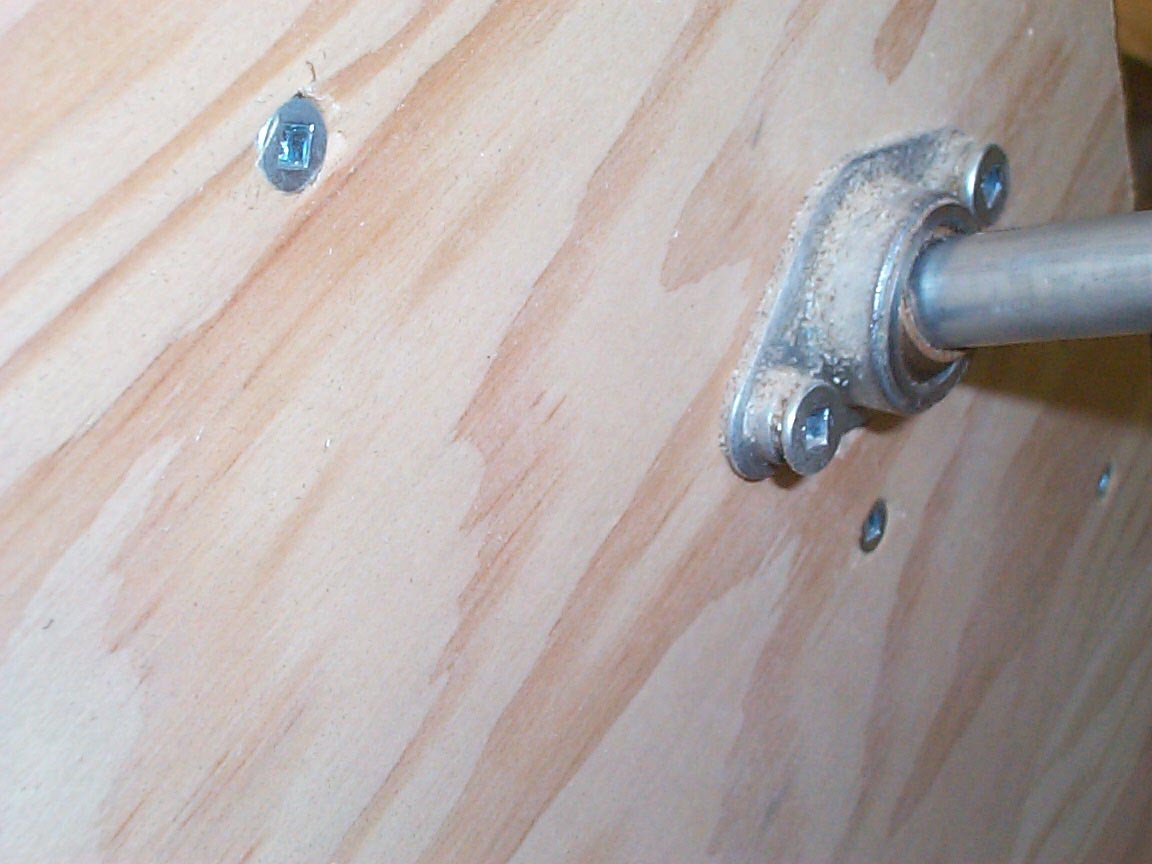
In order to cut this complex radius, we need a jig that will swing in two
arcs at the same time. To do this, I used a self aligning bearing set that
allows the table to swing and move in the way we want it to, yet with the
through shaft, it is all held together.
|
Simple, yet complicated.
We can see how the through shaft angles from the nut end(the right) to
the end of the fretboard.
|
|
|
|
|
|
|
 |
|
 |
|
|
|
|
|
|
|
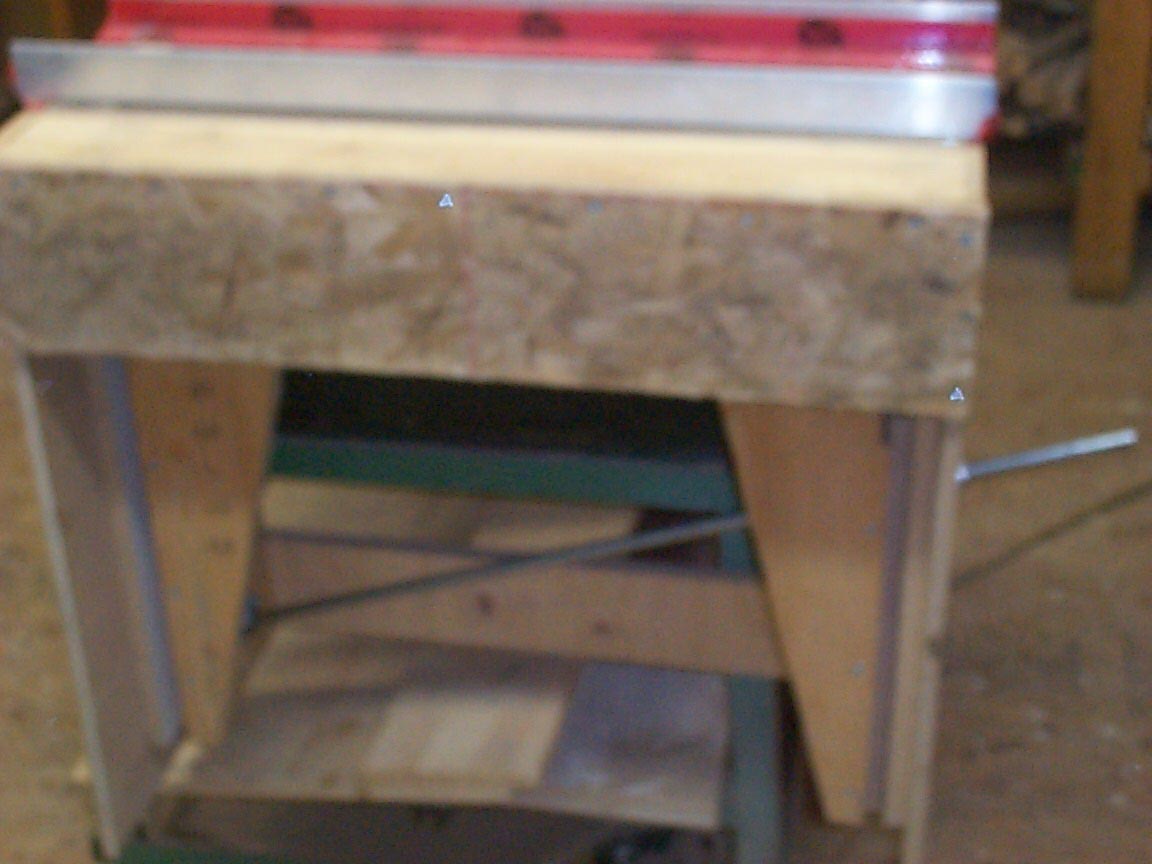
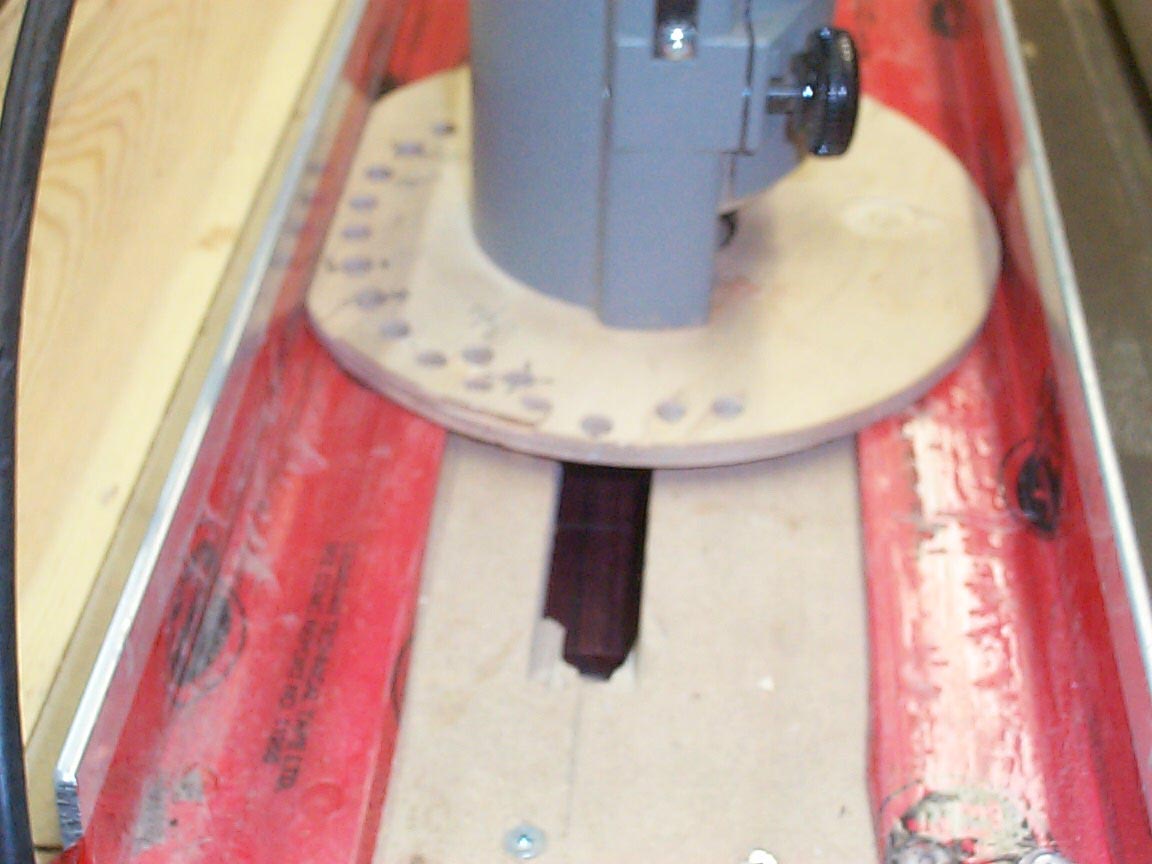
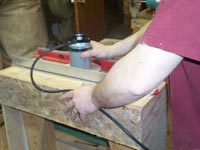
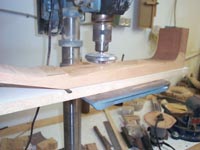
My favorite router runs in this sled of sorts. |
The sled's guides are helped along with this slippery tape.
|
In use, I hold the jig to one side, run the router up, then pull it
back, move the jig's swing a tiny bit, and make another pass with the
router. Back and forth, until we have cut the entire width. Takes about 10
minutes. |
|
|
|
|
|
|
 |
|
 |
|
|
|
|
|
|
|
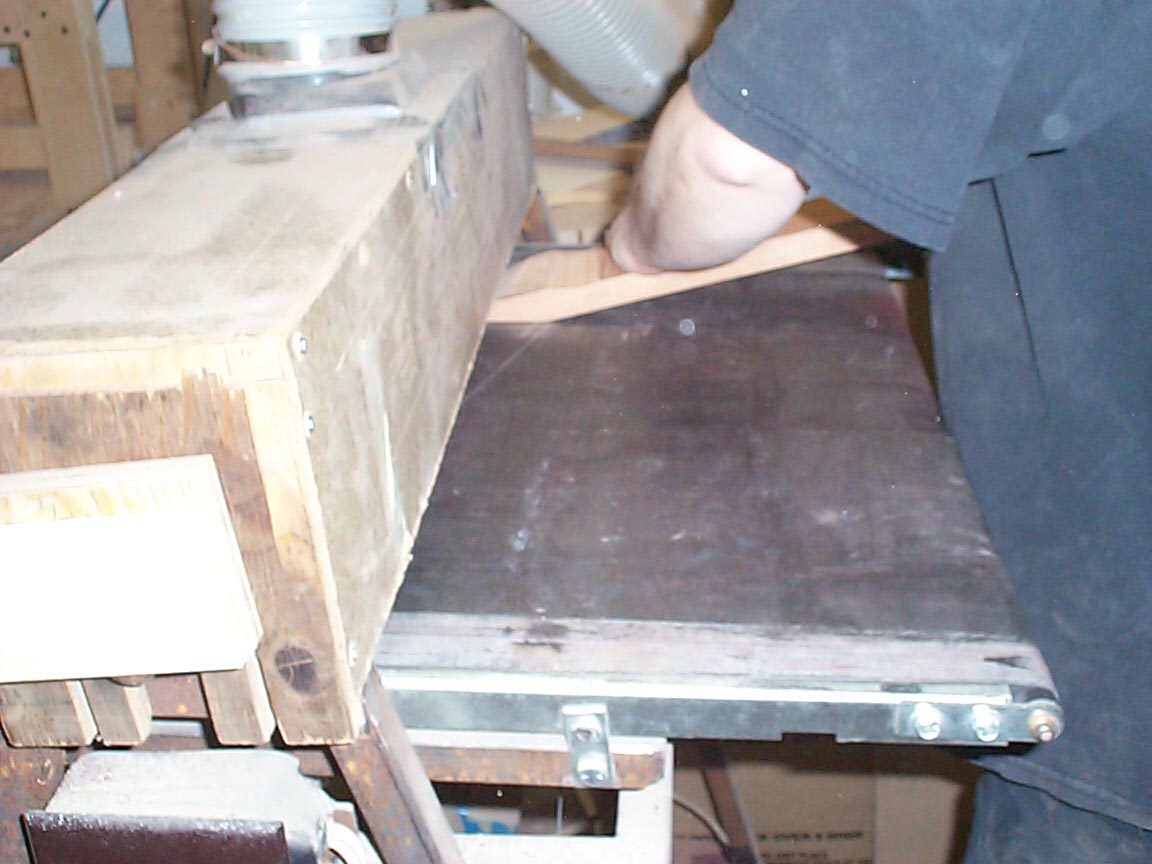
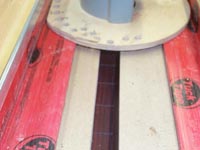
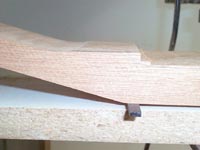
The results! Messy, yes, but the results are a very clean and accurate
radius.
|
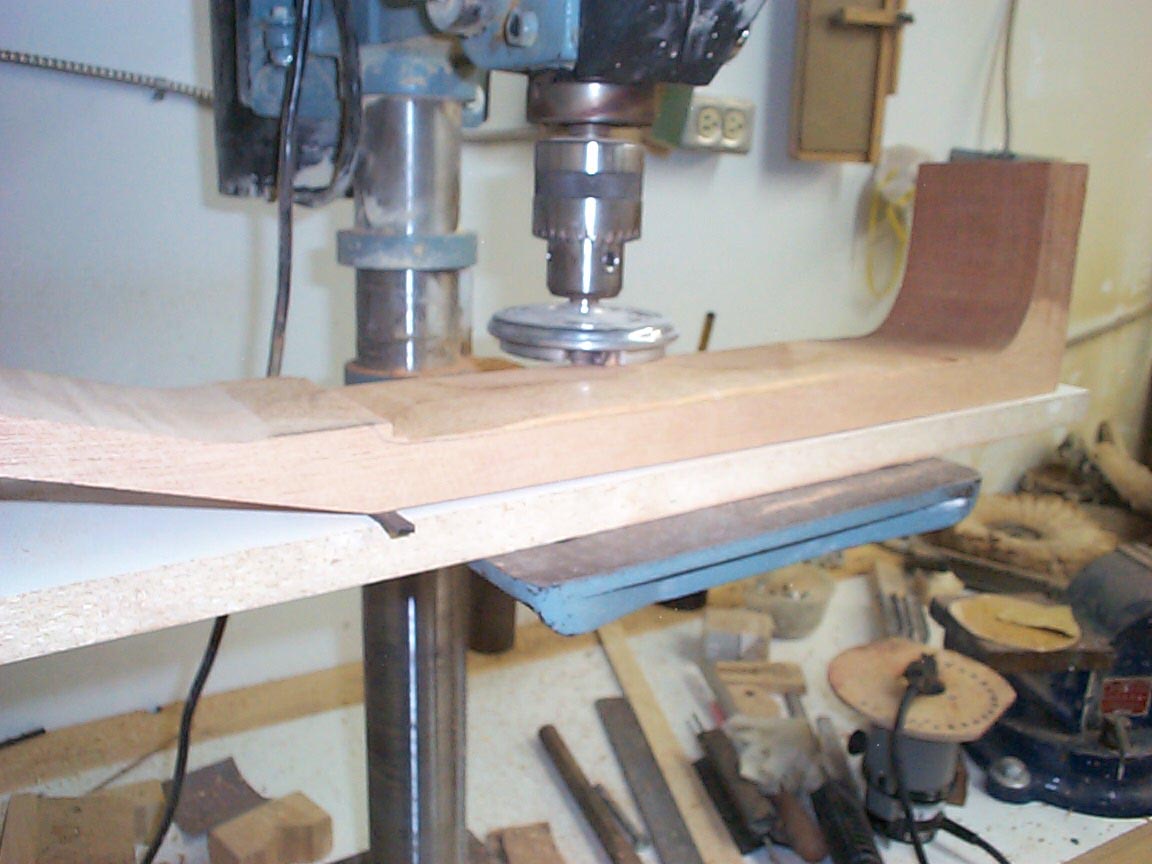
Now, back to the neck.....
Here, I'm using another jig to cut the headstock's taper at the proper
angle
|
After cutting the angle, I'll set the thickness sander to what we need,
and true up the back side of the headstock.
|
|
|
|
|
|
|
 |
|
 |
|
|
|
|
|
|
|
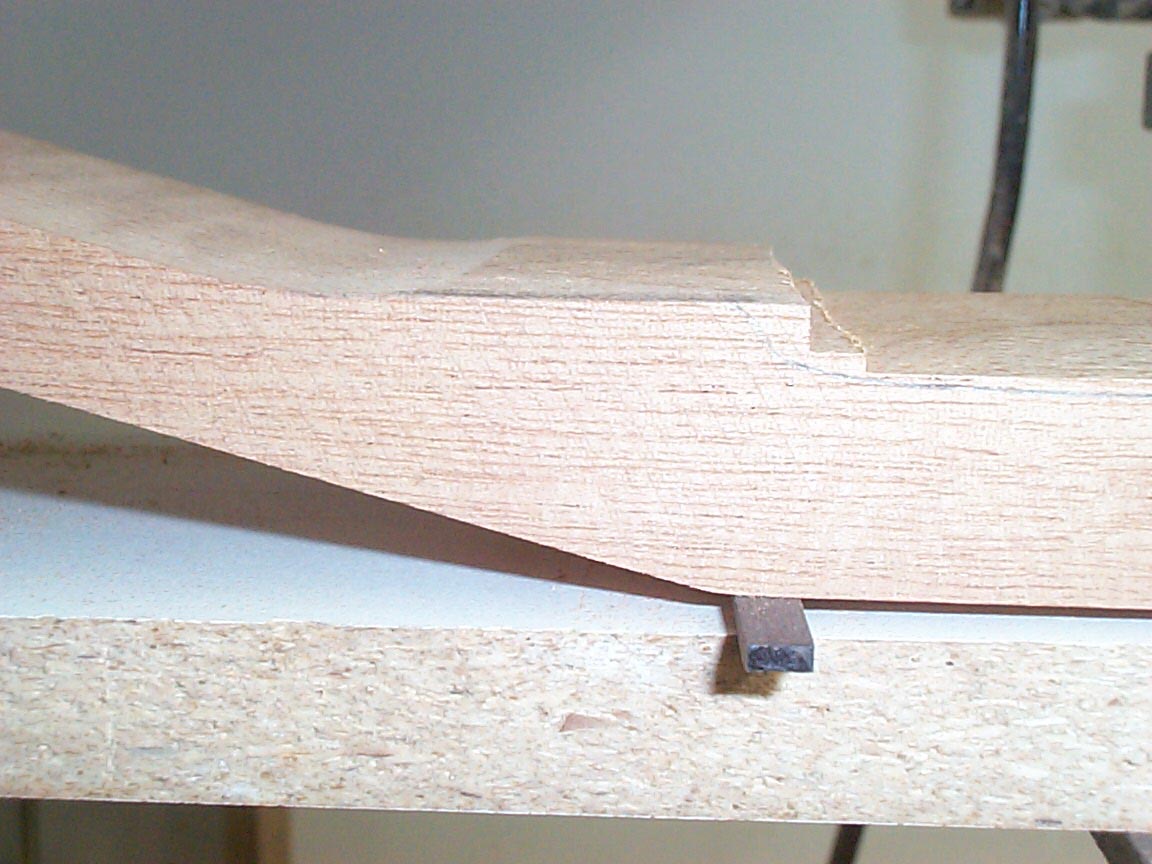
Voila! the little bit that looks out of place is the
"meat" left in case we want to carve a volute. All my necks
start out this way, but those that will not have the volute will simply go
back through this step later. |
The back of the neck's shank needs to be tapered slightly
To get this taper, I temporarily glue a thin strip under the nut area
of the neck, and set the cuter to the final depth, and run it along..
|
here's that little strip. Its thickness will define the taper from
the nut to about the 10th fret.
Some like more taper, some less. For the DU guitar, I went with a light
taper, which I prefer.
|
|
|
|
|
|
|
 |
|
 |
|
|
|
|
|
|
|
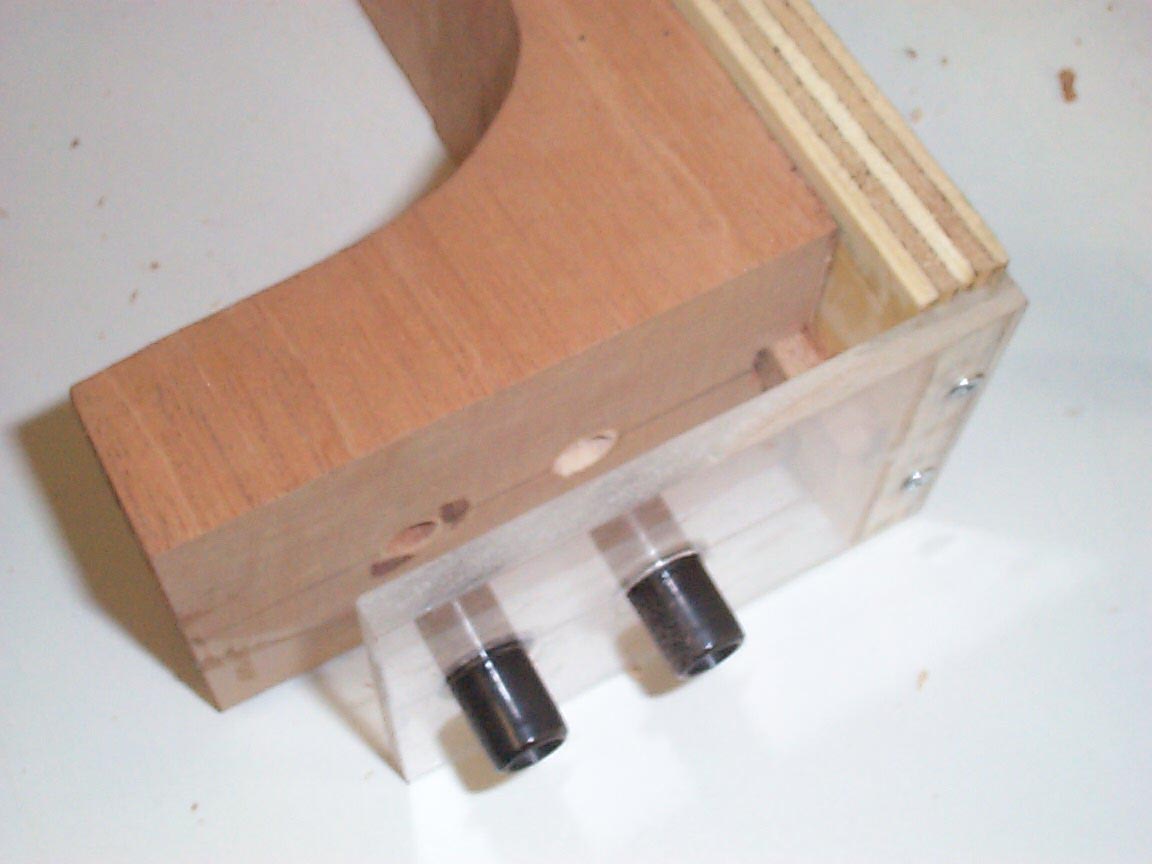
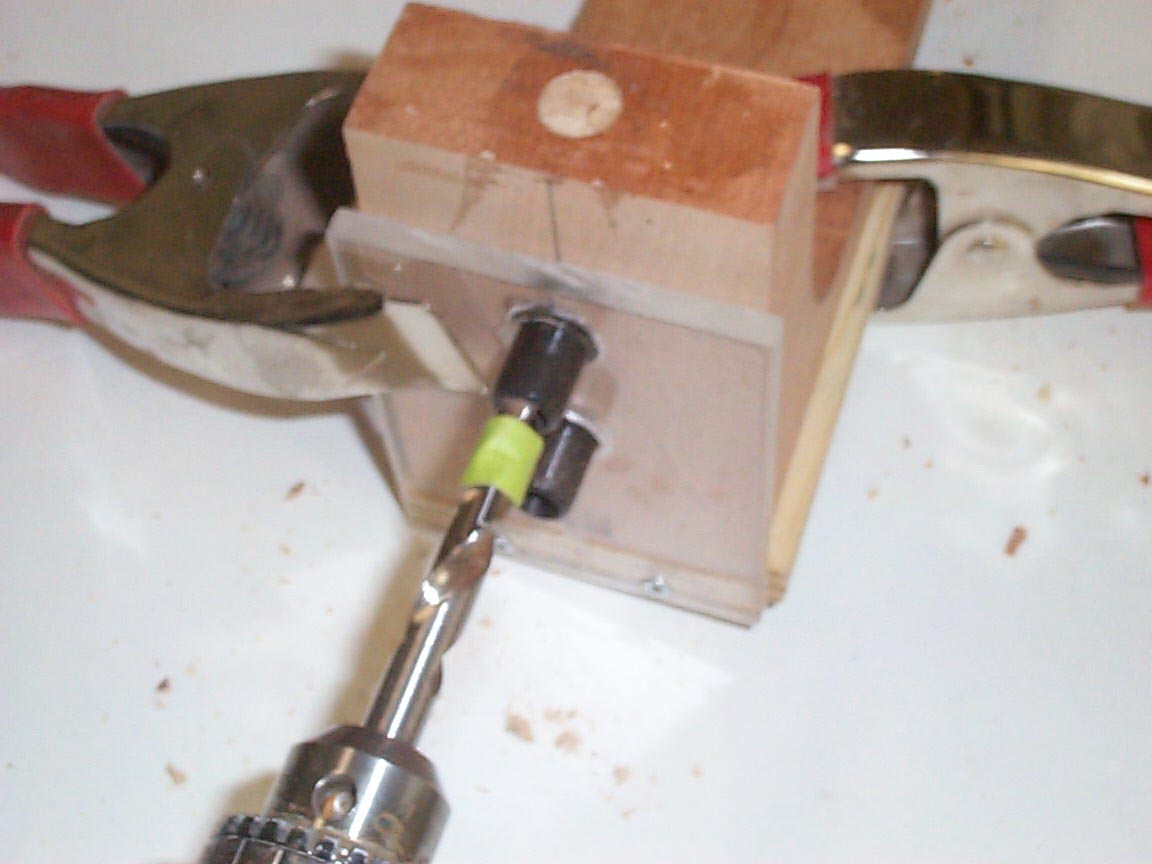
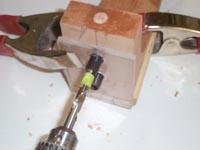
The heel of the neck needs to be drilled for the bolt inserts. This
little jig assures us of repeatability. |
The drill guides ensure that the drilling is square to the neck.
|
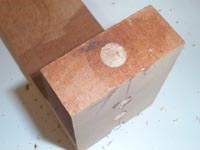
A dowel is glued in for the entire length of the heel. This serves
to both give the threaded inserts something to bite into, and also
prevents snapping off of the heel should an accident happen. In fact, my
first guitar has had a cracked heel for over 6 years now, yet the dowel
has held it prefectly! |
|
|
|
|
|
|
 |

|
 |
|
|
|
|
|
|
|
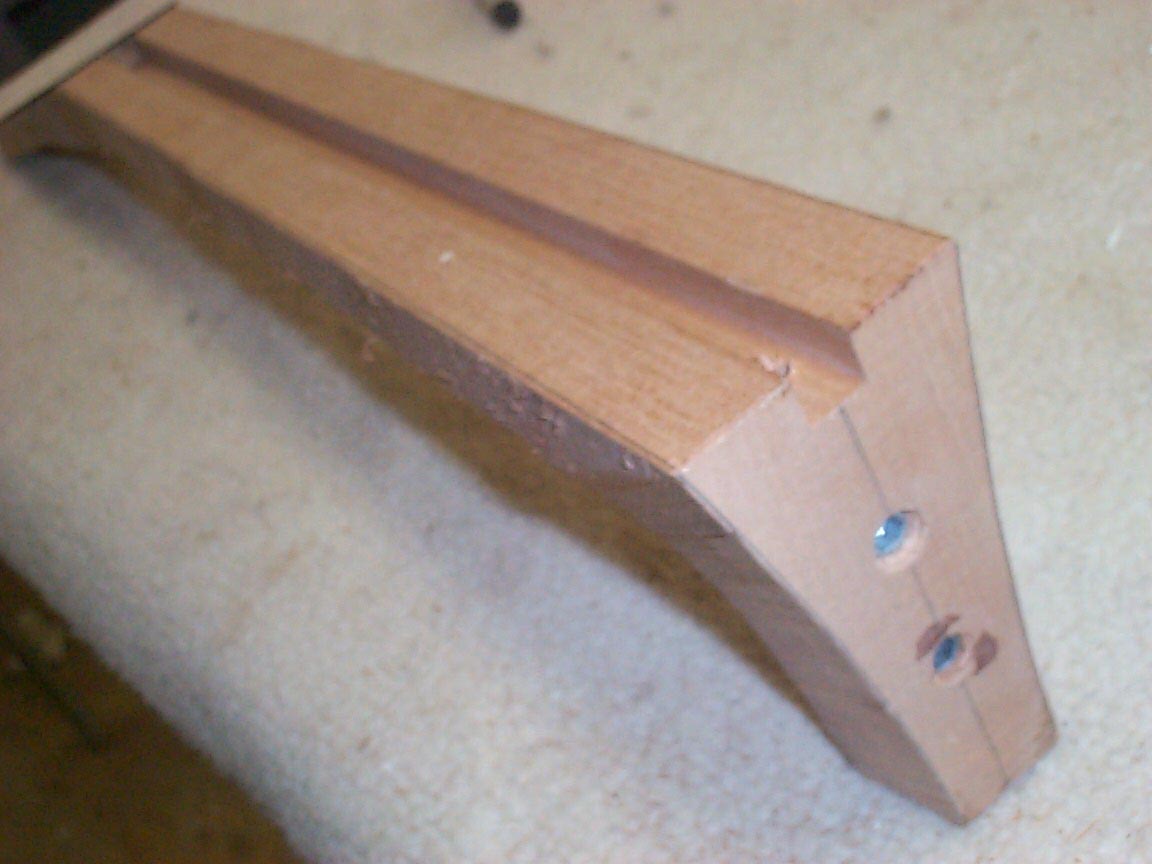
The ebony headplate is glued on, then marked and rough cut, as was the
rest of the neck.
|
The taper and heel are also roughed out at this point.
|
The heel needs to be cut so that the heel cap will land where we want it
to, being right on top of the bindings.
|
|
|
|
|
|
|
 |

|
 |
|
|
|
|
|
|
|
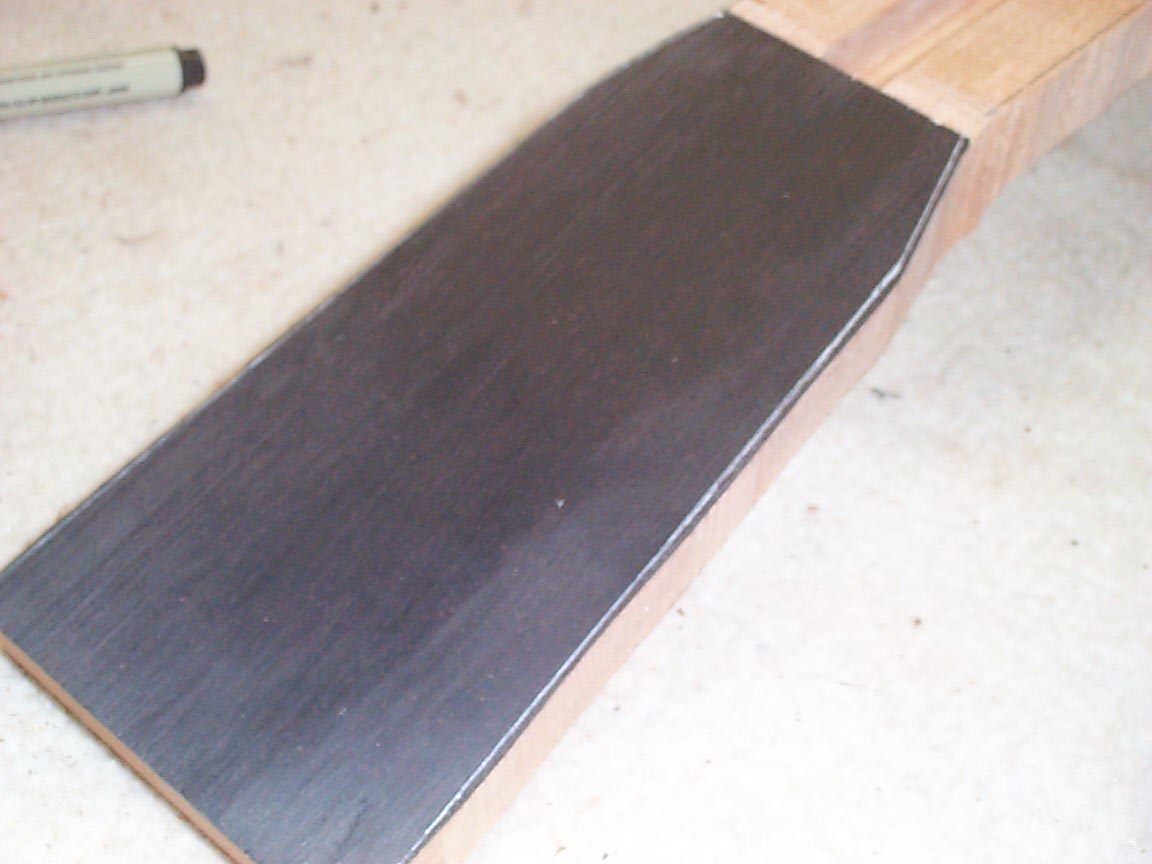
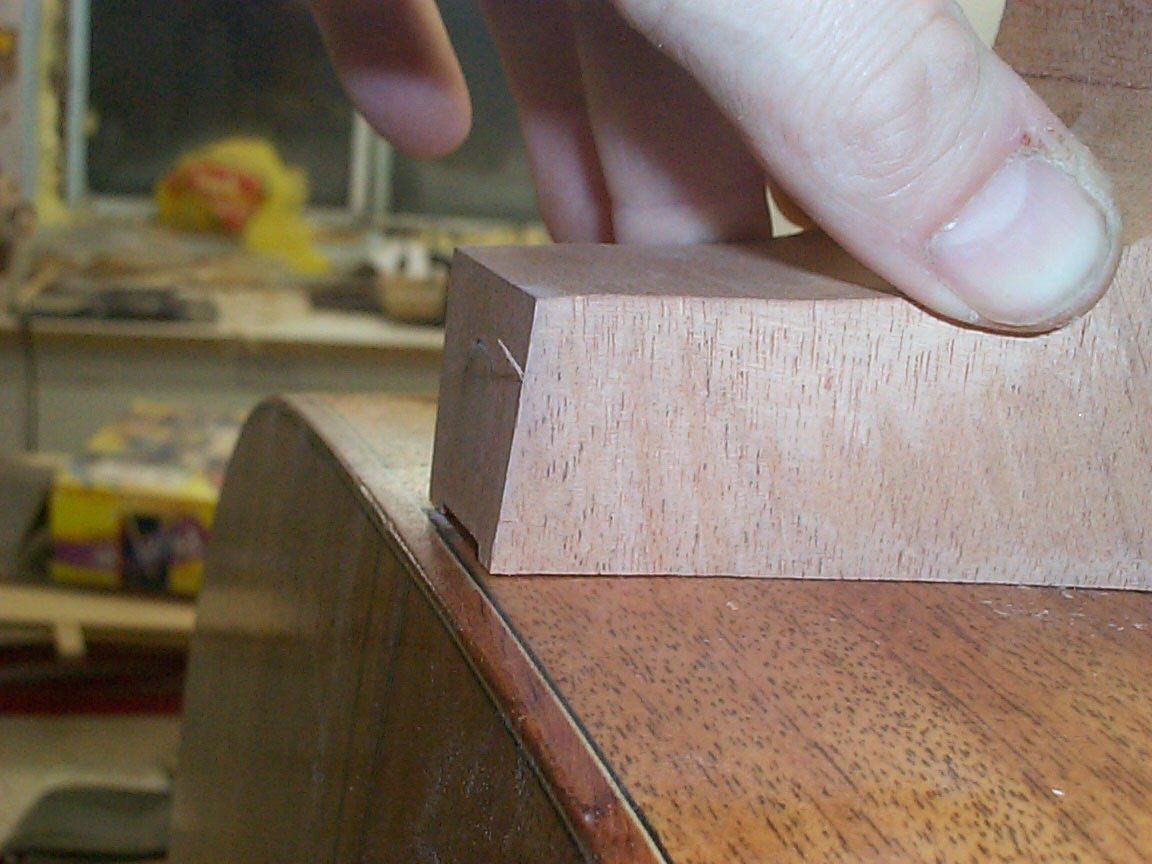
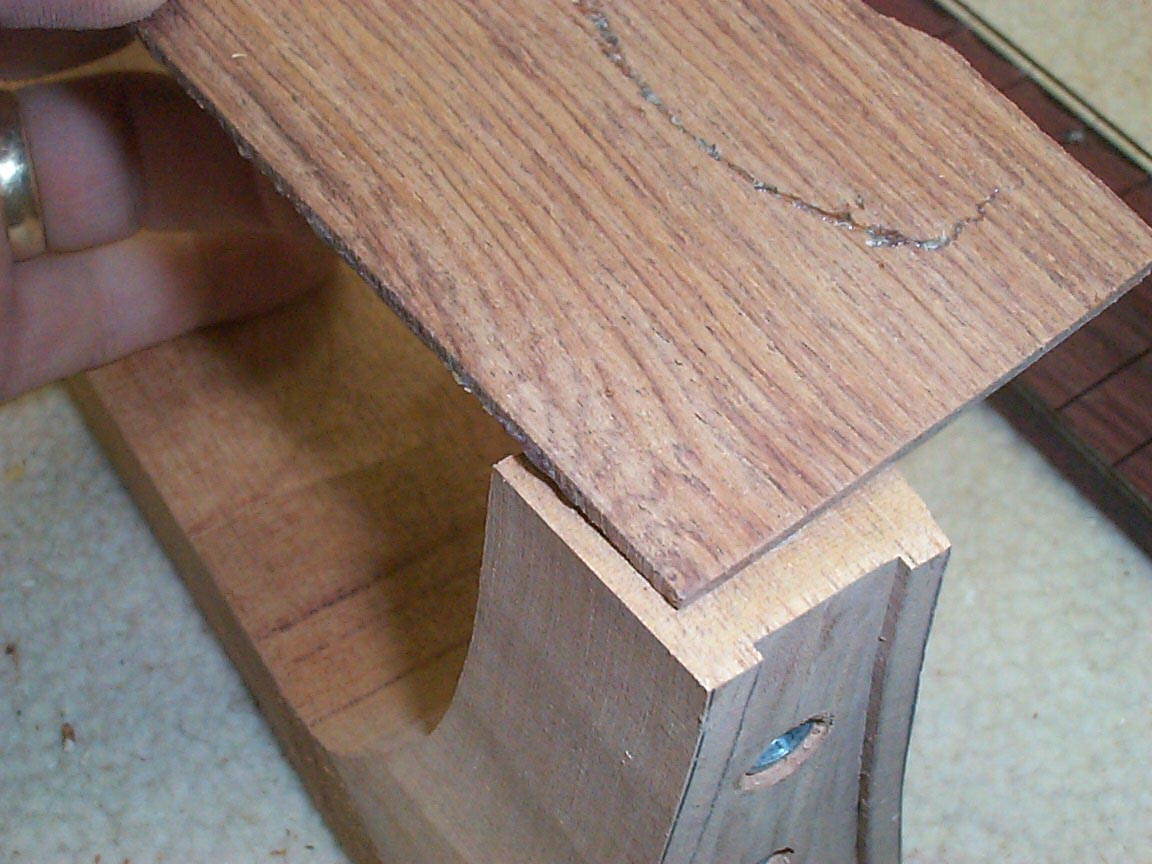
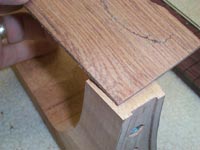
The heel cap will be made from another piece of South East Asia RW to
match the bindings.
Note the relief cut in the heel; that is because the guitar body is
curved; this relief makes it possible to achieve a tight fit between the
neck and body. While it may look flimsy, this neck attachment style has
been in use by some major manufacturers of high end guitars for years, and
continues to be used by them. I feel very confident in it, having not had
a single problem in using it since 1997.
|
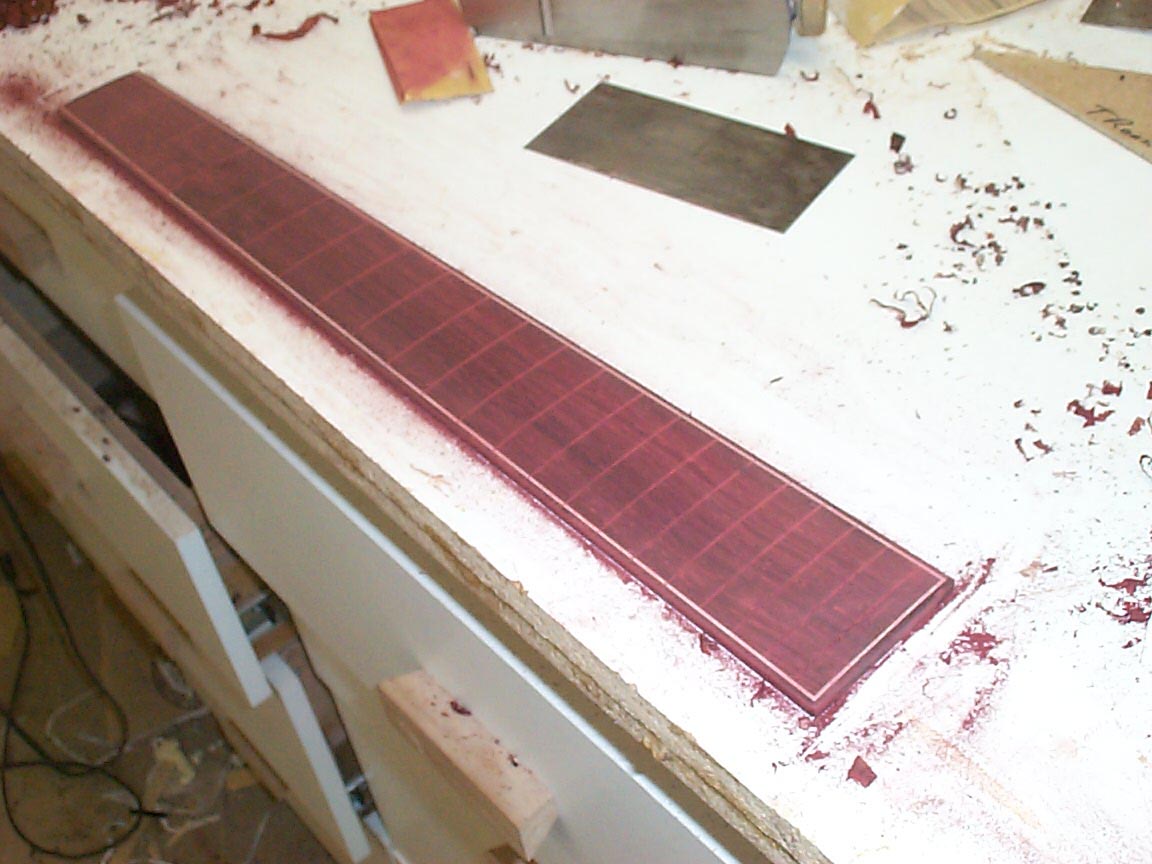
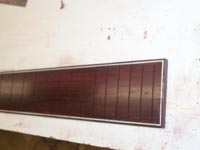
Meanwhile, back at the fretboard.......
We've tapered the board, and then bound it in ivoroid(the white line),
followed by the Bois D'Rose bindings I had cut from the fretboard blank.
Here, we're truing up the bindings, and fine sanding the board. |
Looks good, no?
|
|
|
|
|
|
|
|
Previous page
|
|
Next Page
|
|
|
|
|
|
|