 |
|
 |
|
|
|
|
|
|
|
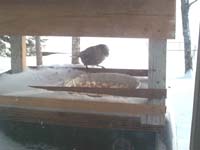
I built this little "feeder" shack for my little friends, the
Grey Jays(AKA: Whiskey Jacks). They meet me every morning for their fix of
torn up bread, fat, and leftovers. |
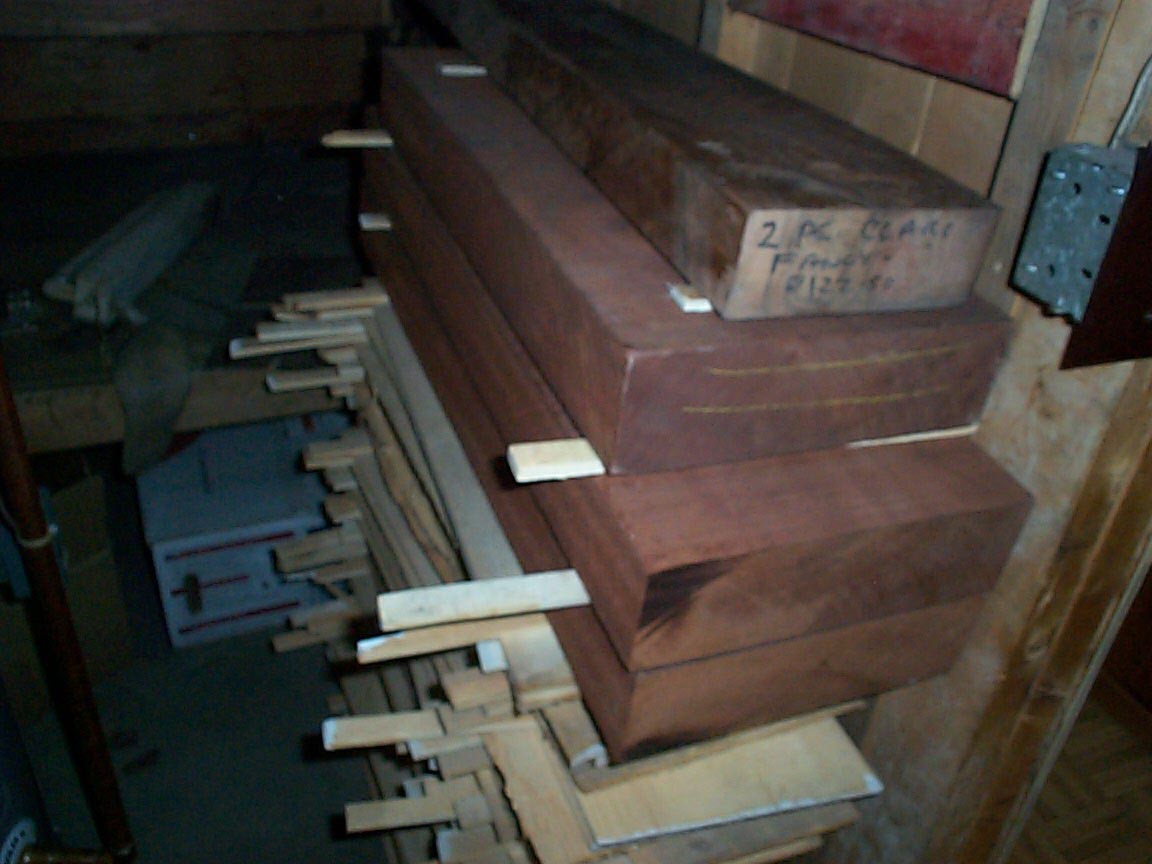
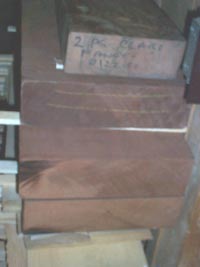
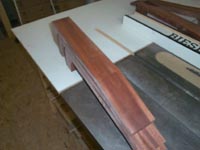
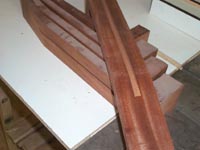
Back to the guitars, here is a stack of mahogany billets that have been
seasoning for a few years. These billets are a little over 3" thick
by 12" or so wide, by around 3 feet long. From each one, we'll get
8-10 one piece necks.
|
the billets are quite heavy, and are used to weigh down a stack of
drying spruce. |
|
|
|
|
|
|
 |
|
 |
|
|
|
|
|
|
|
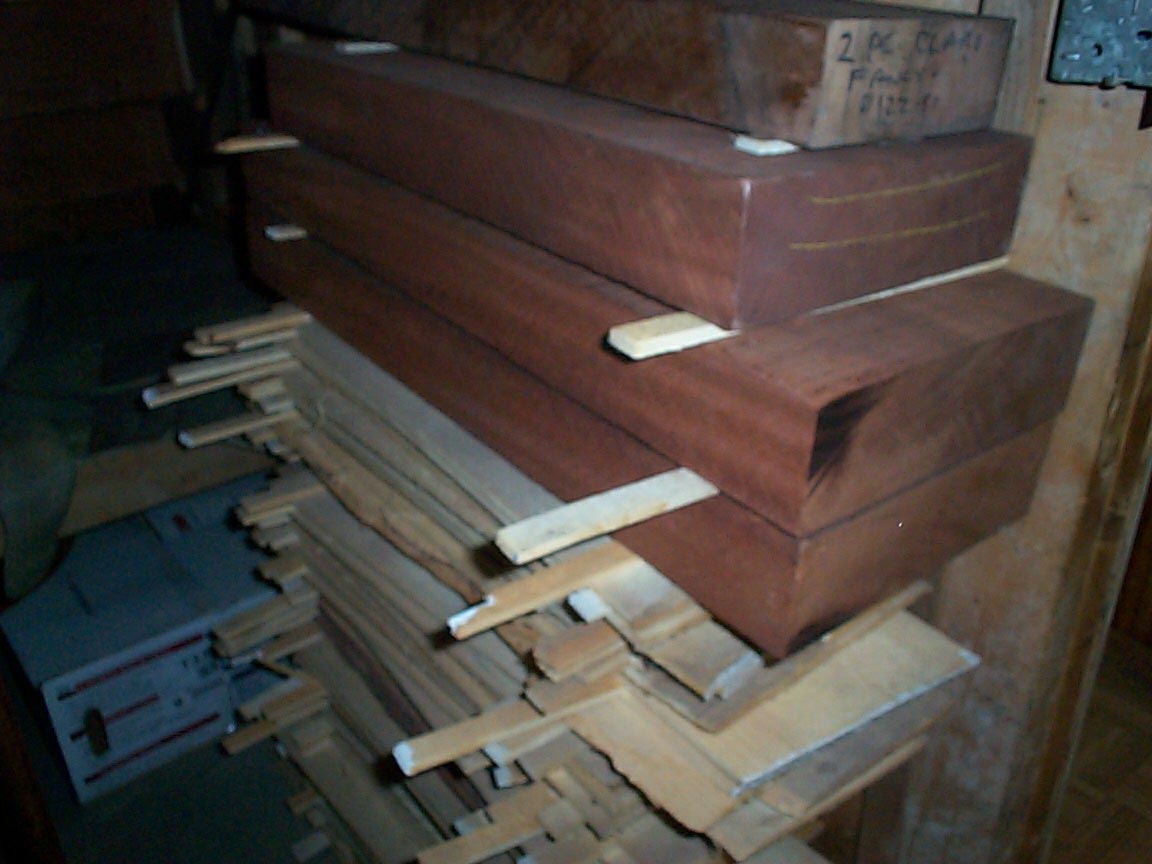
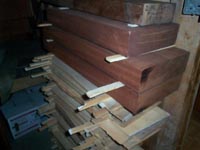
More of the same..... |
the necks get rough cut from the billets about one year ahead of
time to be sure they are completely stable and dry. I keep these in the
shop, where the humidity is very constant.
|
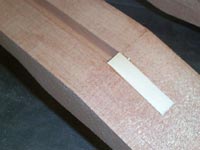
First step after bandsawing to shape is to cut the truss rod channel. I
use a dado blade set in the Unisaw for this operation. It's takes a good
deal of time to get the dado set exactly as I want it, so once set, I'll
do all the neck blanks right away. In this case, we did 11 of them. |
|
|
|
|
|
|
 |
|
 |
|
|
|
|
|
|
|
A small filler piece will fill the slot at the peg head, as we will
be adjusting the rod from the sound hole.
|
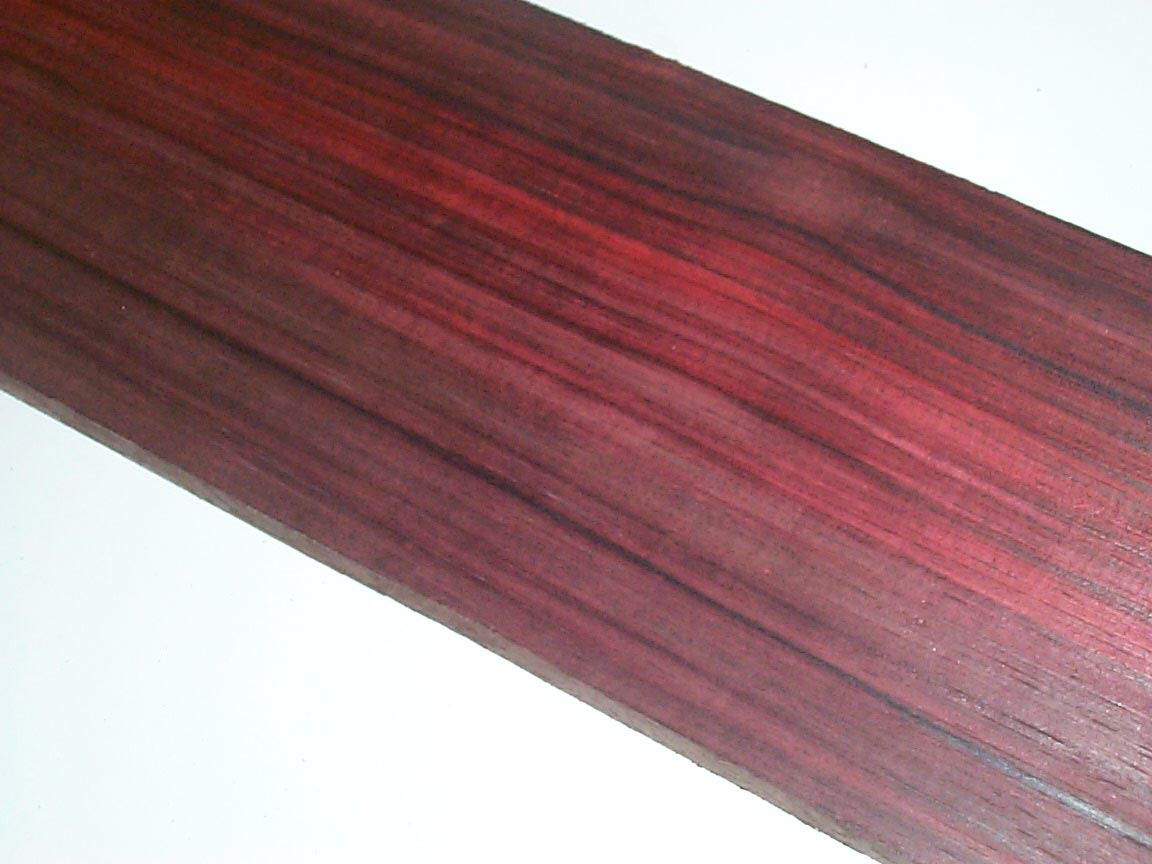
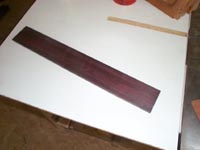
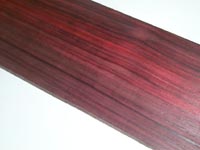
now, we'll turn our attention to the fretboard. I've chosen a nice piece
of "Bois D'Rose" for the DU guitar's fretboard. this is my
favorite FB material. It is a rosewood, thus is light in weight, lends to
a brighter tone than ebony, yet this one will turn nearly pure black with
age.
|
Freshly worked, the "Bois D'Rose" is quite colorful, and very
pretty indeed, but it will turn nearly pure black in just a few months.
|
|
|
|
|
|
|
 |
|
 |
|
|
|
|
|
|
|
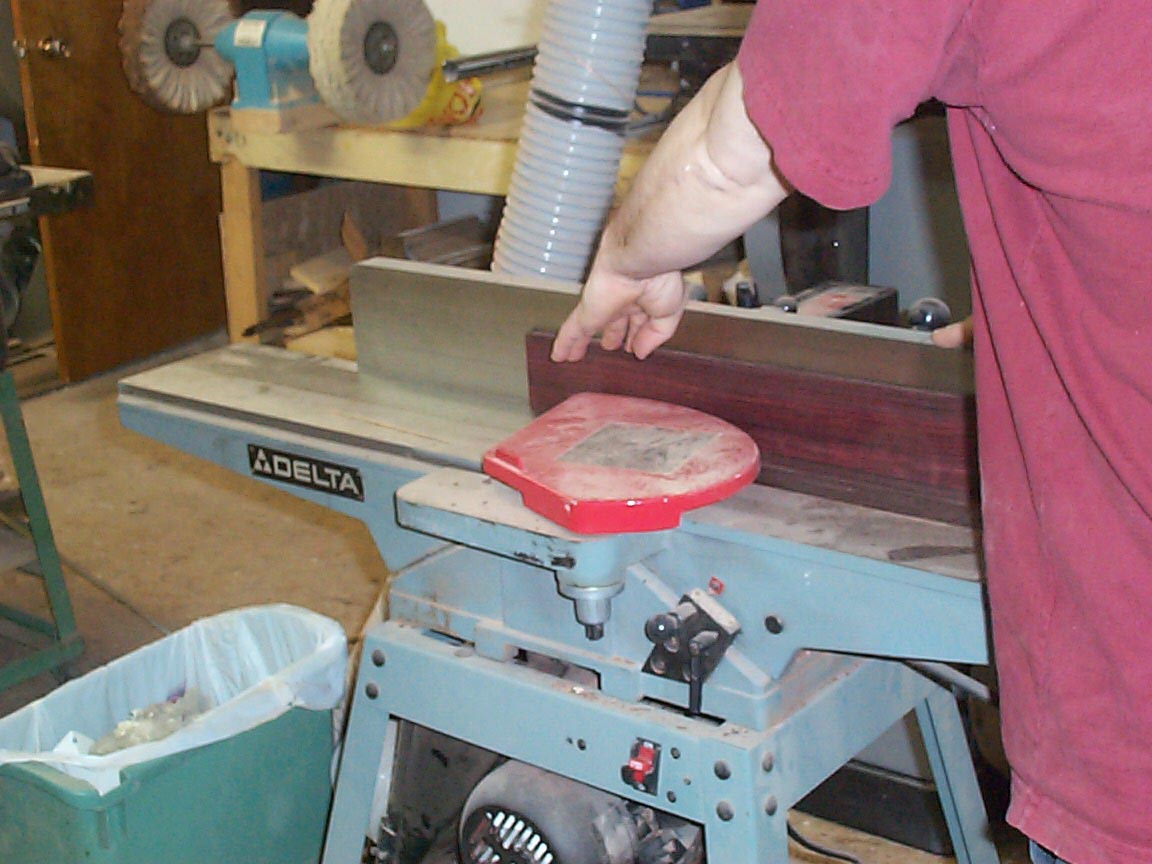
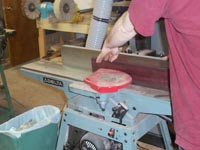
First step after getting it to final thickness is the make one edge
dead straight, using the jointer. |
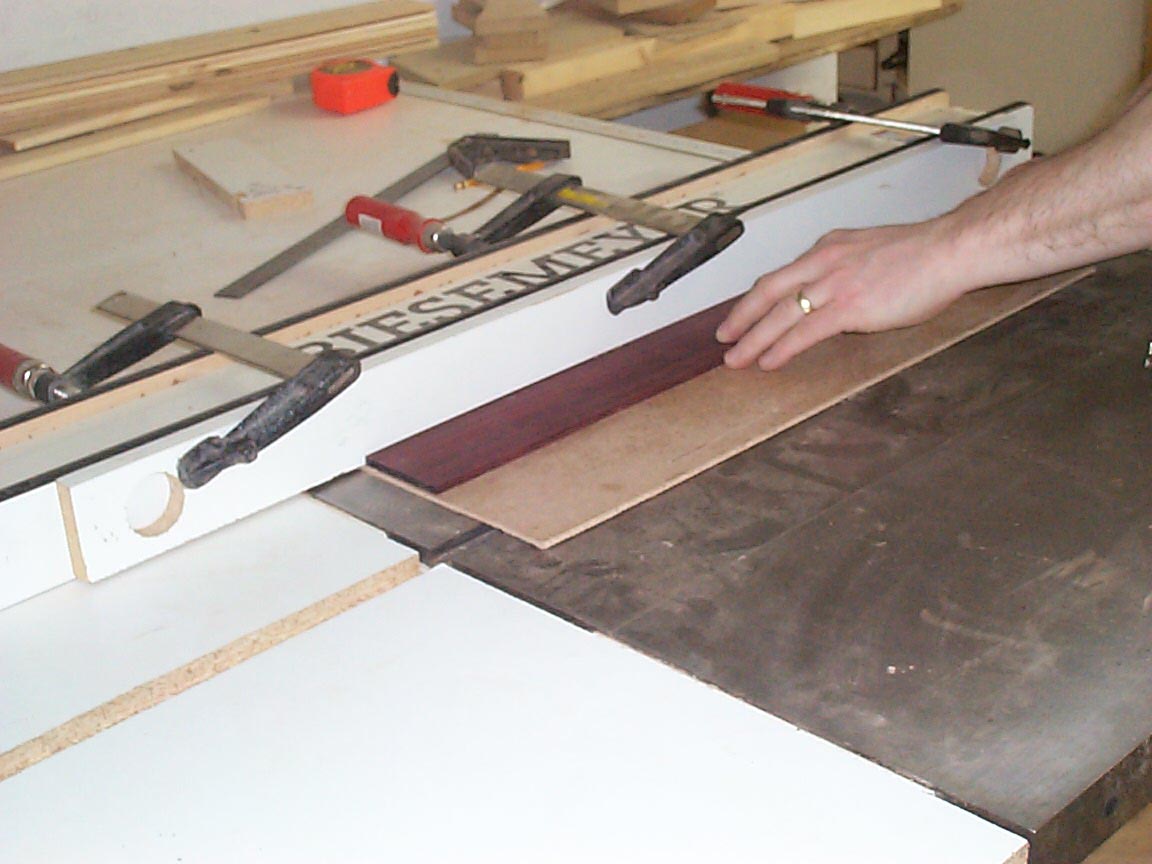
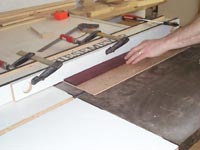
Before I rip the piece to its final width, I'll rip off a pair of
1/16" wide slices, to be used as the bindings later one.
|
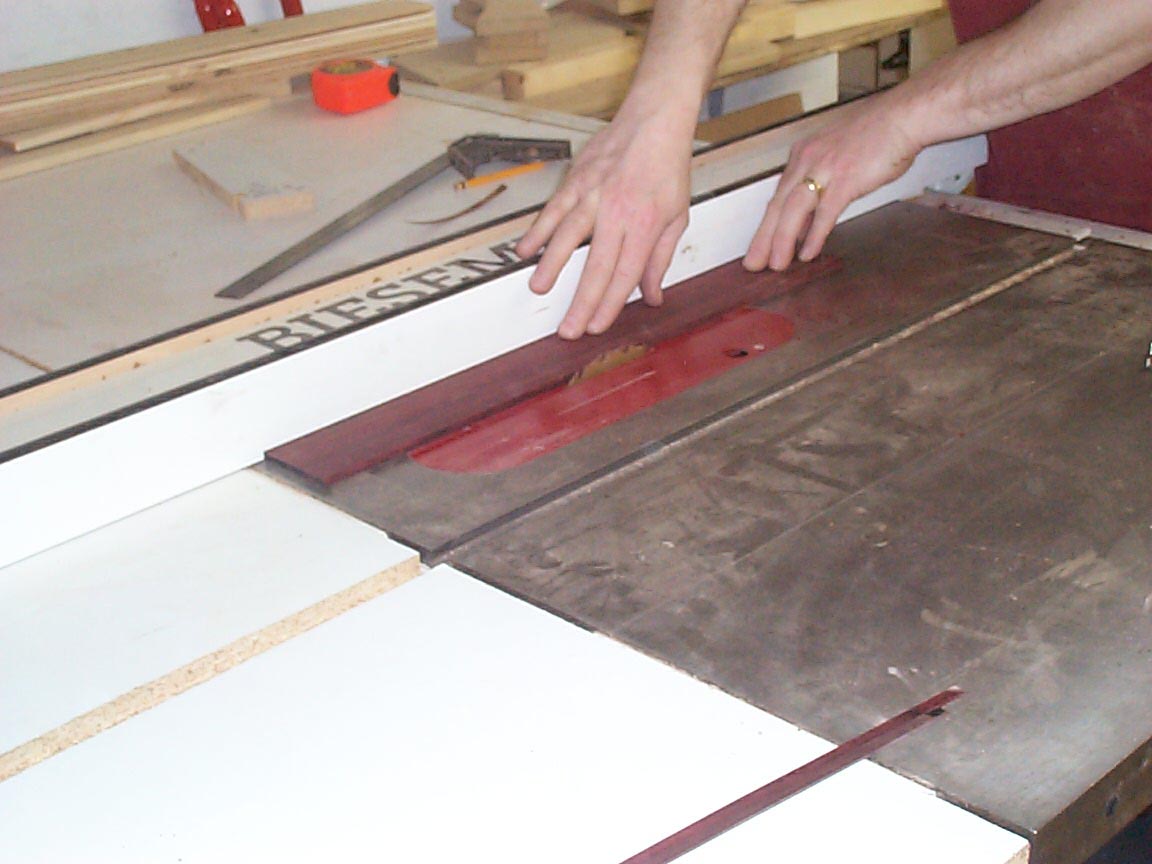
Now that I have my bindings cut from it, I'll rip the board to its
final width. |
|
|
|
|
|
|
 |

|
 |
|
|
|
|
|
|
|
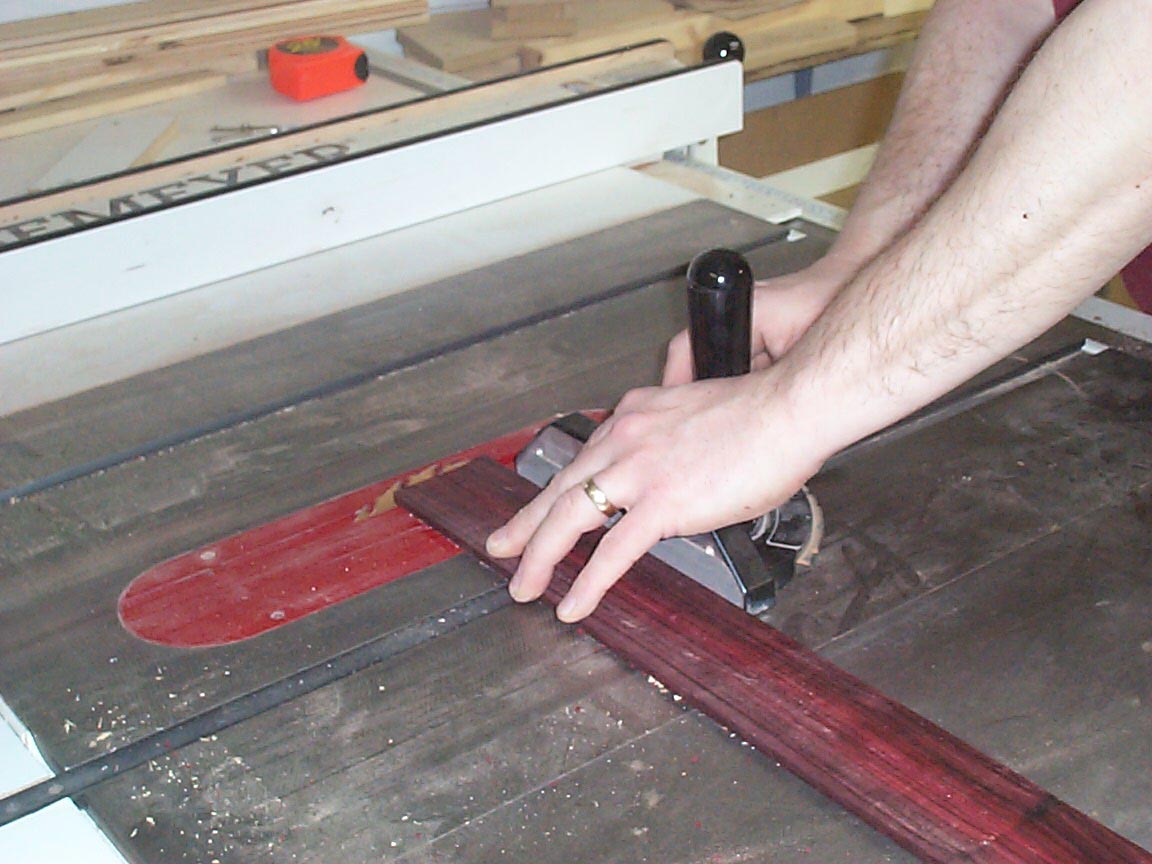
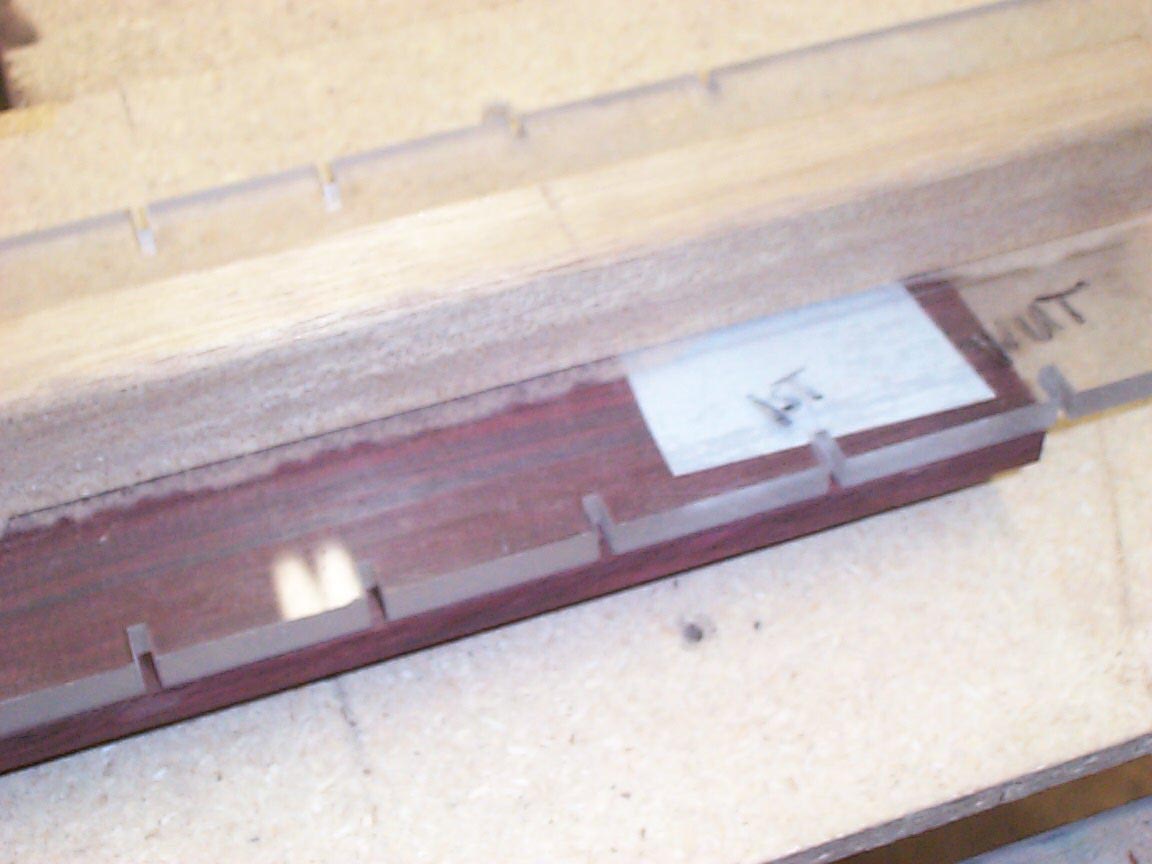
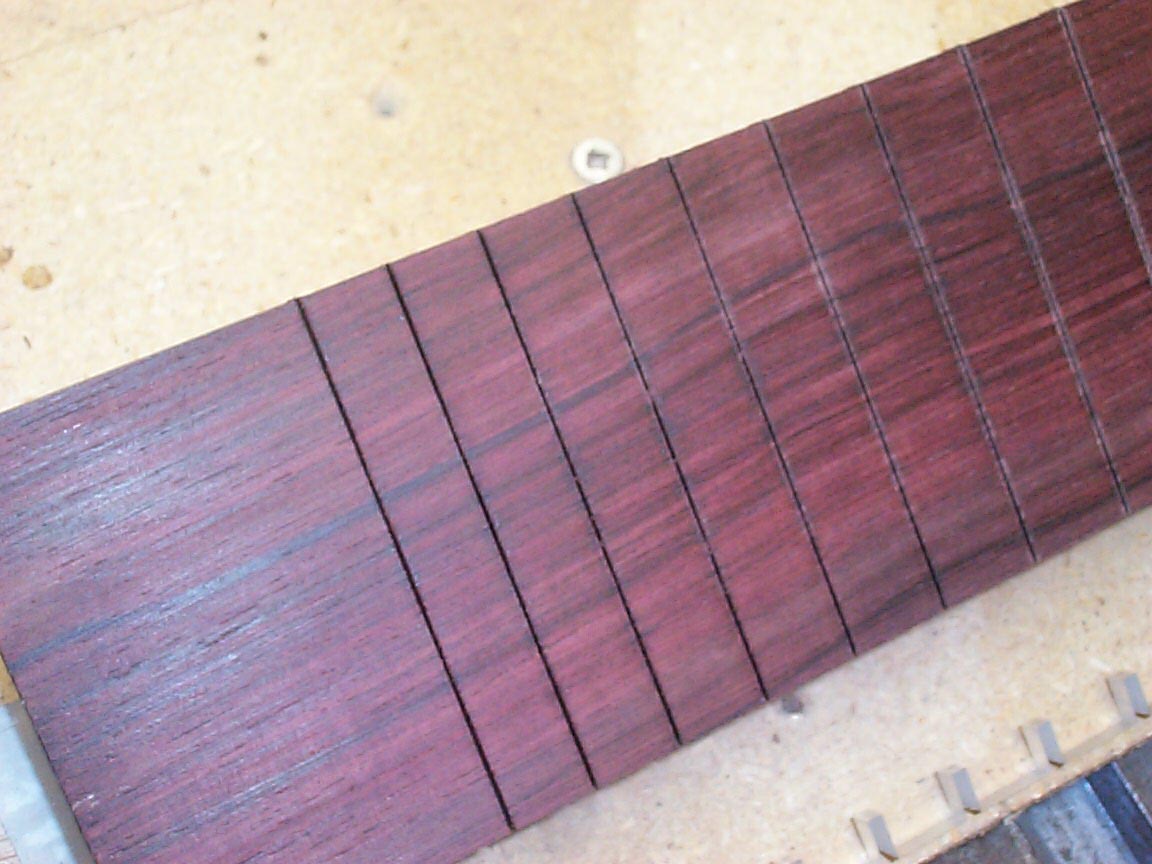
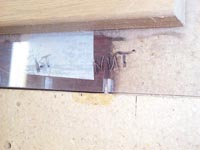
I'll choose one end, and square it. This will now be the nut end of
the fretboard. |
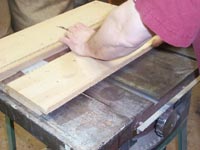
The fretboard blank gets stuck to an acrylic template in order to cut the
fret slots. this template is very accurate, being within .0001" in
tolerance!
|
The way it works is simple: the template engages tightly with a pin in my
slotting sled. By cutting one slot, then moving the template to the next
slot in the template, we very accurately cut the slots. |
|
|
|
|
|
|
 |
|
 |
|
|
|
|
|
|
|
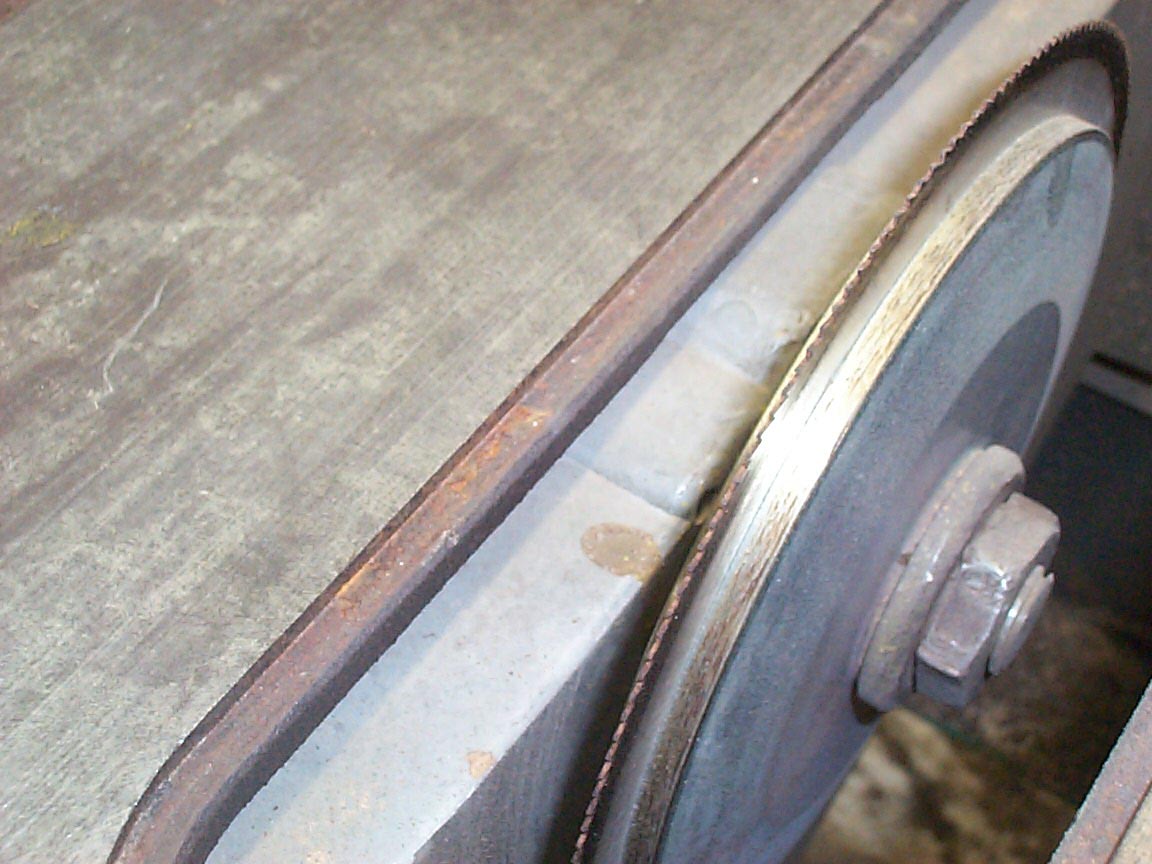
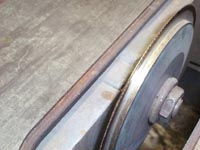
The blade uses for the slotting has its kerf"(the slot left by the
saw's width) set at .023", which matches our fret wire. Such a thin
blade requires stiffening plates on each side to keep it from twisting,
and thus cutting inaccurate slots.
|
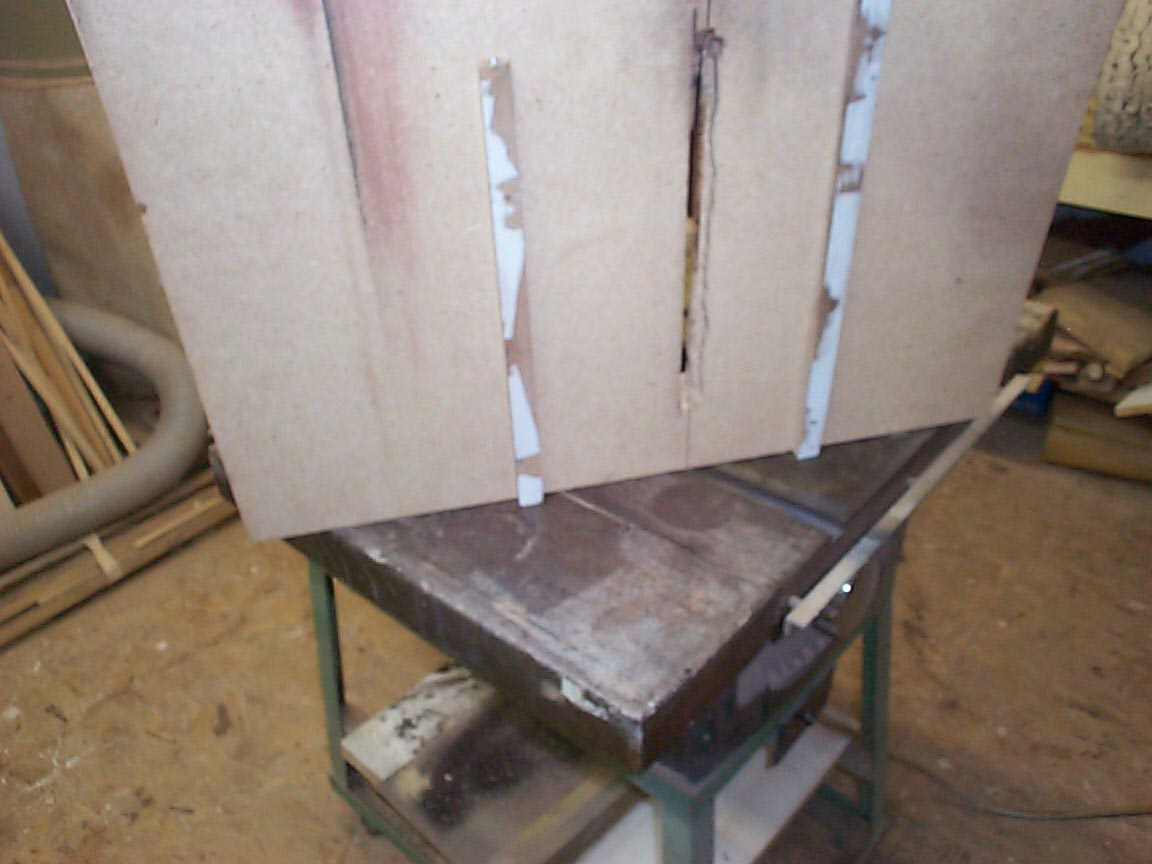
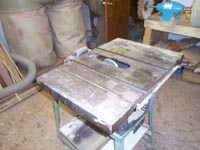
And this is the table saw that the blade is mounted in! this was my
late Father's table saw, and I still make use of it today.
|
The sled that the template and fretboard ride on has two runners that
engage with the miter slots in the table, and they fit very tightly, for
any play in the system would lead to sloppy fret slots, which we don't
want!
|
|
|
|
|
|
|
 |
|
 |
|
|
|
|
|
|
|
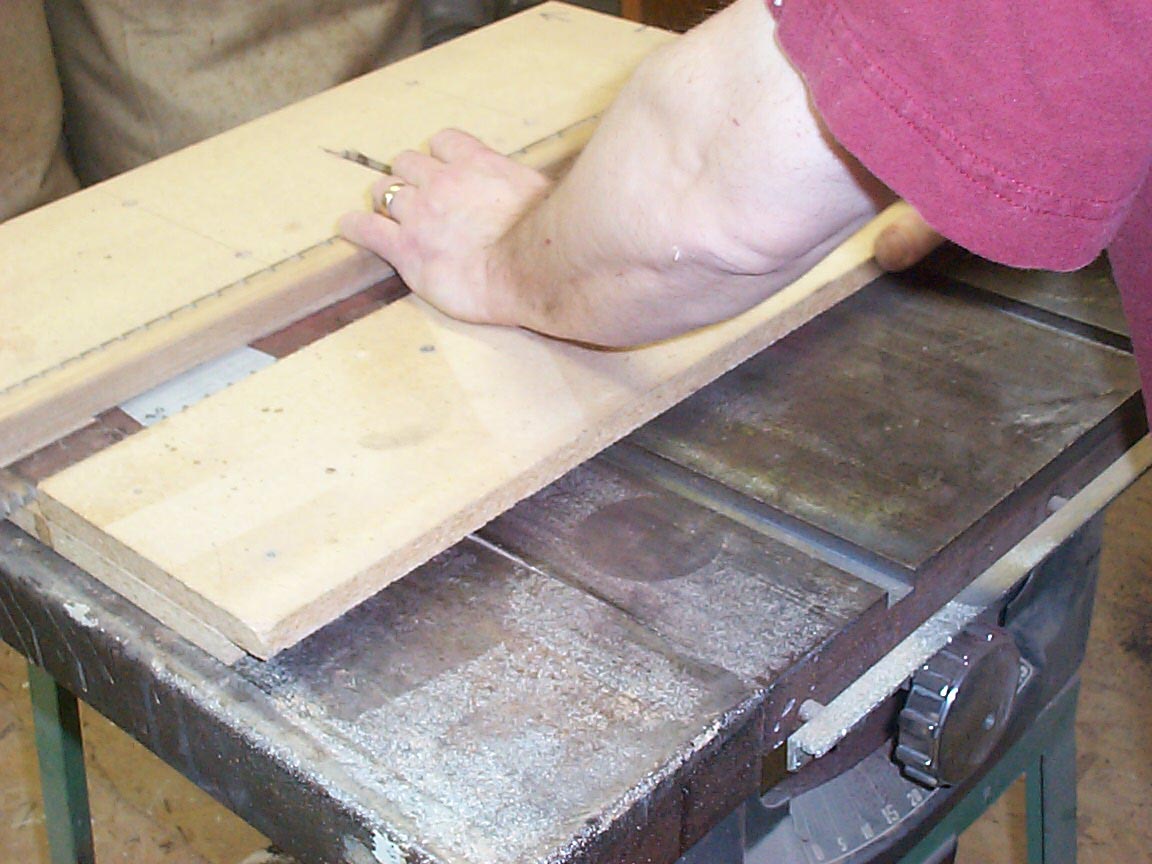
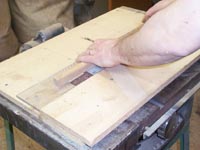
The template has a handle attached, and I hold it tightly against the
sled's fence while pushing the sled through for the cut.
Previous
Page
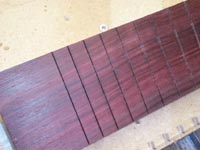
|
Repeat until done!
|
And the final results.
Next Page
|
|
|
|
|
|
|