|
|
 |
|
|
|
|
|
|
|
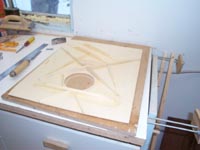
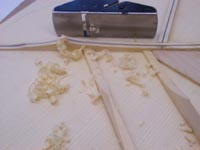
Yet more clamping..... |
And.....we're done!
Well, not quite.
|
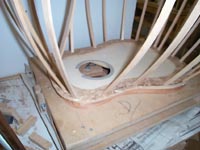
The bracing looks to be shaped, but it is just rough. Now's where the fun
starts! |
|
|
|
|
|
|
 |
|
 |
|
|
|
|
|
|
|
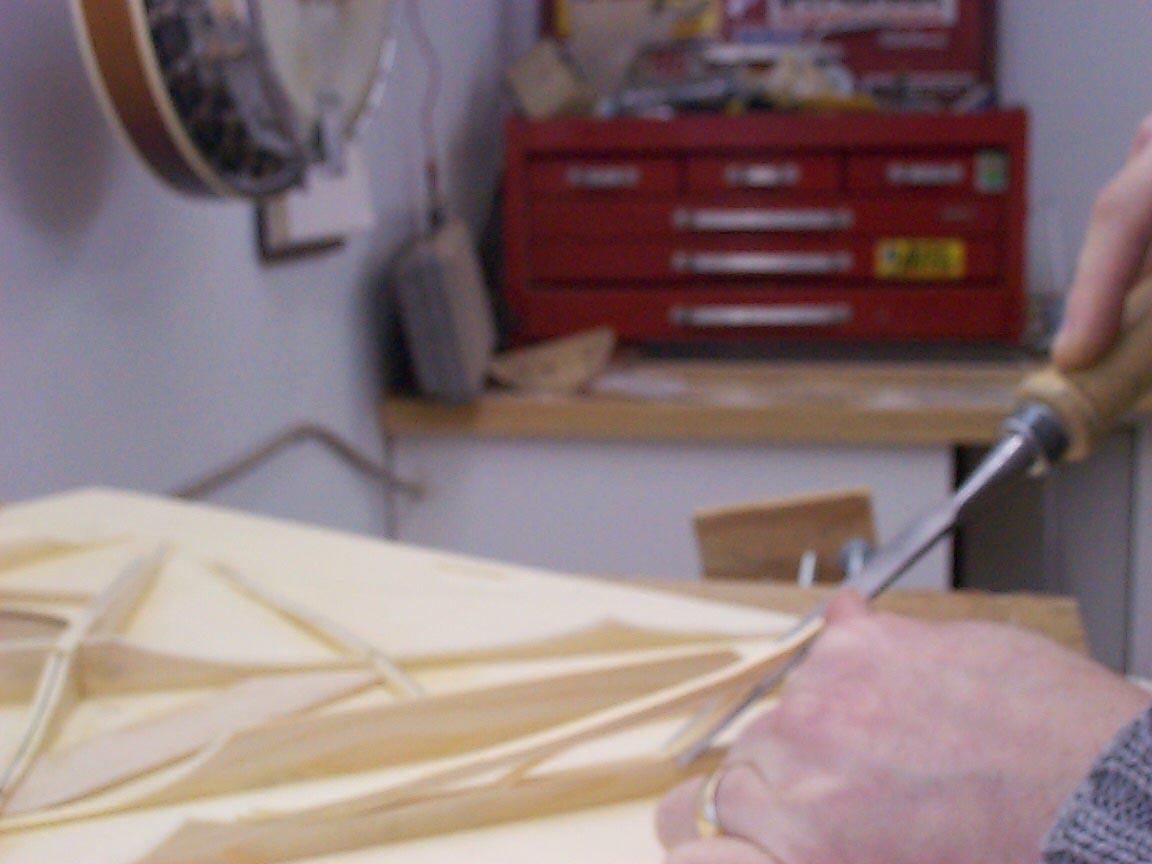
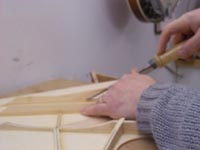
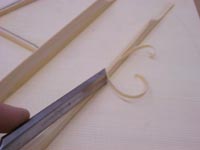
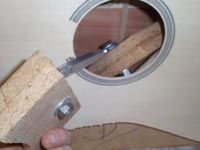
Again, for the wood workers among you, here's how we scallop the
bracing.
Start at one end, make a few cuts...
|
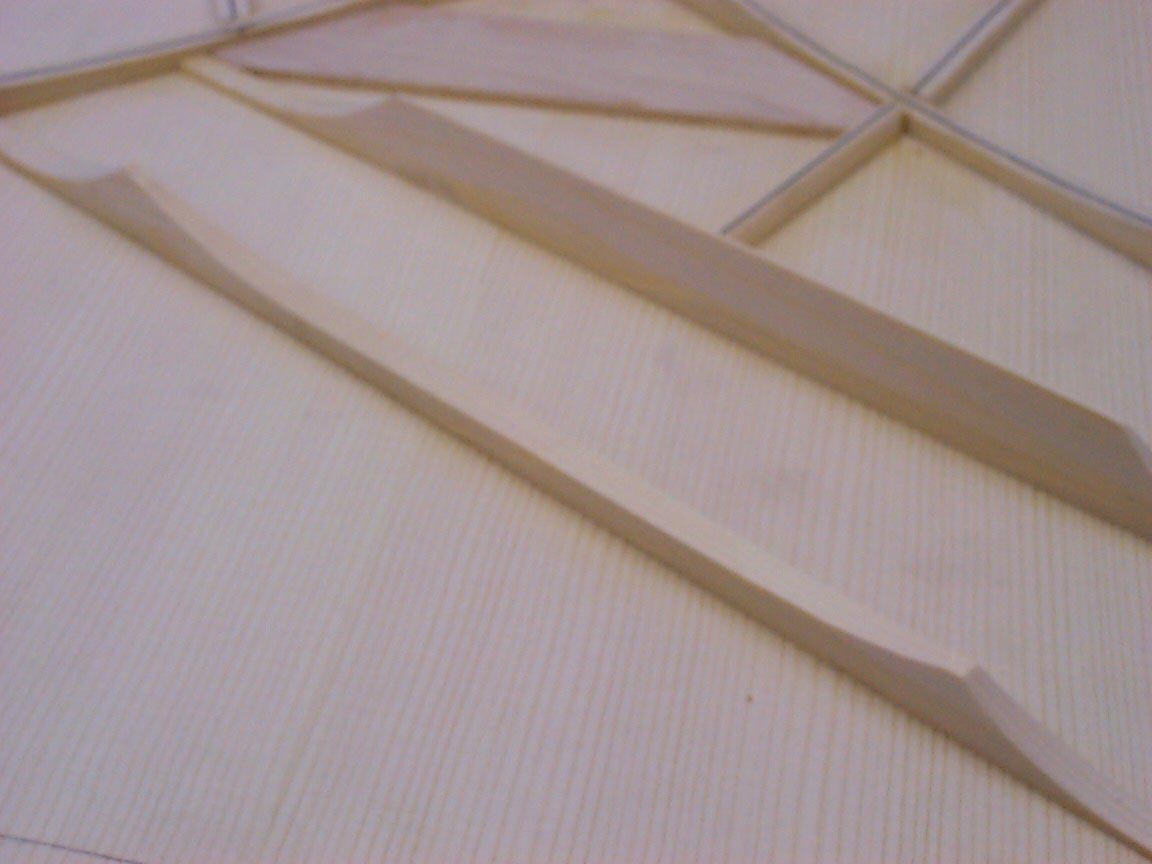
...then flip it around, and cut from the other end, releasing the
waste.
If we tried to get it all from one end, it would likely just split
right through and ruin it.
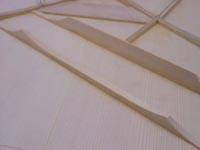
|
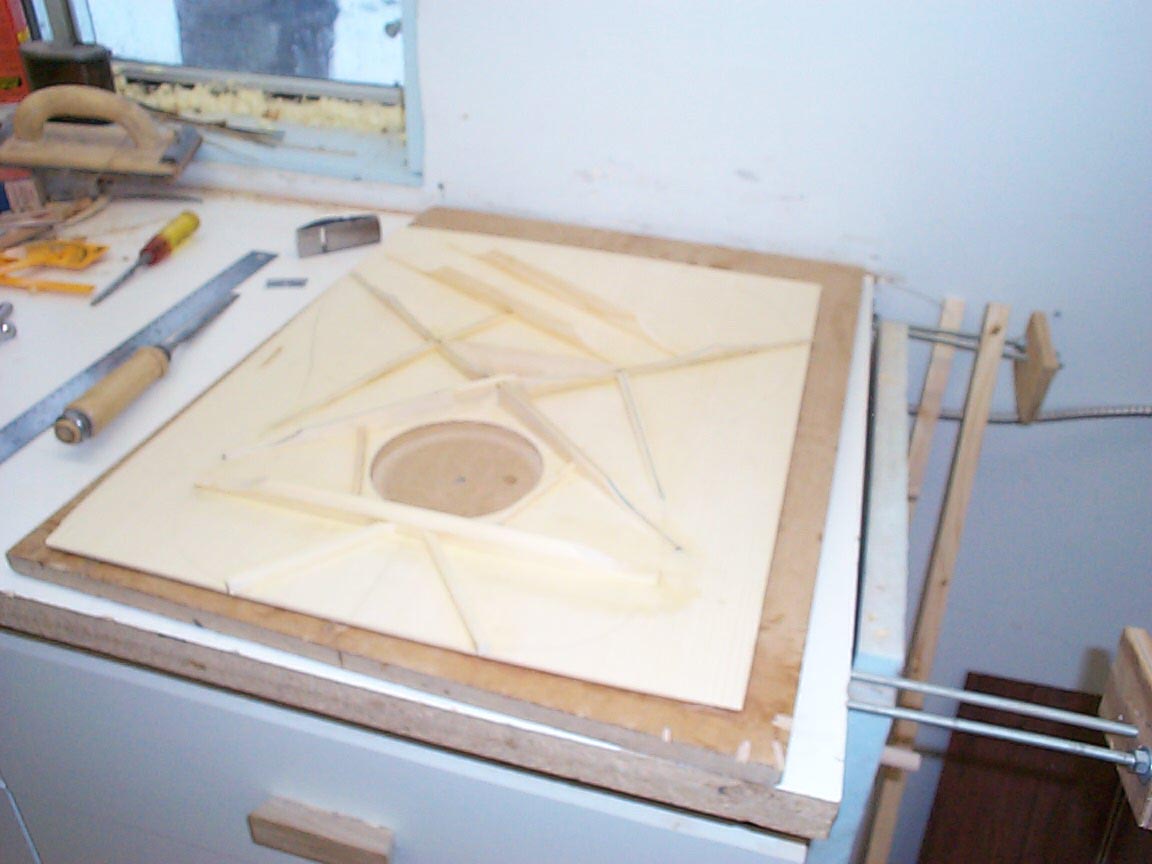
This is what we want! Now, to do the rest....... |
|
|
|
|
|
|
 |
|
 |
|
|
|
|
|
|
|
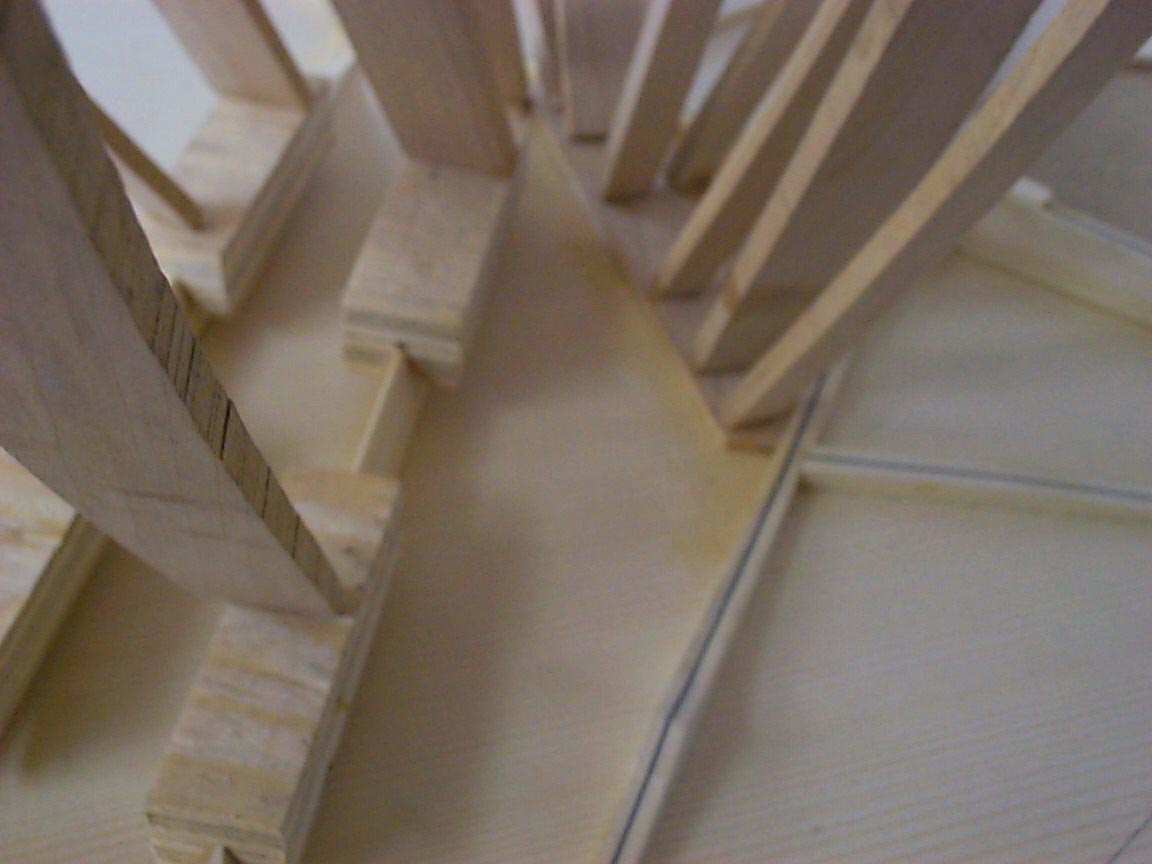
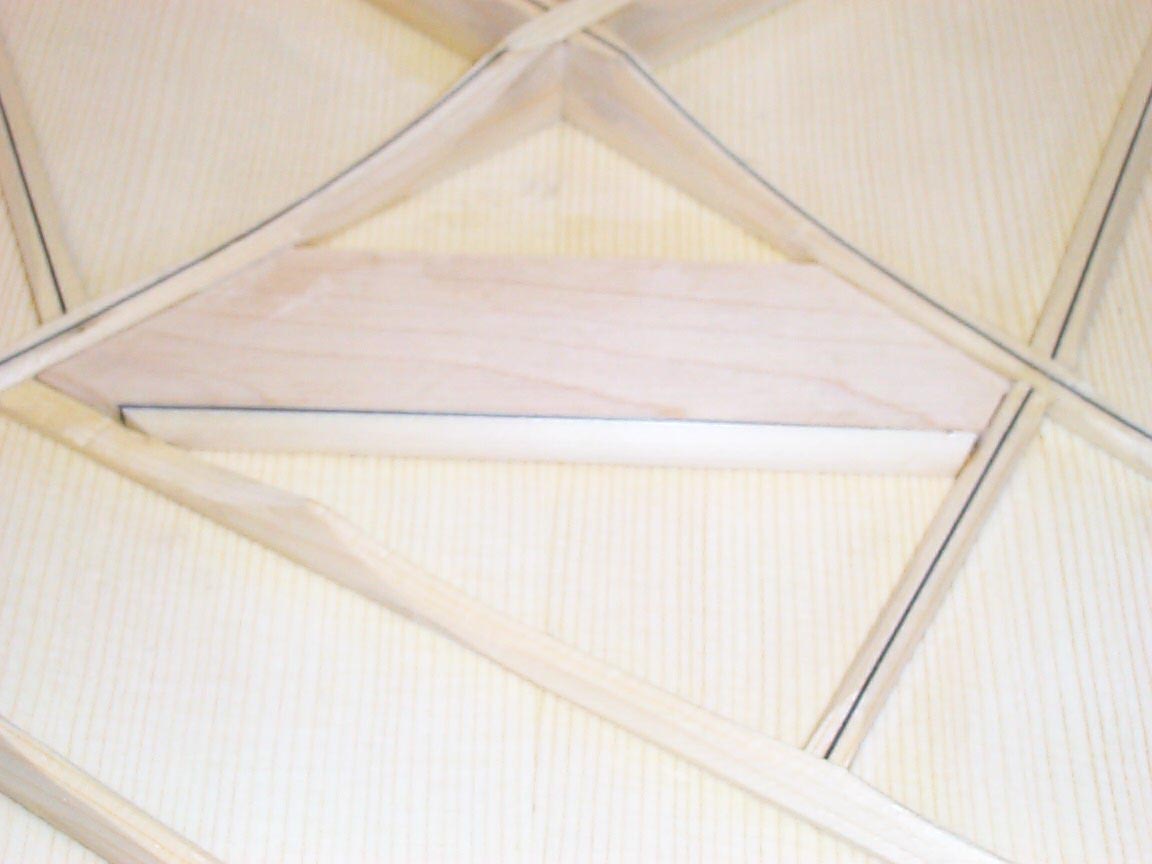
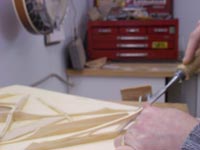
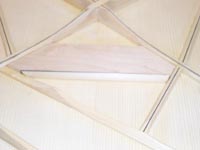
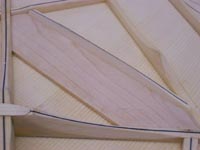
The braces are all profiled to a triangular shape. This is a freebie, as
the brace's strength comes mostly from its height, not its width. This
way, we can lighten the bracing without loosing much stiffness.
|
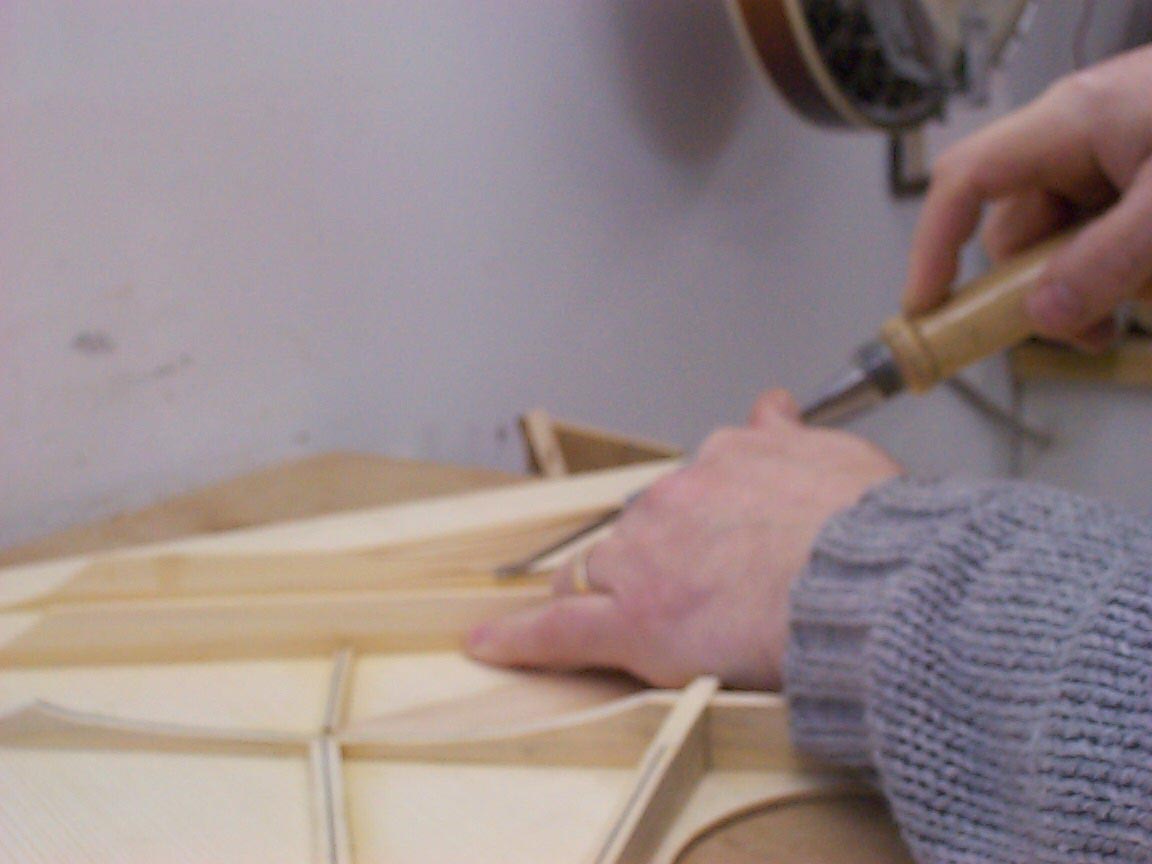
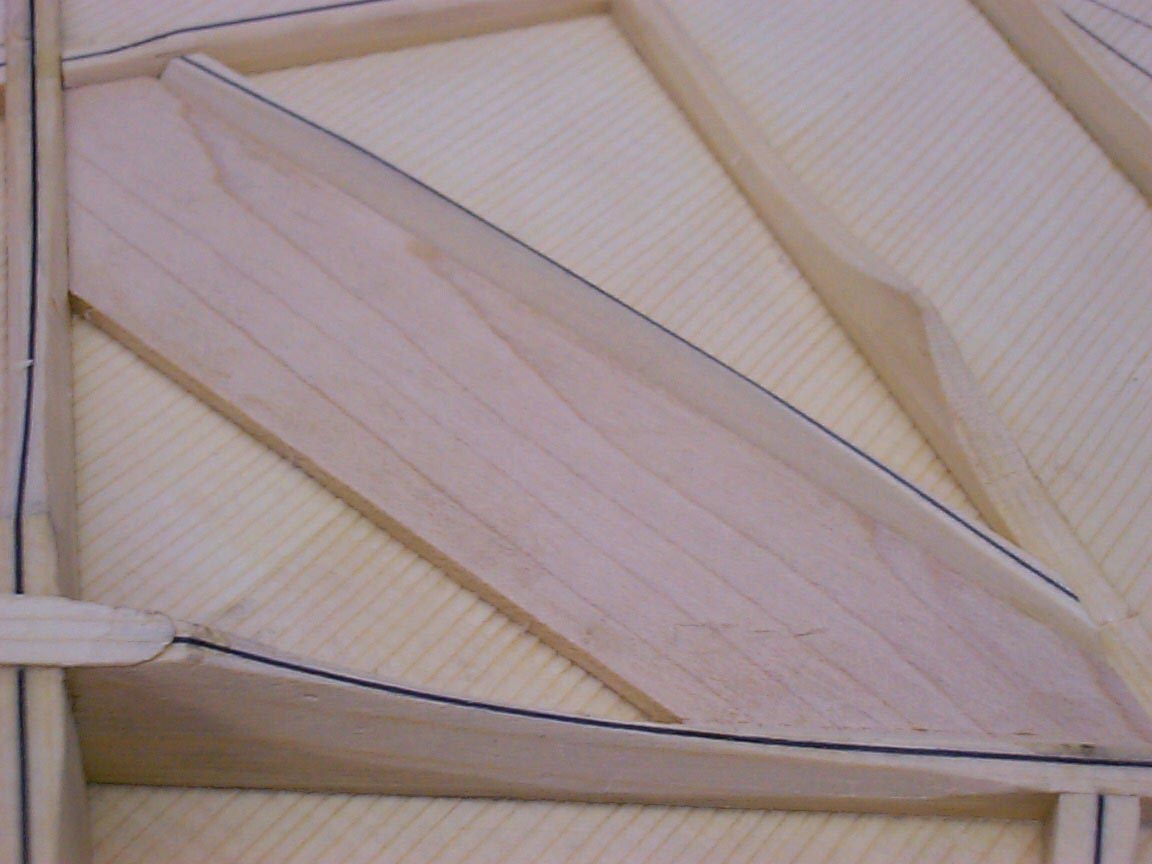
Where the small plane can't reach, the chisel does the job. In fact, I use
the chisel for 90% of the shaping.
Again, the "trick" here is to 'read' the grain, and come at
the wood from each end, if needed, to prevent tearing out the wood. A
better-than-razor-sharp chisel is also a must.
|
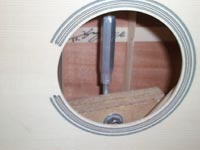
And here we have the first ever shot of the PMTE. The little brace behind
the bridge plate was nicknamed the "Proulx Magic Tone Enhancer"
by Bryan Kimsey, who was the first person who noticed it. It's
"magic" because, in theory, it should ruin the guitar, but
instead, it really does liven things up.
For two reasons: first, it stiffens the bridge plate area, but most
importantly, it adds some mass where it can do the most good. Yes, mass is
good, in the right place......
|
|
|
|
|
|
|
 |
|
 |
|
|
|
|
|
|
|
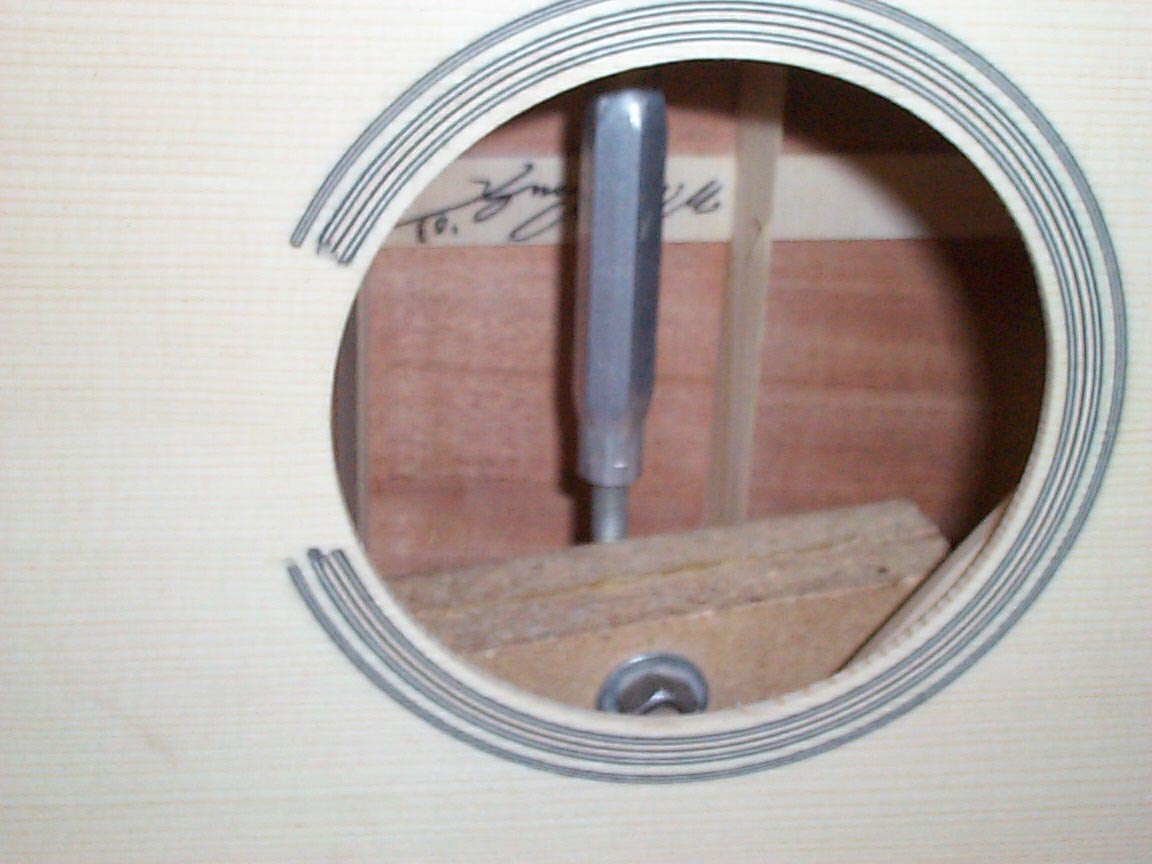
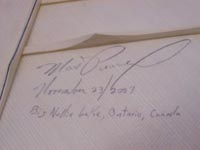
I signed the top, for future reference. Wouldn't it be cool if all
our vintage guitars had this? There'd be fewer arguments of the
instrument's age! |
Another shot of the PMTE.
|
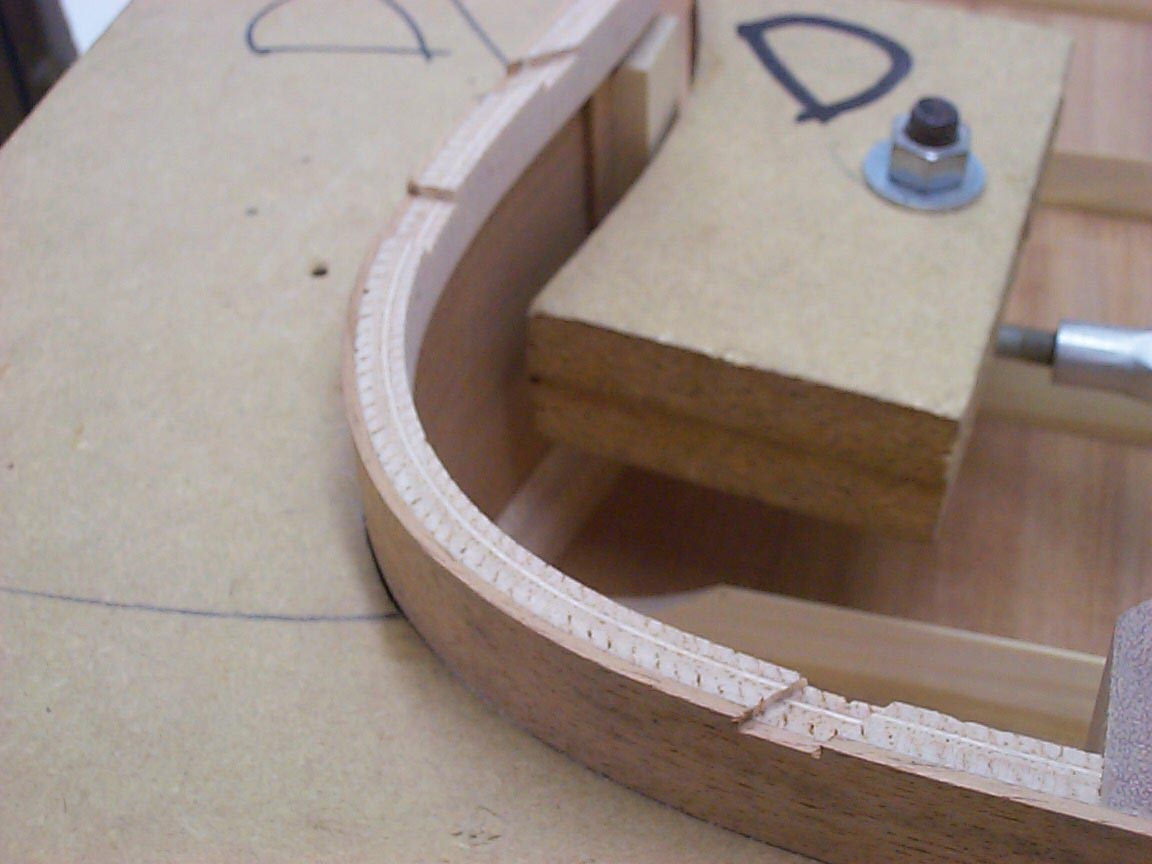
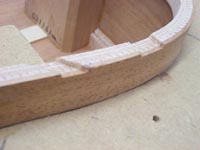
Like the back, the top's braces are let into the sides and linings.
The difference here is that we do it all blind, as we can't go inside to
see if they're all correctly set, so this takes a bit more time. |
|
|
|
|
|
|
 |
|
 |
|
|
|
|
|
|
|
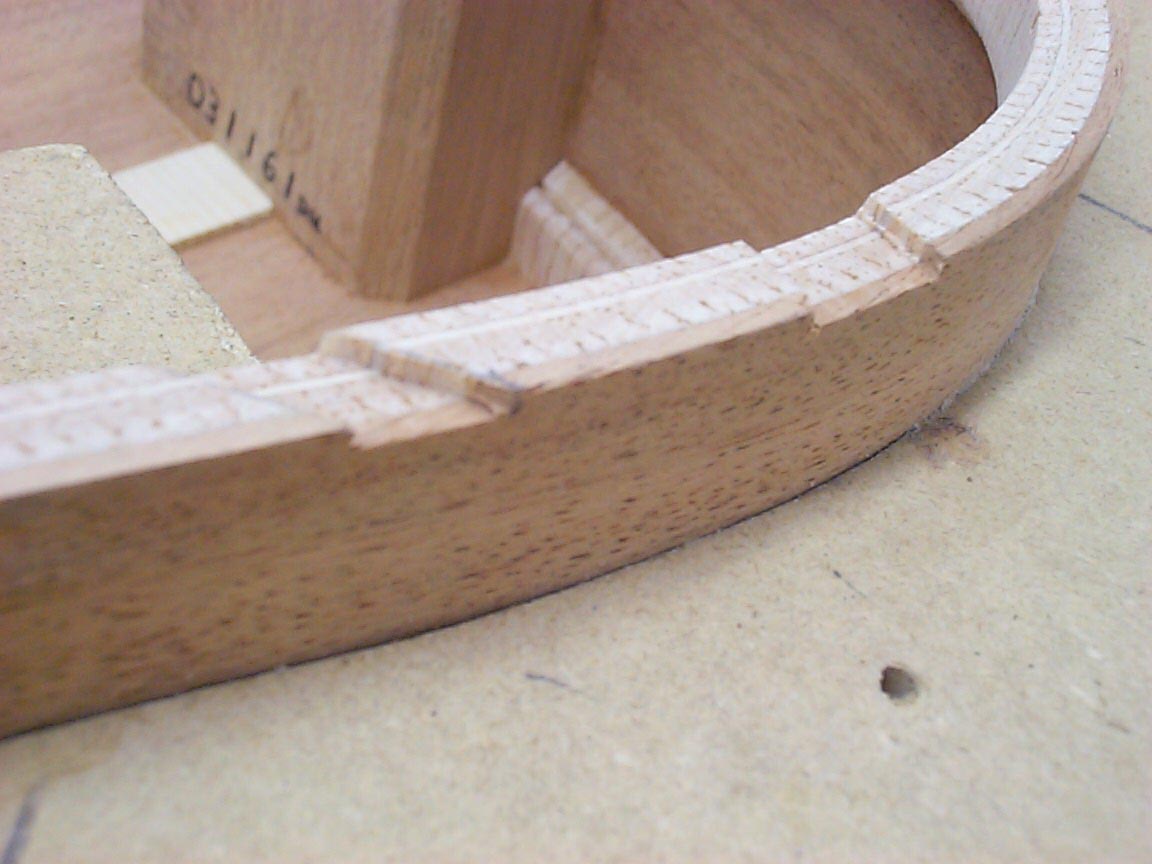
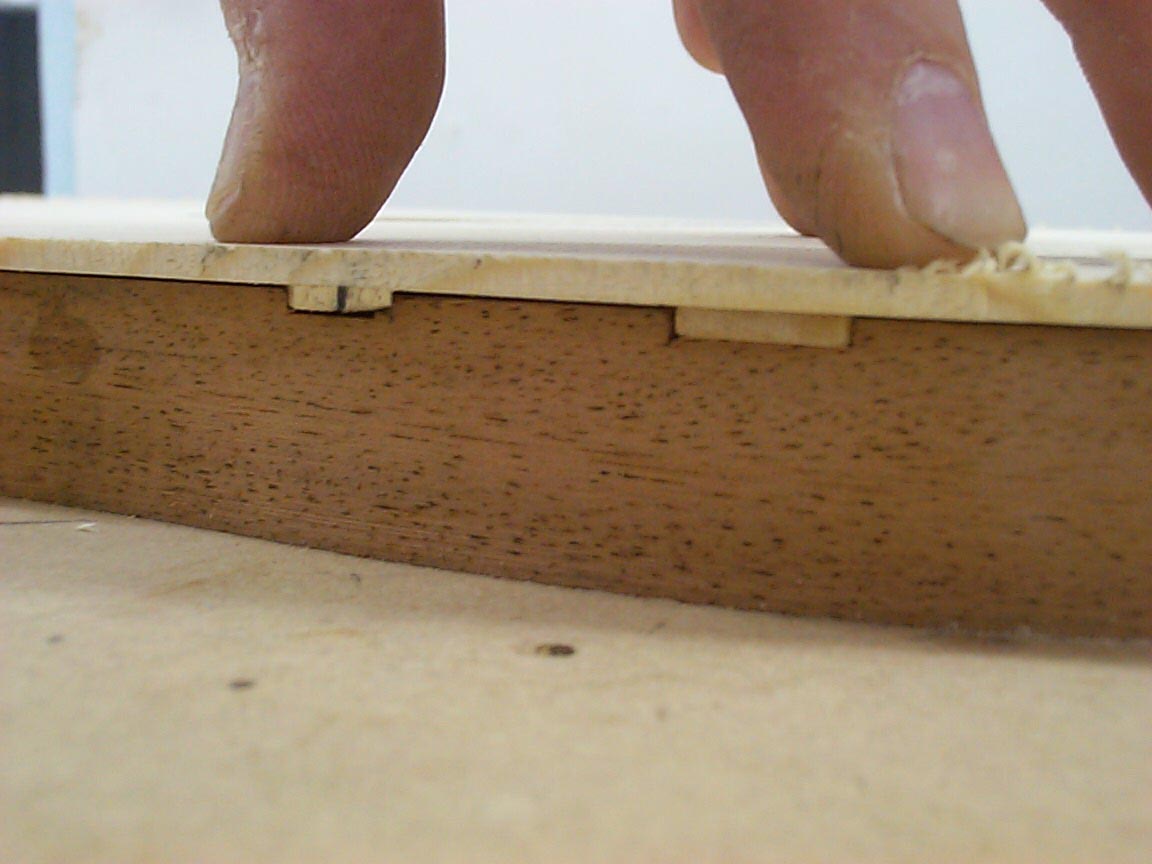
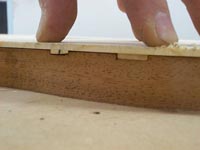
A little file work to fine tune the notches...... |
...and the final test fit look great!
|
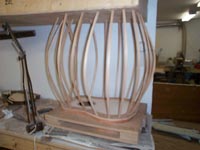
On to to Go Bar deck, once again. the body is in it's form to better
hold its shape. |
|
|
|
|
|
|
 |
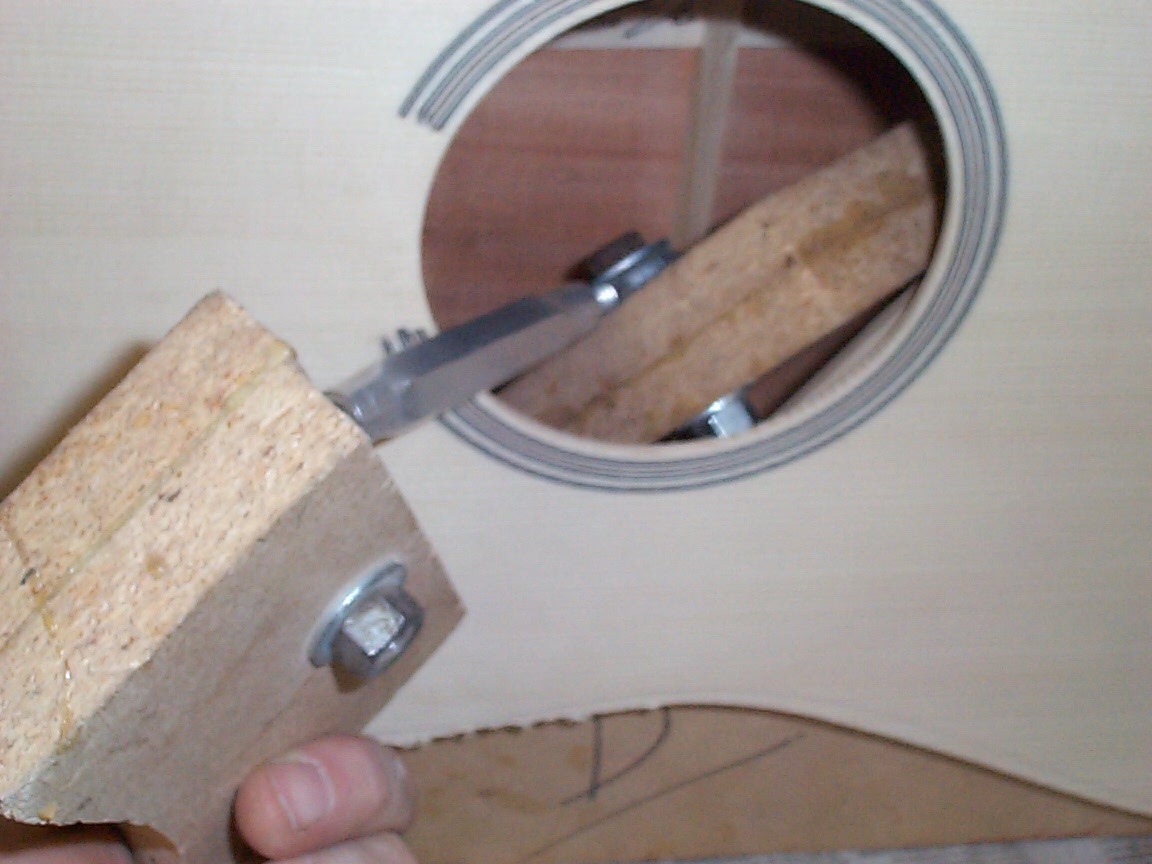
Inside the guitar is the spreader to make sure the sides are in contact
with the form...
|
the spreader comes out carefully after the glue has set. Got to be
careful not to chip out the fragile spruce at this point!
|
|
|
|
|
|
|

|
|

|
|
|
|
|
|
|
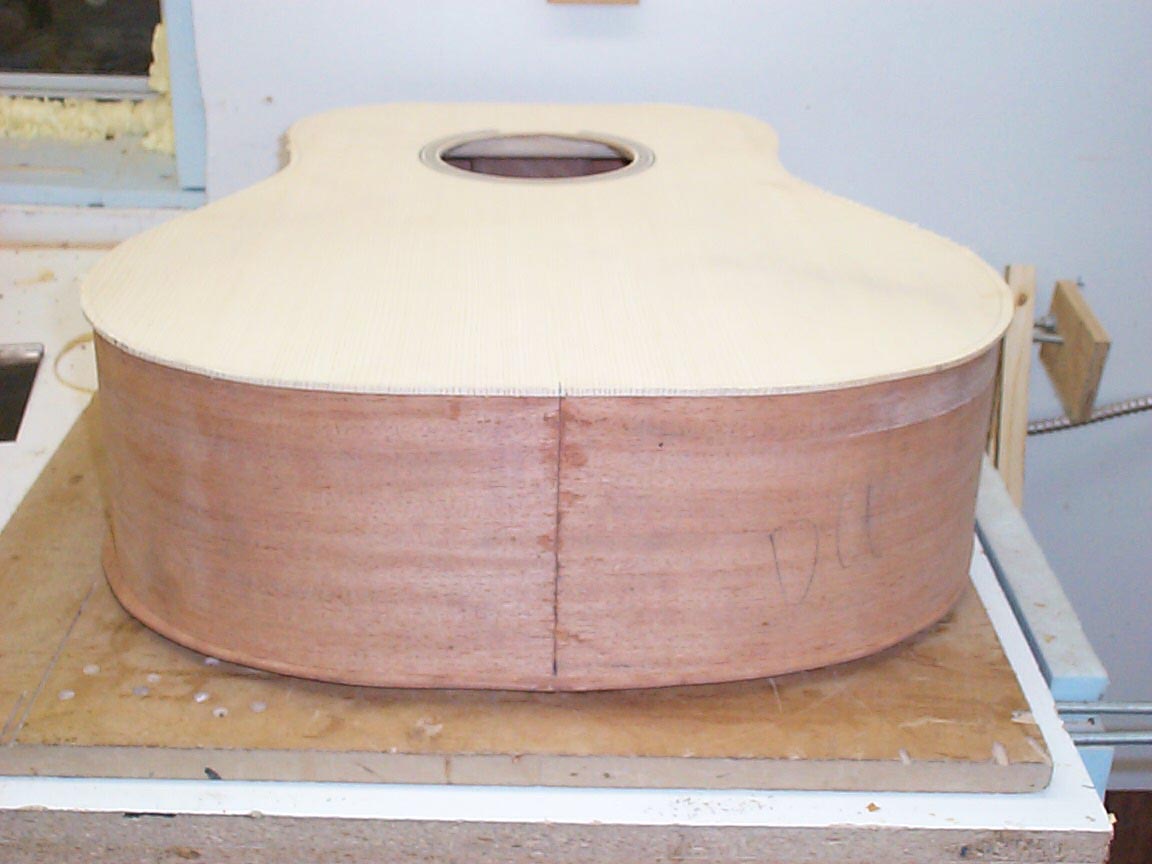
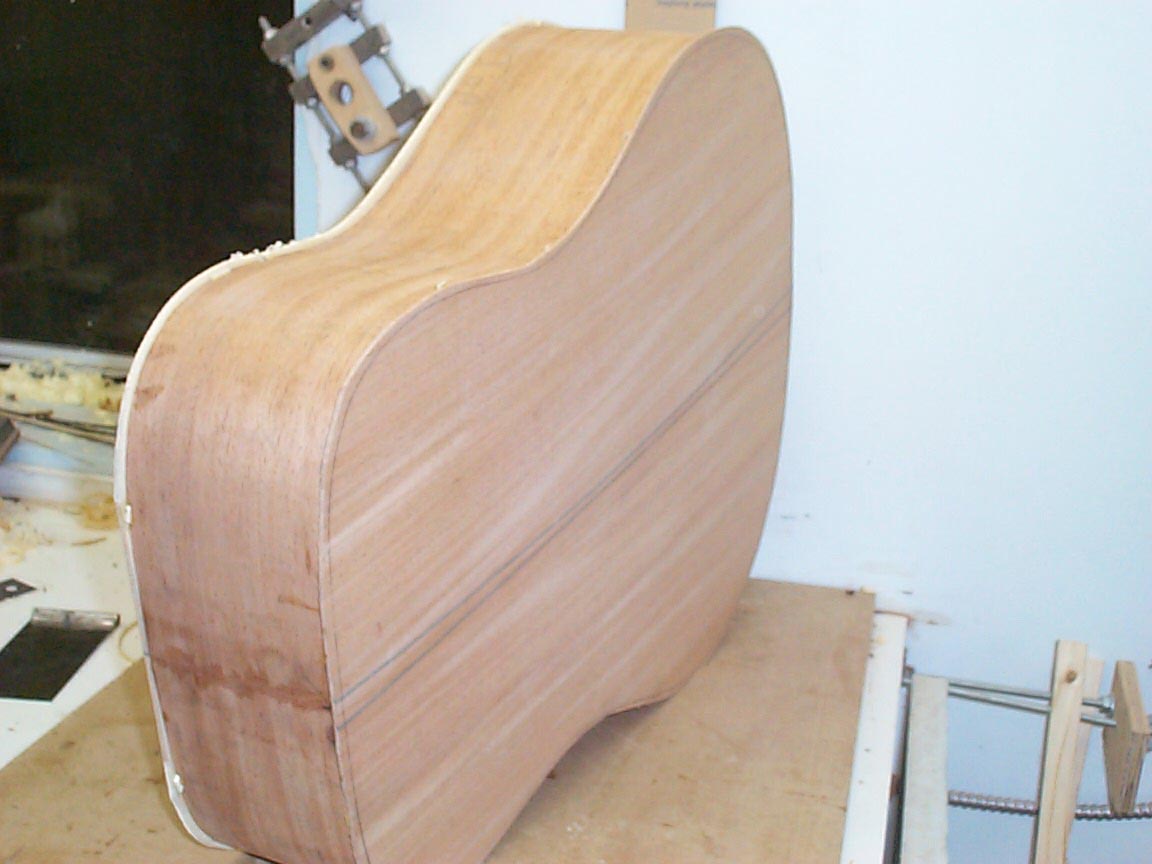
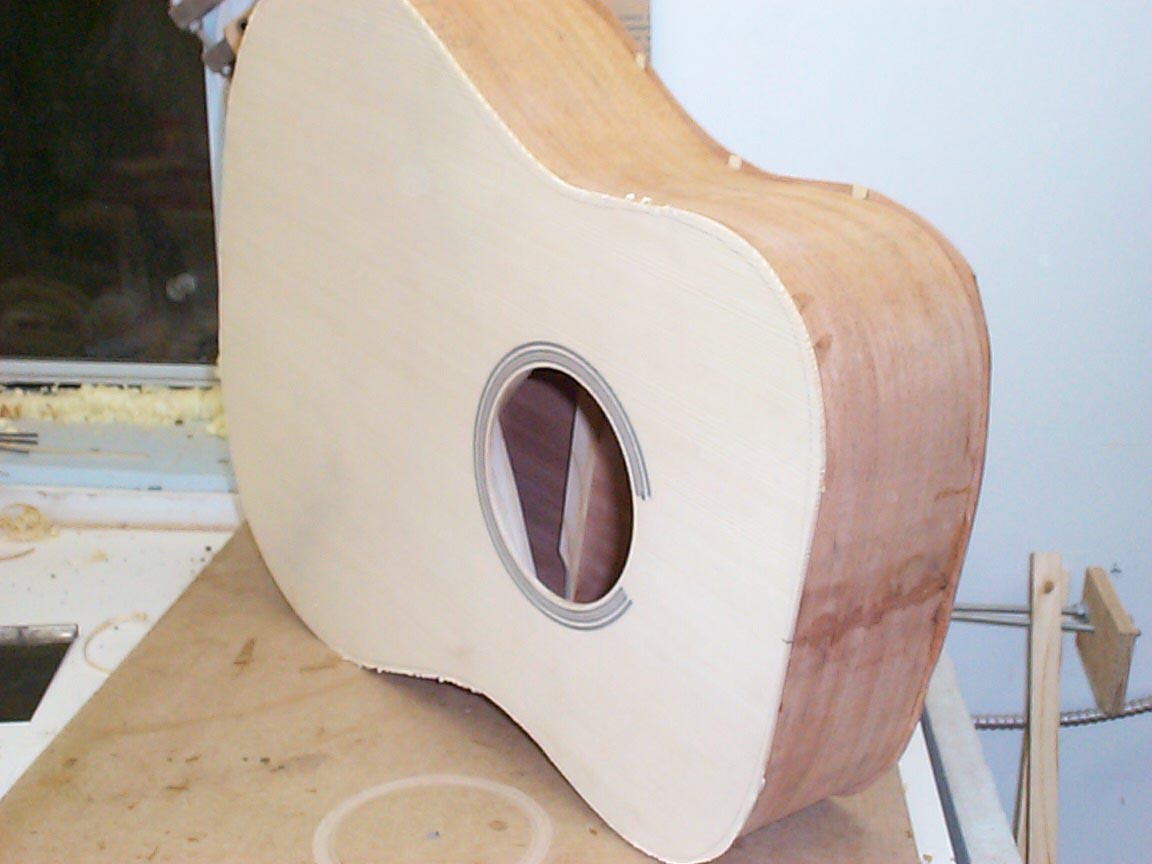
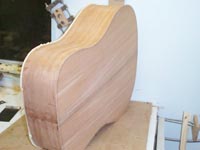
| And now, the body! |
Looks kinda bare without bindings, don't it?
|
This is where everything slows to a
crawl....
Up until now, we've moved along at a good clip, but from here on, the
goings are pretty tedious.
|
|
|
|
|
|
|
|
Previous
page
|
|
Next
Page
|
|
|
|
|
|
|