 |
|
 |
|
|
|
|
|
|
|
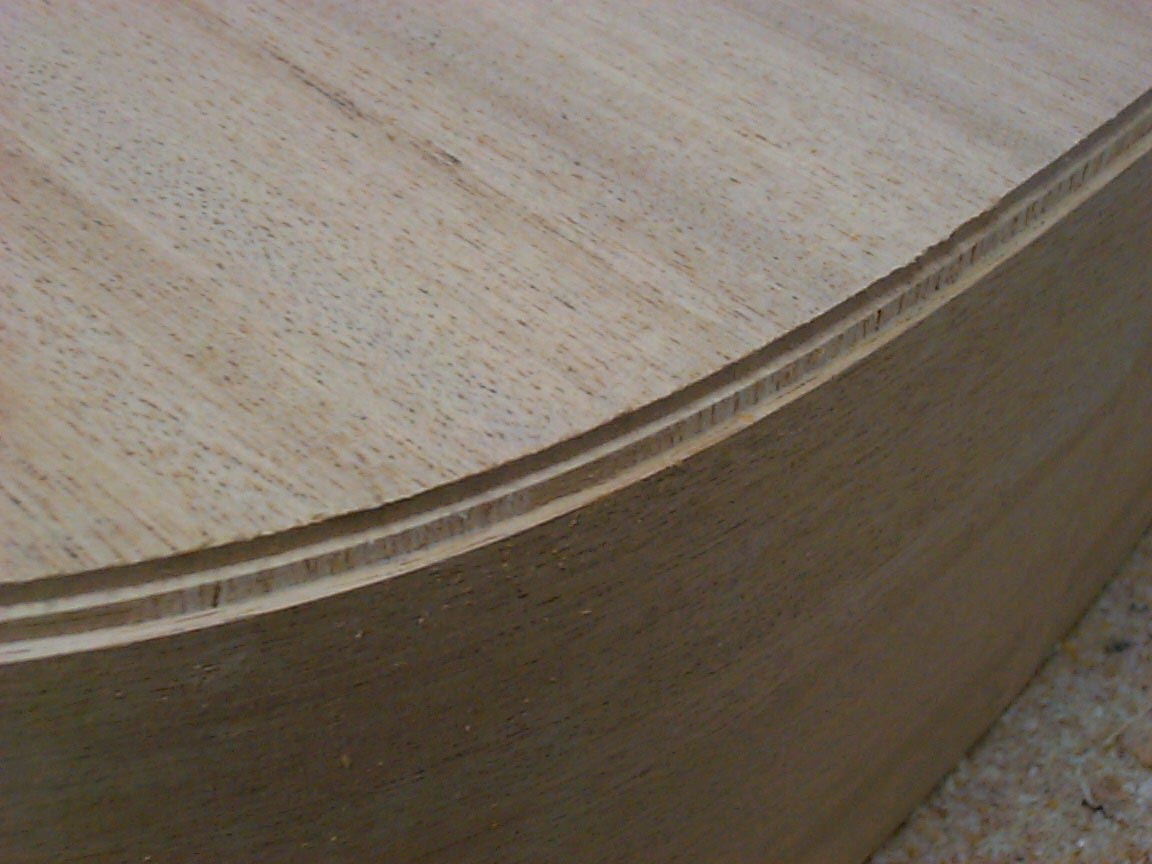
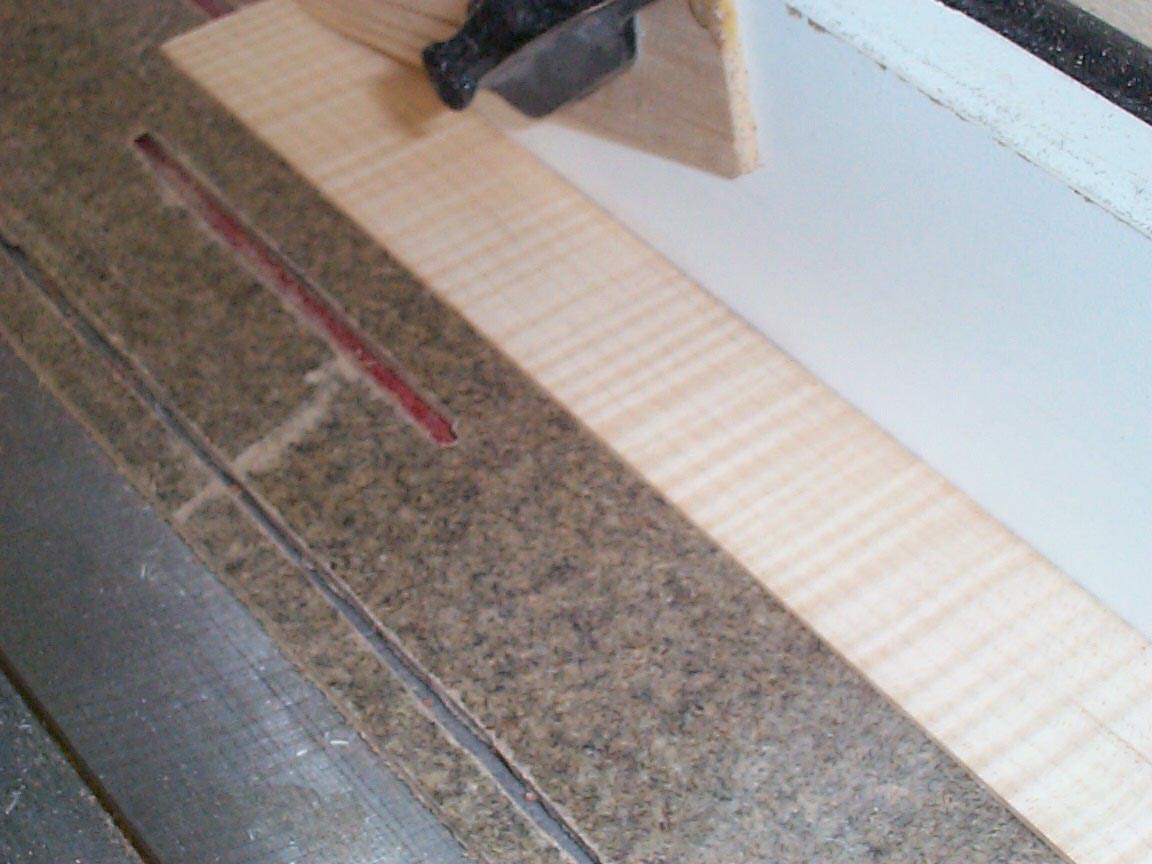
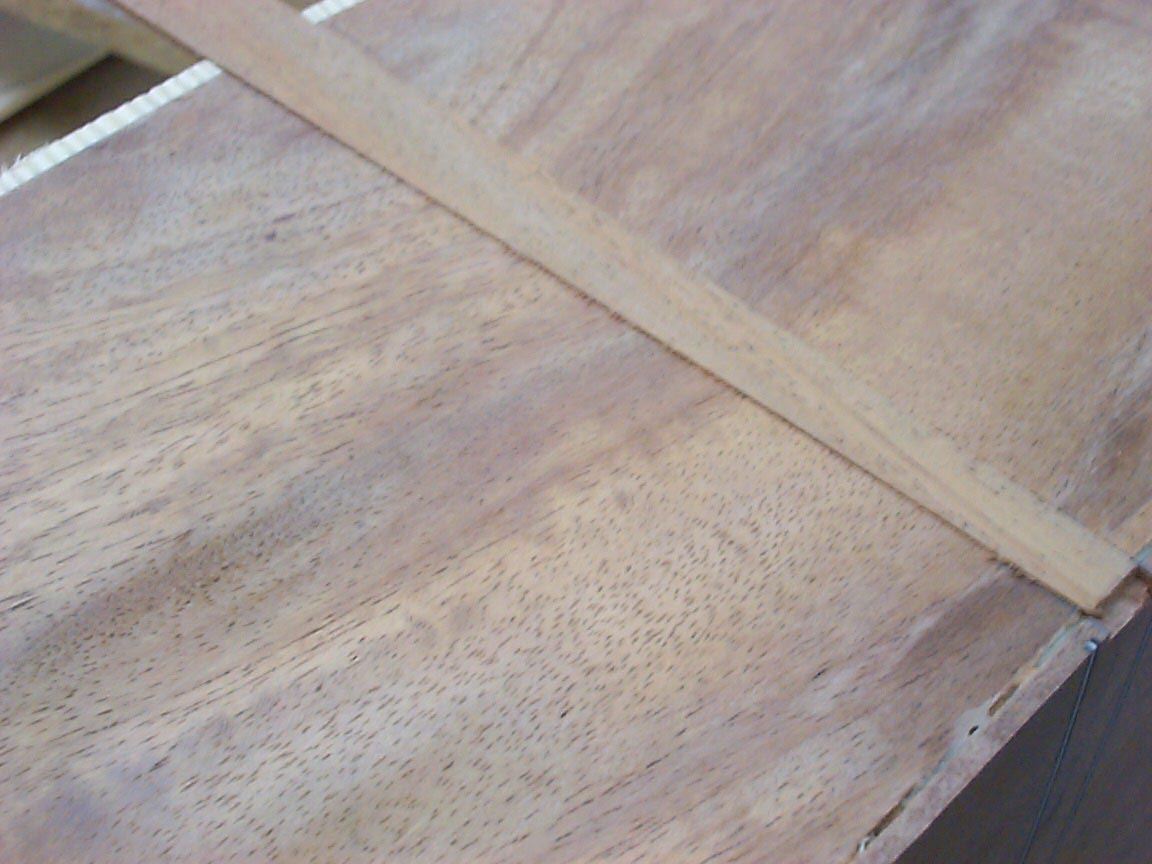
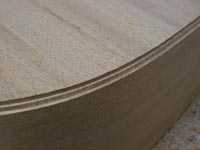
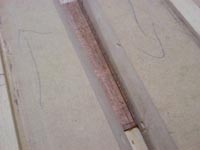
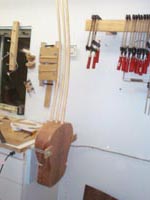
Now we whip out the router, and start cutting up our guitar body! |
These channels are to accept the bindings and purflings. Since the
guitar's back is curved, and tapers sharply from end to end, this step is
quite the feat! The router doesn't have a flat surface to index off of. It
takes quite a few adjustments to get the entire thing done.
|
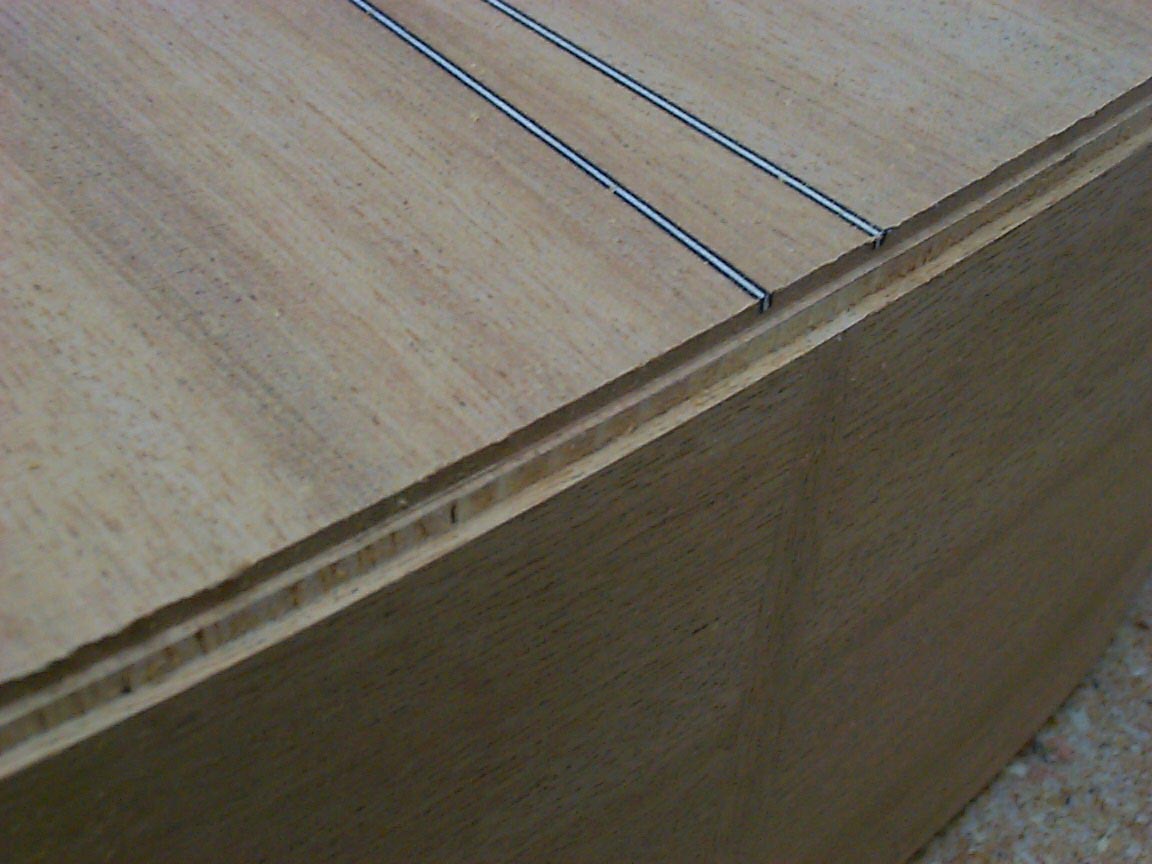
In our DU guitar, I decided to use South East Asian Rosewood
bindings. They were all cut from the same piece of wood, which was a left
over of Bryan Kimsey's OM/D. |
|
|
|
|
|
|
 |

|
 |
|
|
|
|
|
|
|
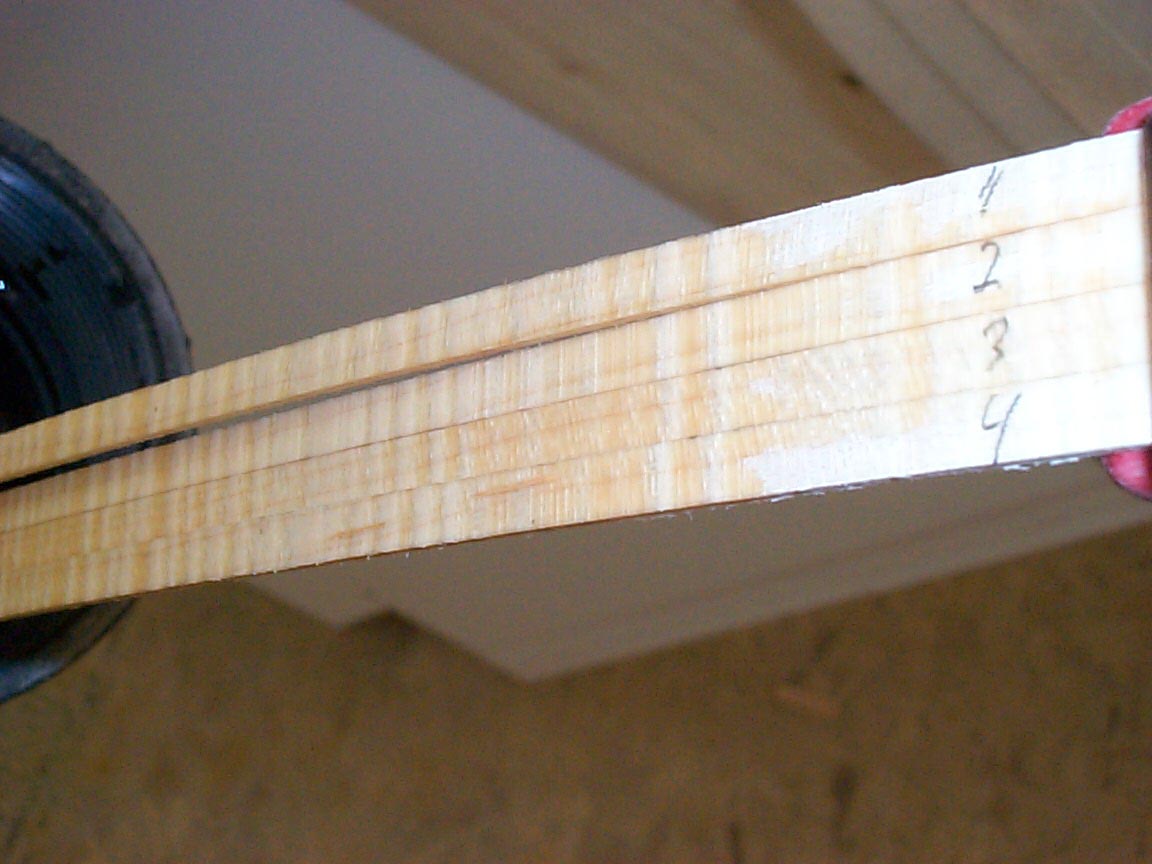
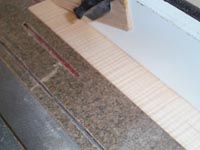
This photo shows maple being sliced up into bindings, but this is
the same step I did to make the DU guitar's bindings. |
Something I also did with the DU guitar was to keep track of the bindings
by numbering them. This way, I can install them to achieve a bookmatch.
Small detail, but it's interesting to know that they all match.
|
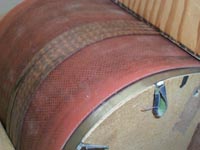
The bindings now get bent using the same bender that I used for the
sides, except that for bindings, I won't use an upper slat. Instead, I
bend directly on the heating blanket. I wear gloves, and bend the strips
using hand pressure only. Even wearing gloves, I sometimes burn myself
doing this, but it's the surest bet I've found so far for bending
bindings.
These are Snakewood bindings.
|
|
|
|
|
|
|
 |
|
 |
|
|
|
|
|
|
|
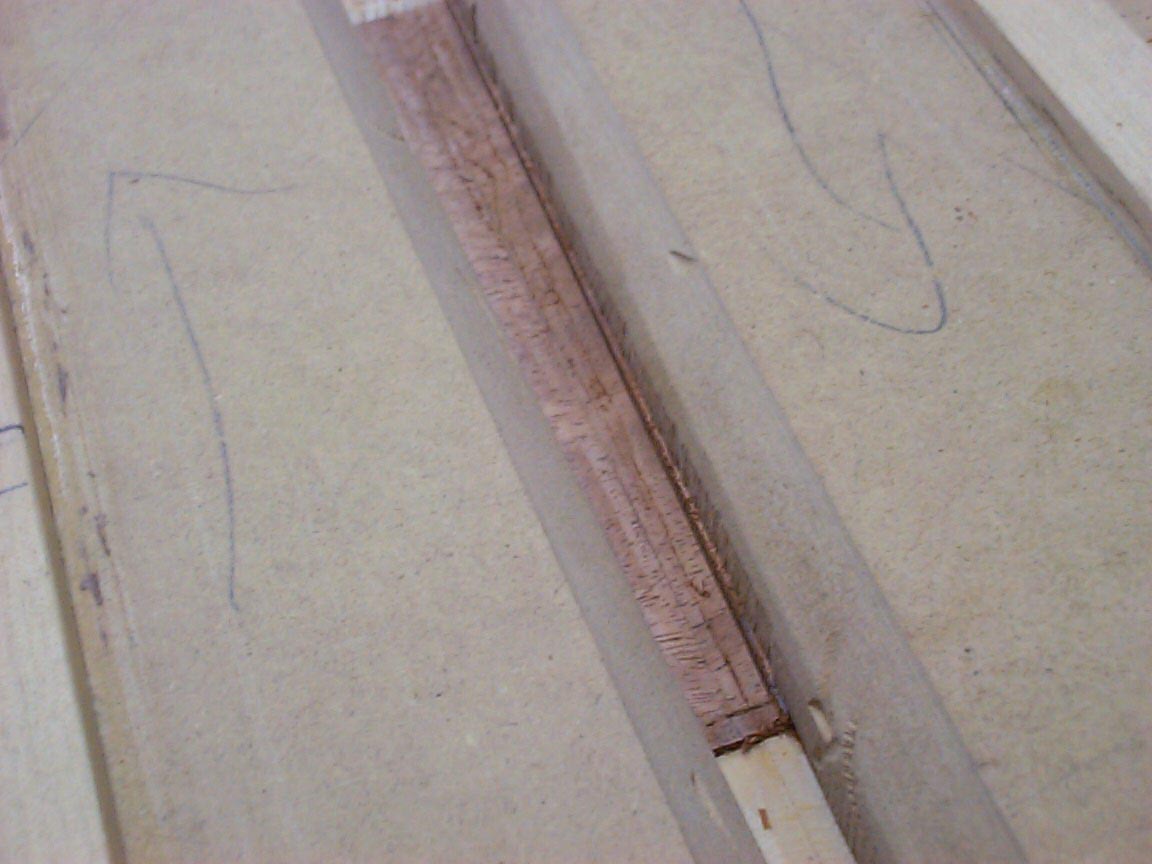
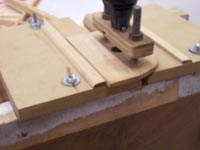
Here's a jig I made up to help router for the end graft. It's adjustable
for width. I make up a wedge, center this jig on the guitar, then close it
up with the wedge in place The wedge is then removed, everything's checked
for being on center, and we can route it.
|
I made a specific router base for a common Dremel tool to work with this
jig only. With it, the cut is precisely on the edge of the jig, right
where the wedge sat.
|
The result is a channel that matches perfectly with the end graft's
wedge!
|
|
|
|
|
|
|
 |
|
 |
|
|
|
|
|
|
|
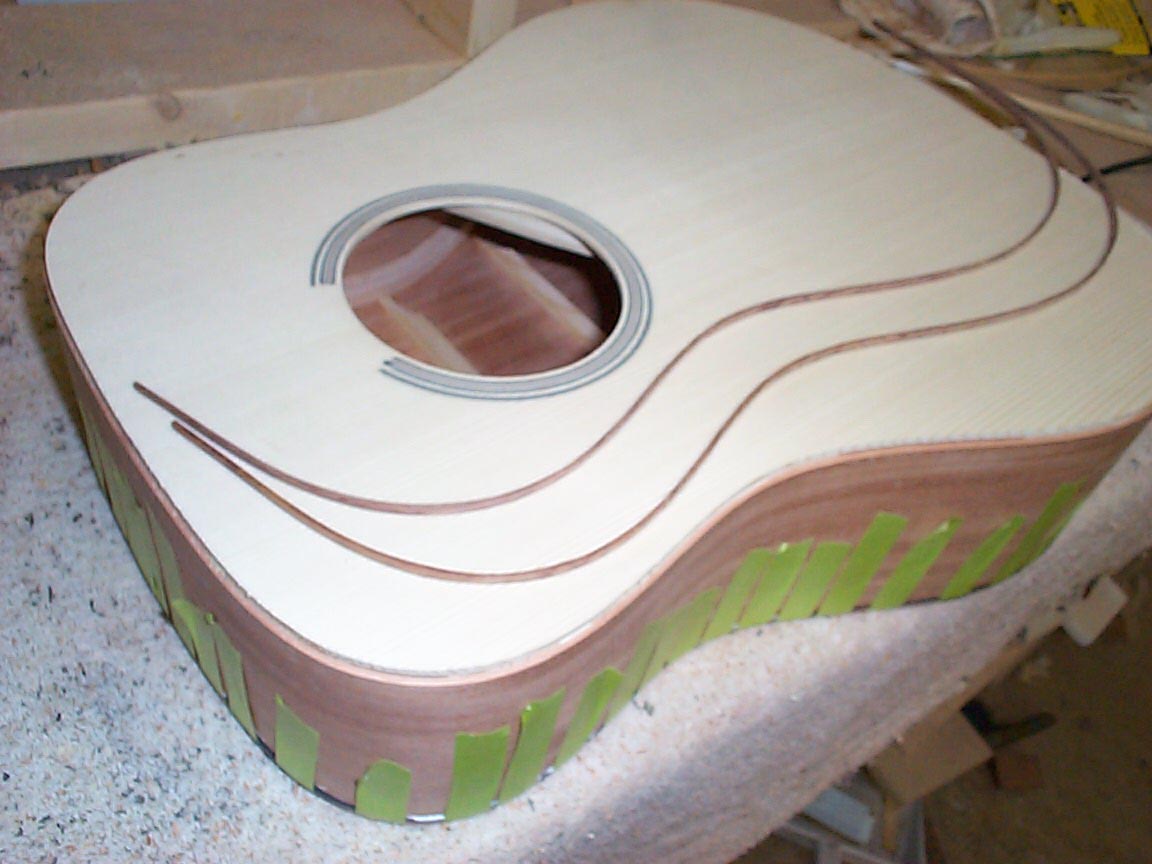
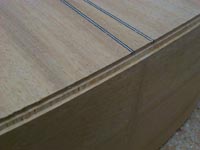
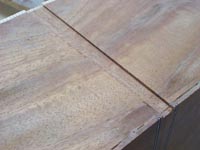
And here's the test fit. So far, so good. |
The wedge is glued in, and clamped for a few minutes using these long
"go bars" that rest on the ceiling.
|
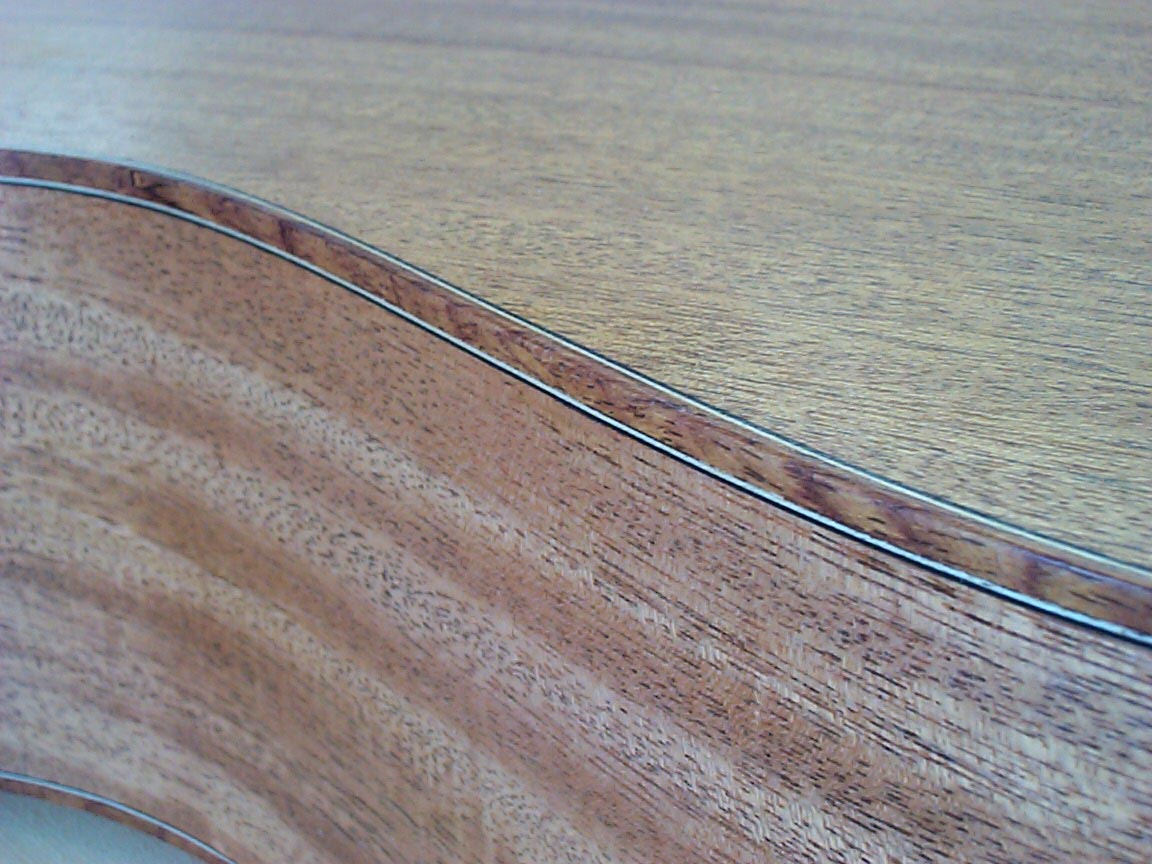
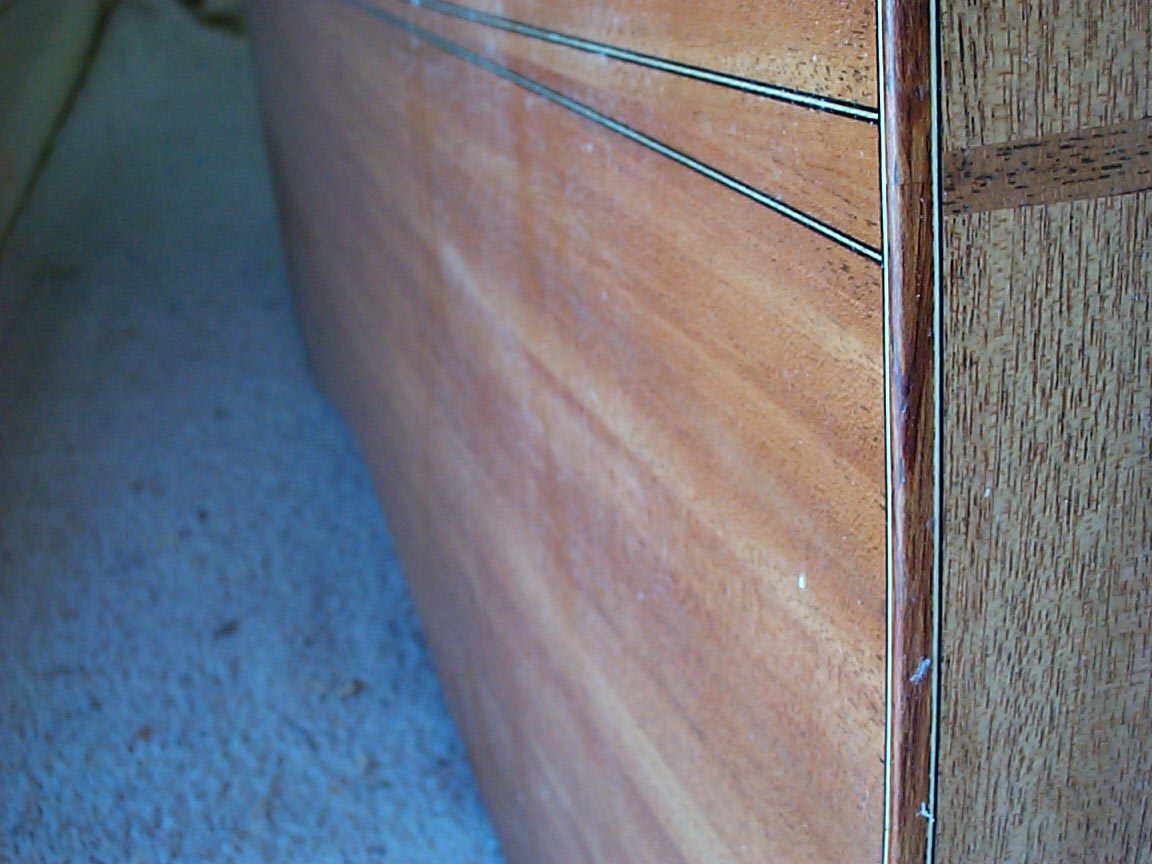
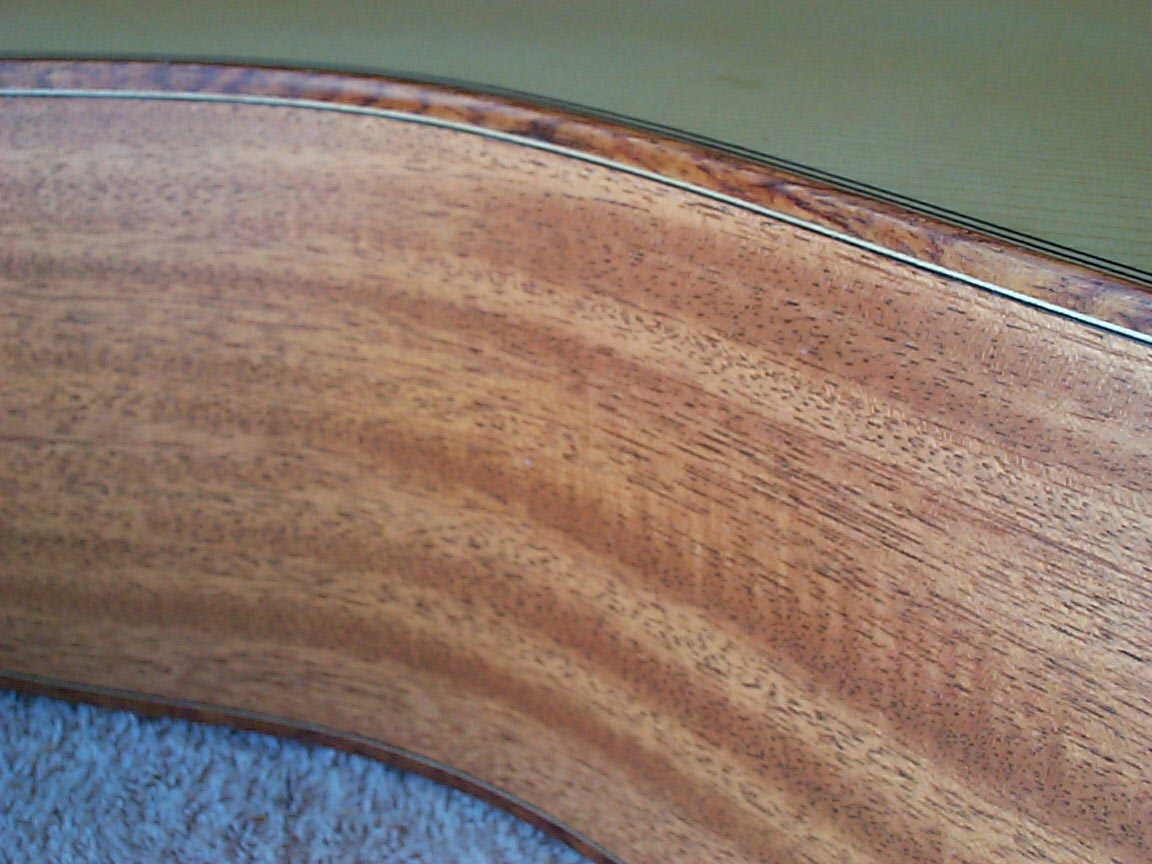
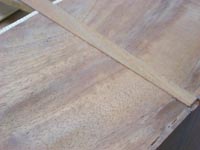
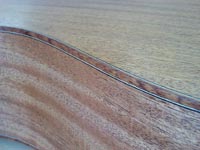
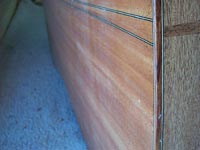
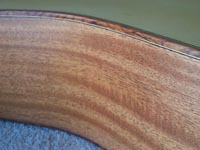
And here's the results of our hard work! the SEA RW bindings are set off
with black and white purflings on both the back and sides. |
|
|
|
|
|
|
 |
|
 |
|
|
|
|
|
|
|
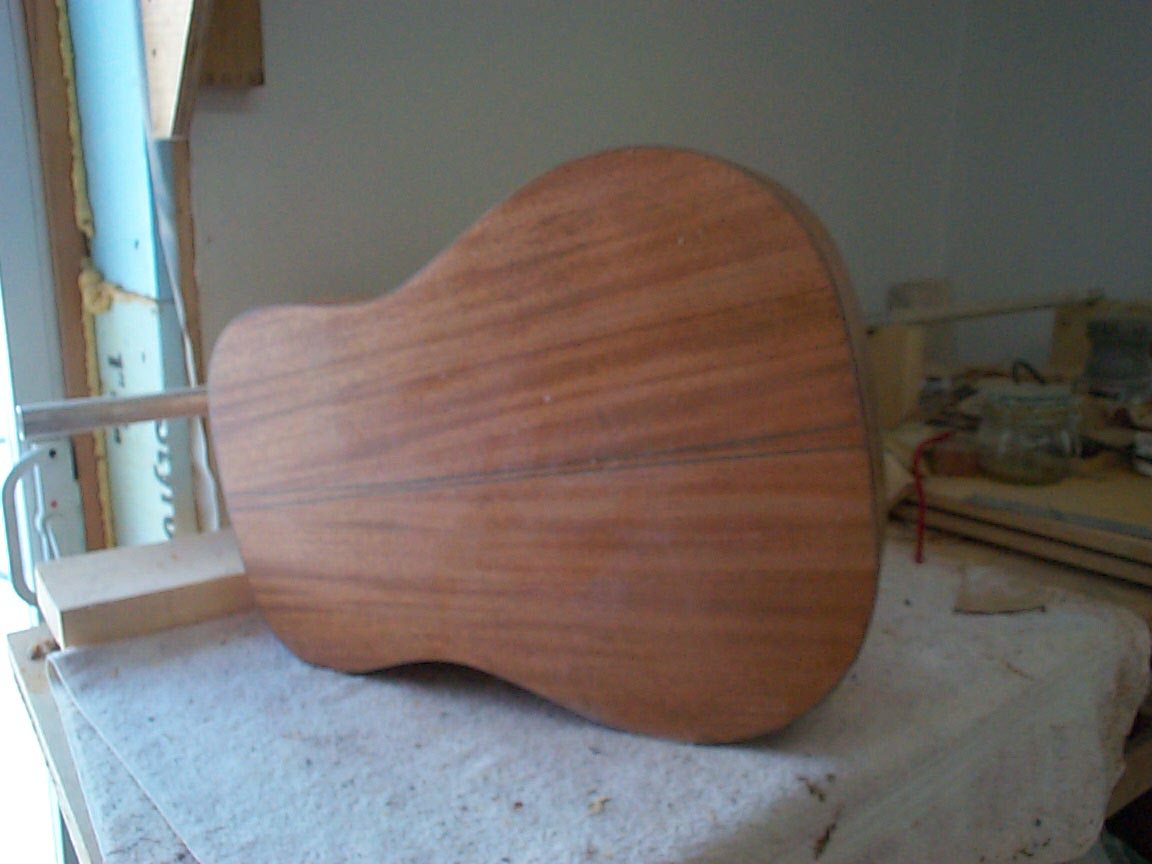
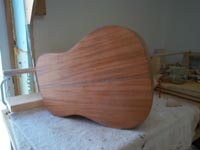
More... |
Still more.....
|
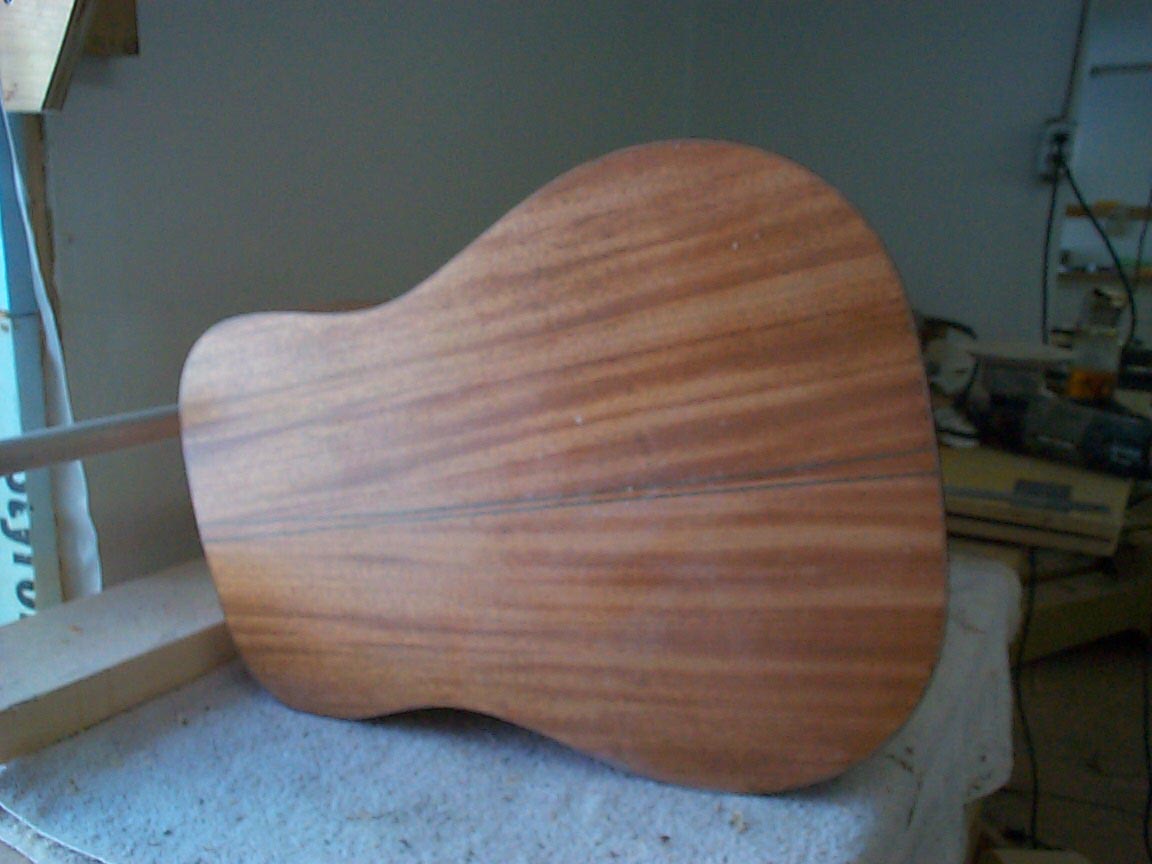
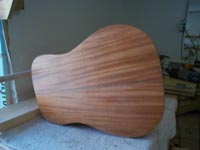
Here's a shot of the back with just a sealer coat. We can already
see the figure in the mahogany come to life. |
|
|
|
|
|
|
 |
|
 |
|
|
|
|
|
|
|
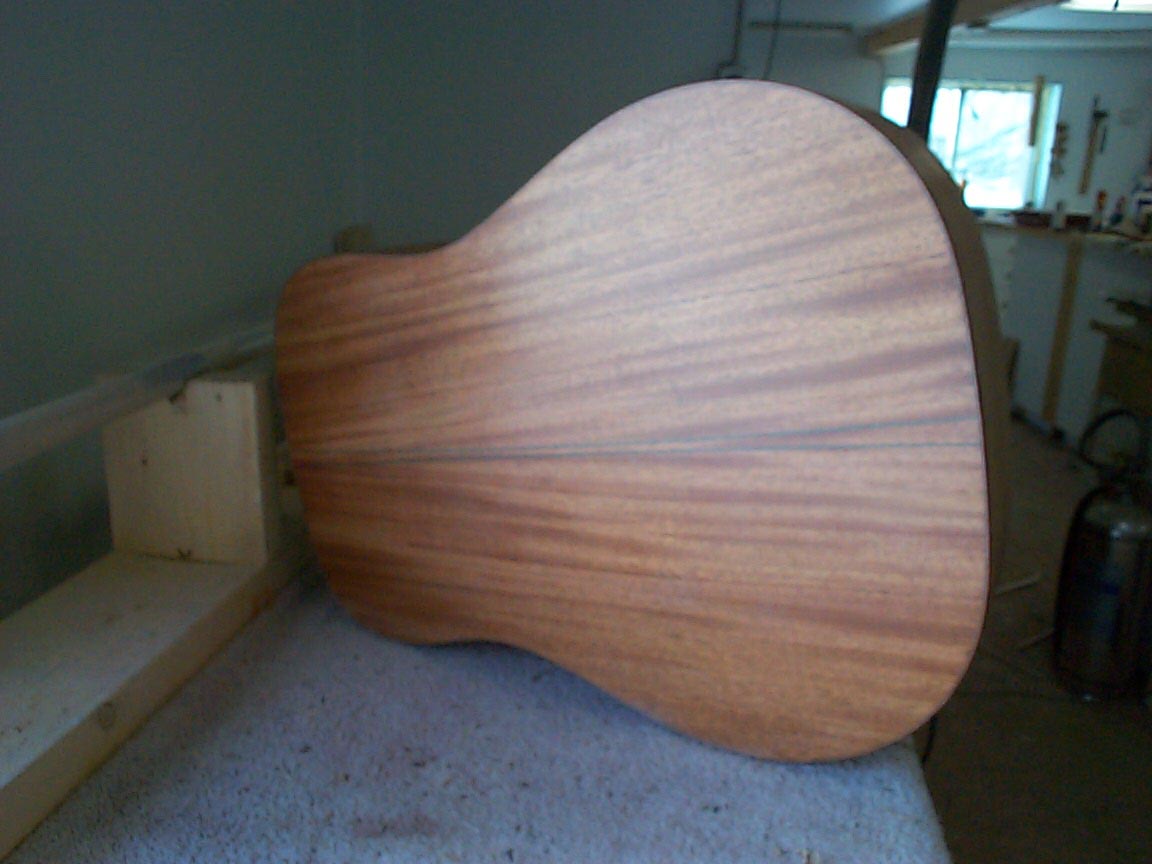
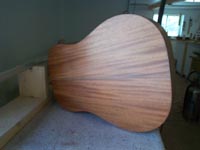
More.....
|
...still more.
|
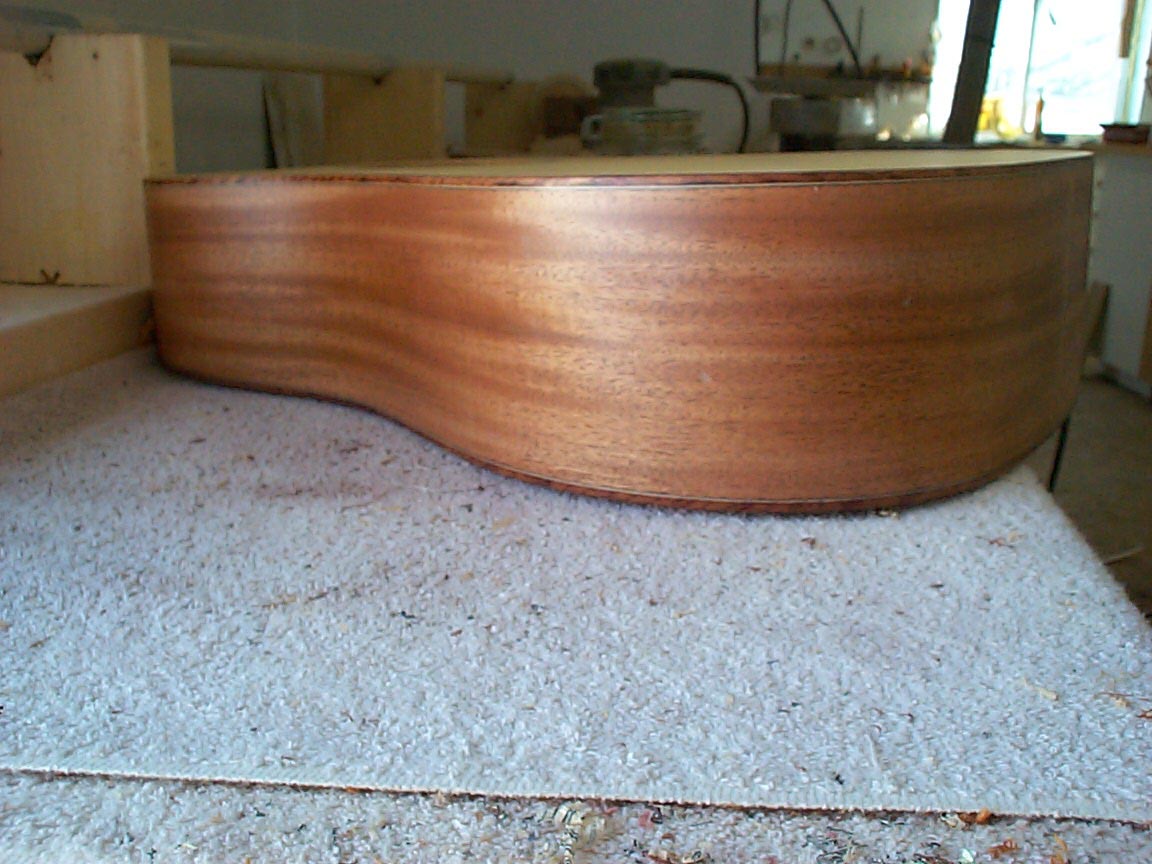
And the side...
|
|
|
|
|
|
|
|
Previous
Page |
|
Next
Page |
|
|
|
|
|
|
|
|
|
|
|
|
|
|
|
|